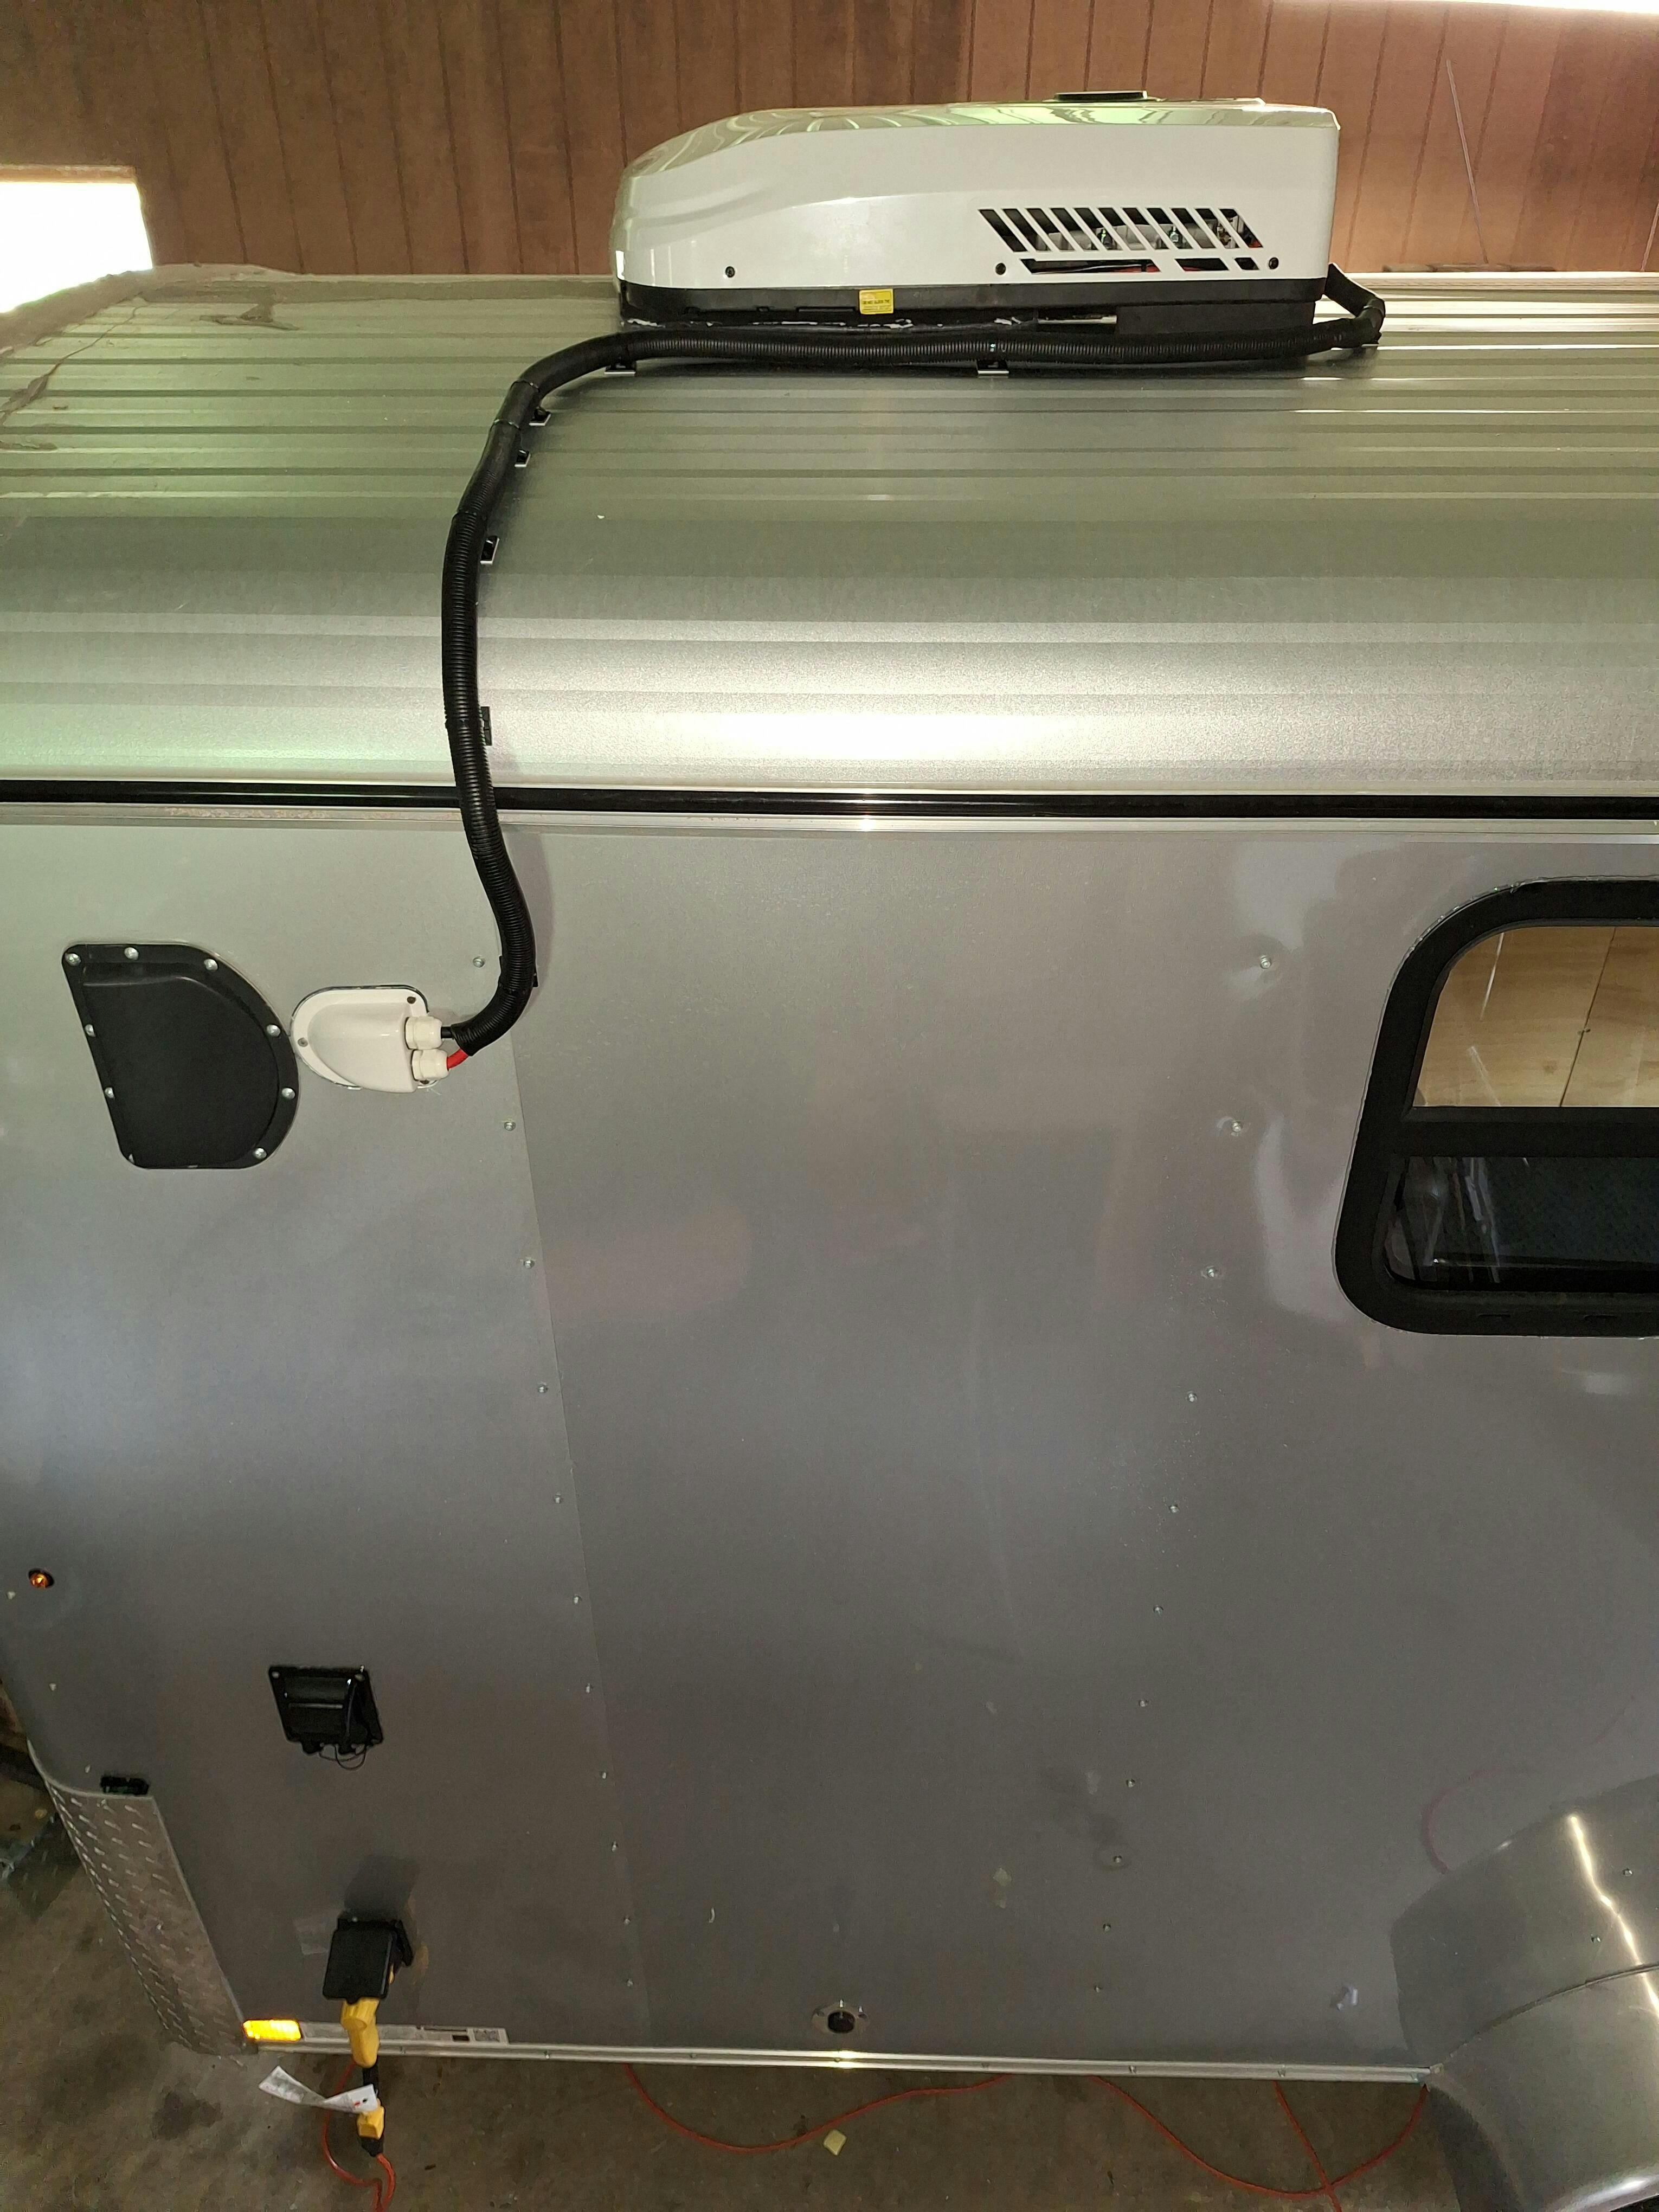


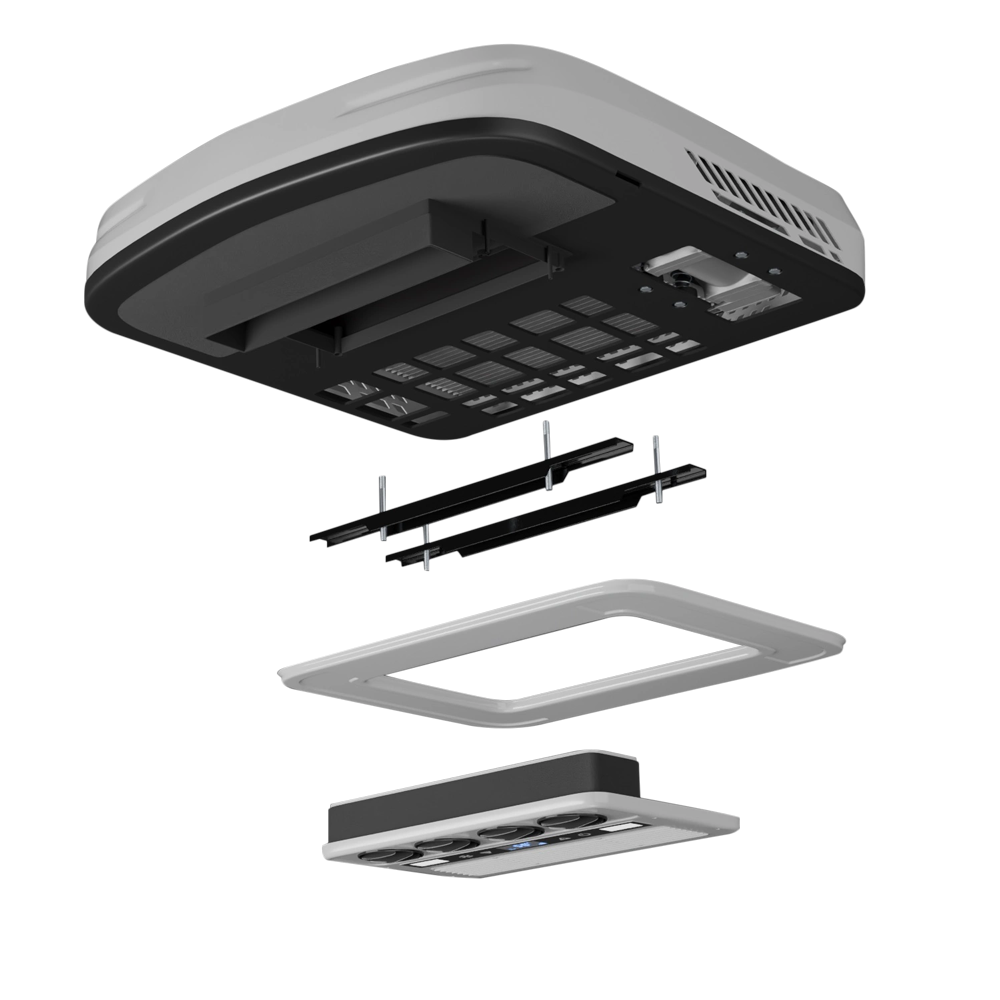
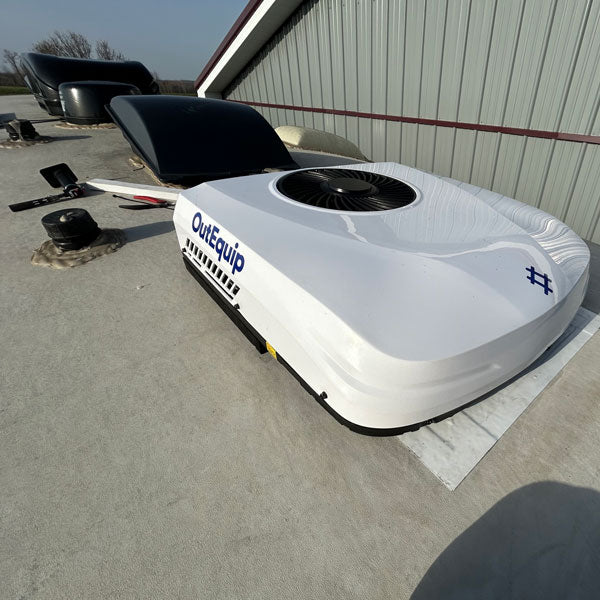
1. Mount external unit: Clean roof, apply gasket around the roof opening.
2. Secure with brackets: Attach rods to unit base, align and tighten brackets to roof.
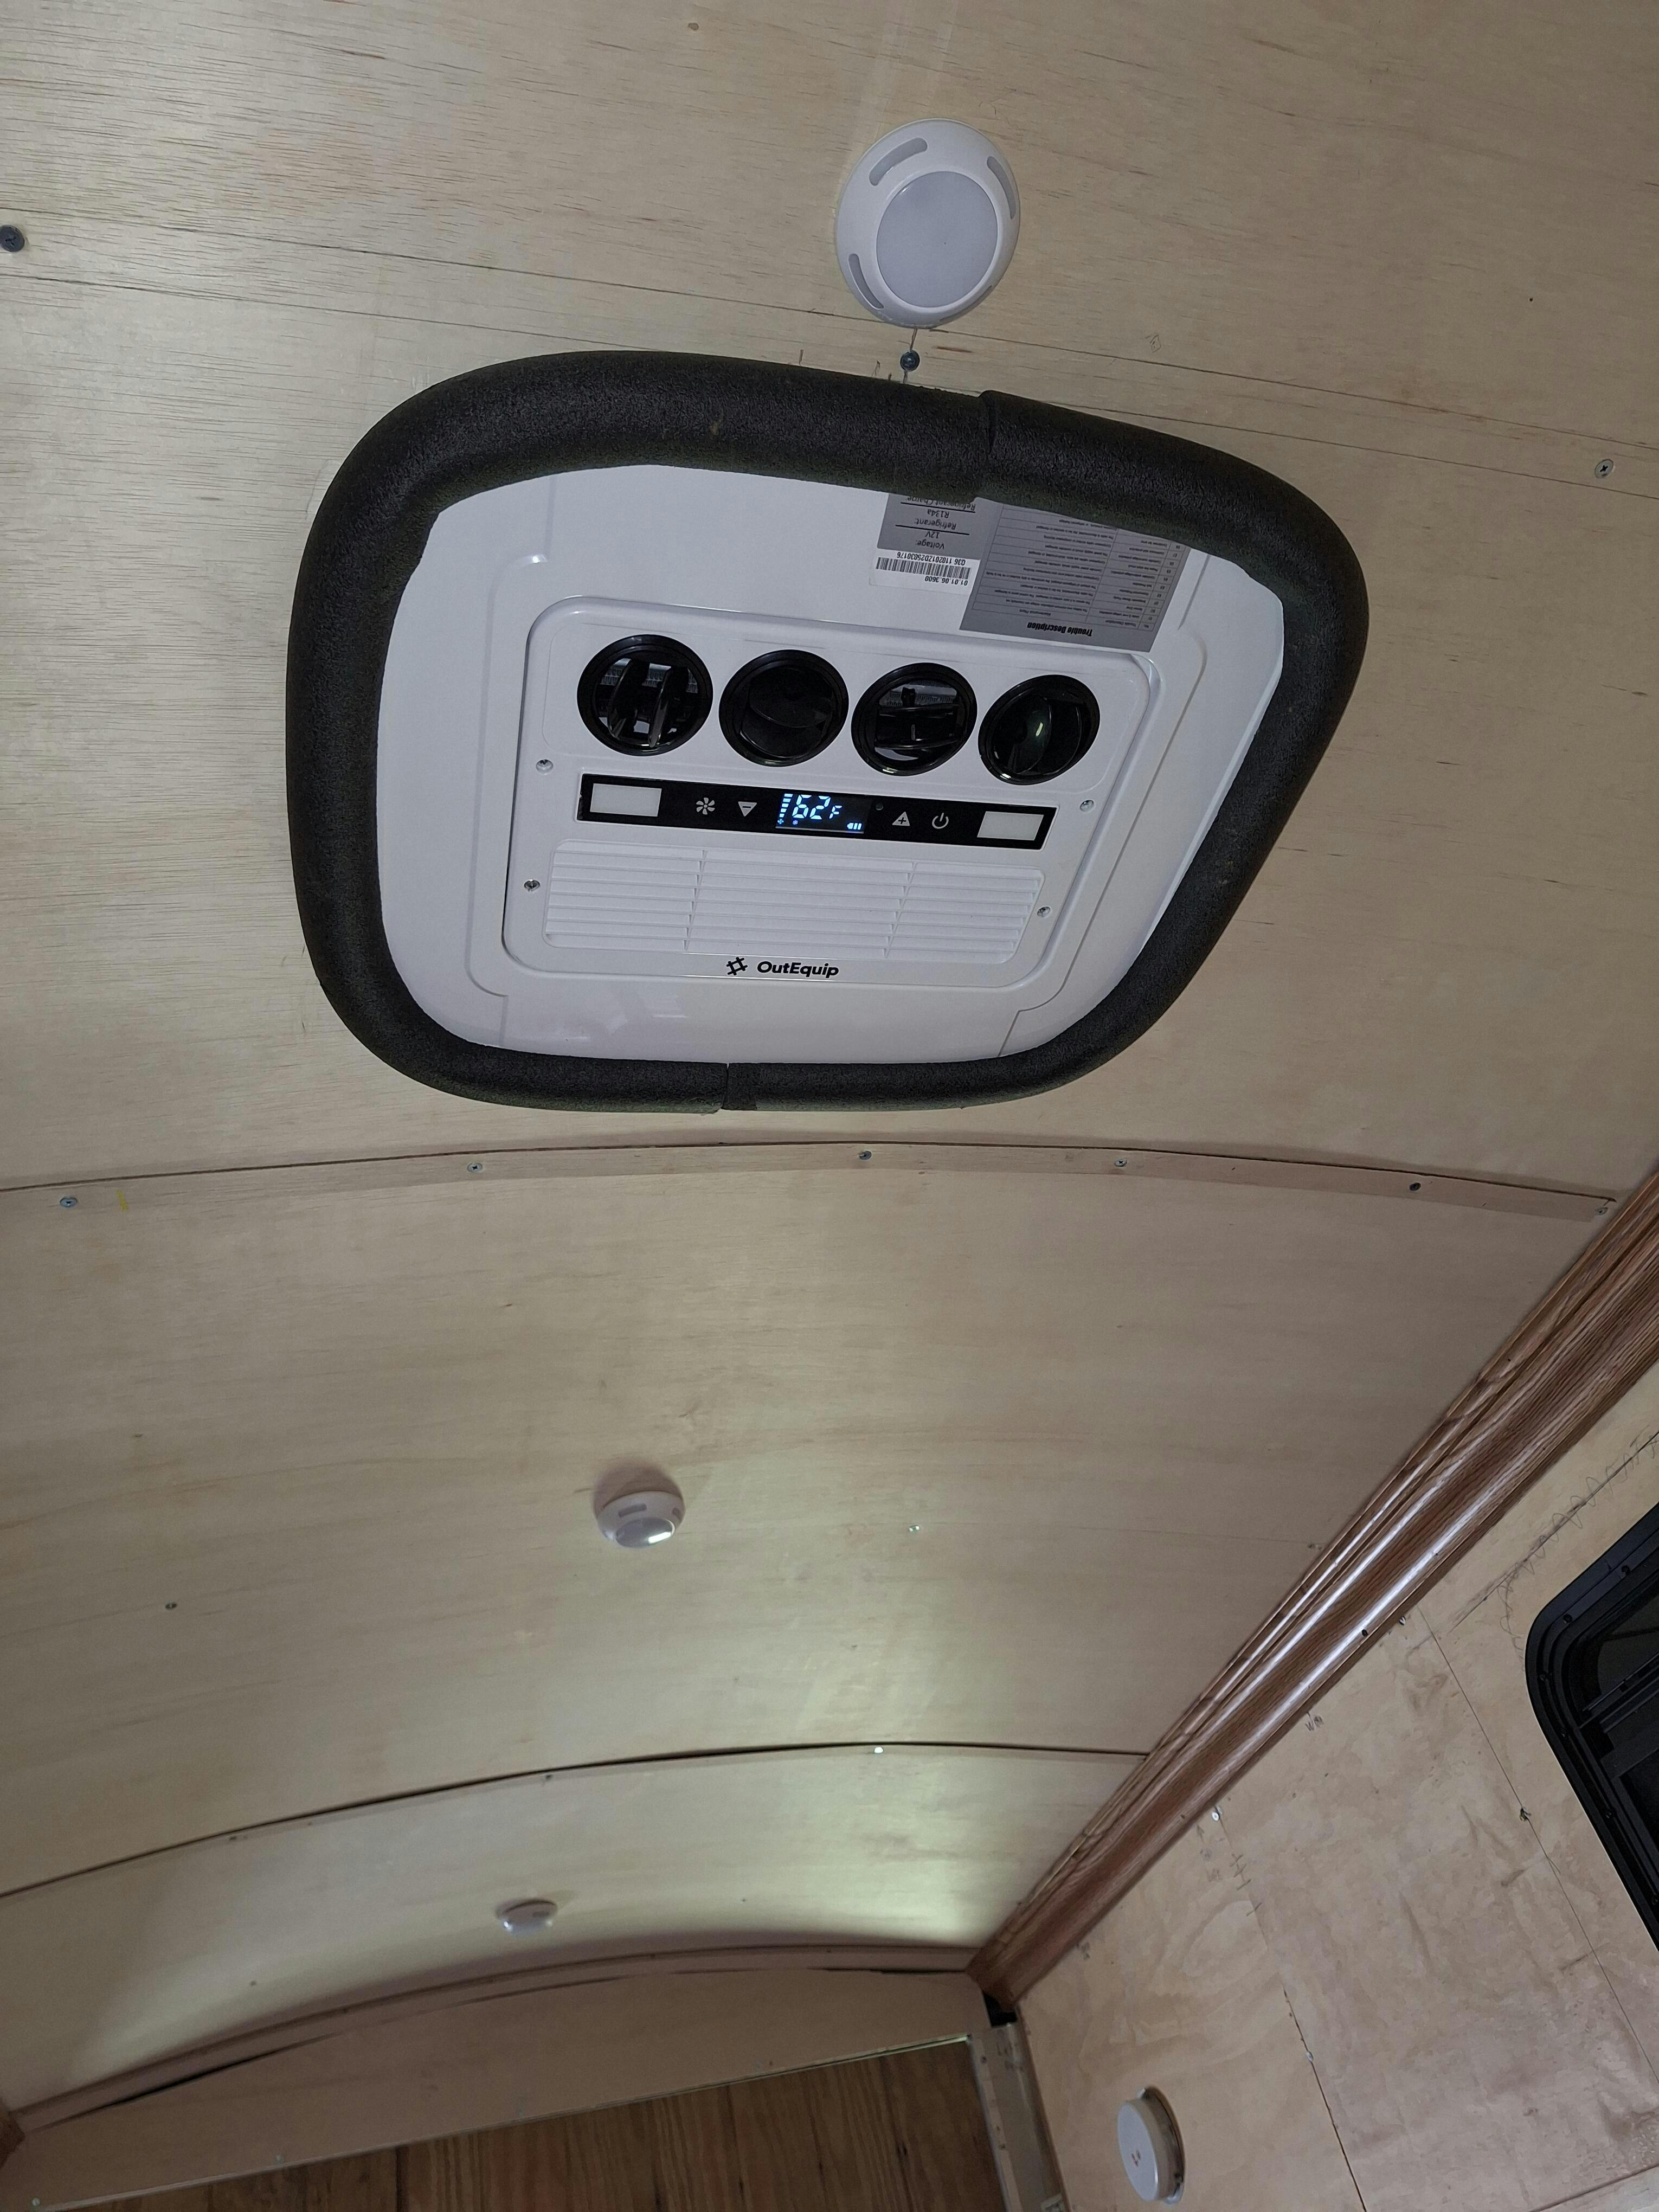
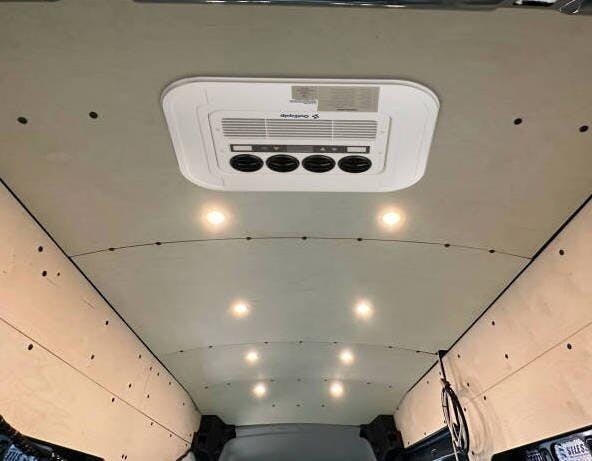
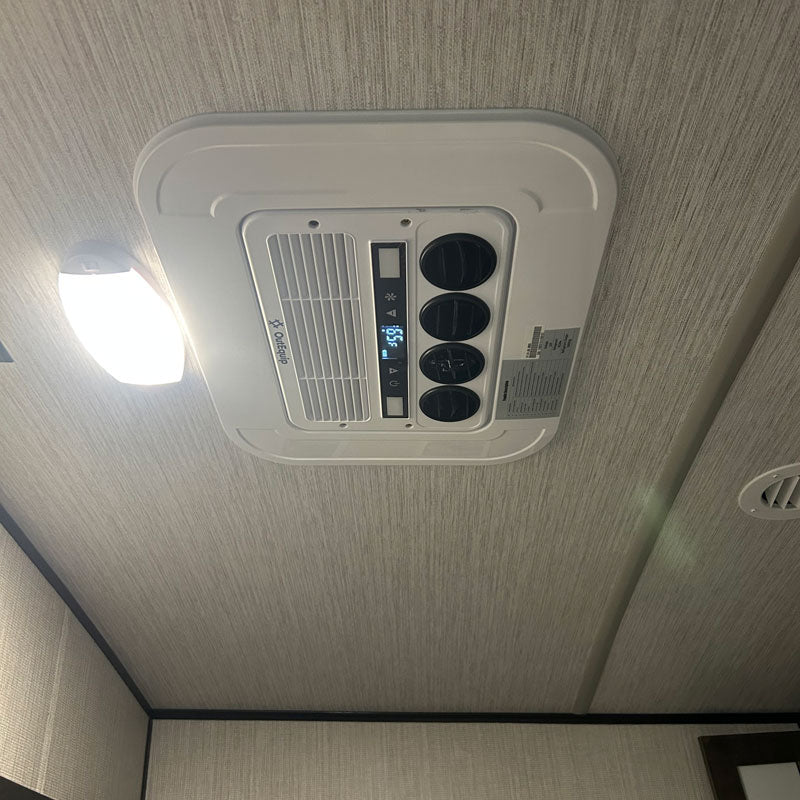
3. Install indoor panel: Align with external unit rods, secure tightly.

12V DC Powered

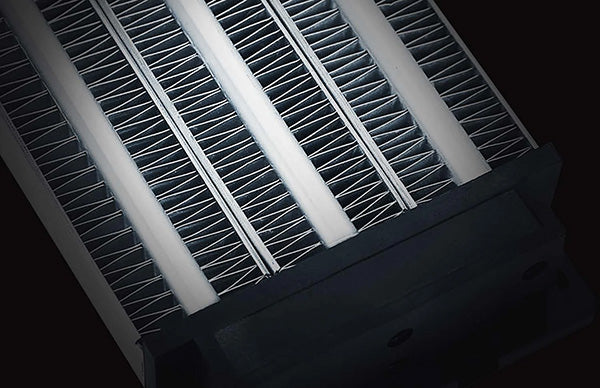
Heating & Cooling

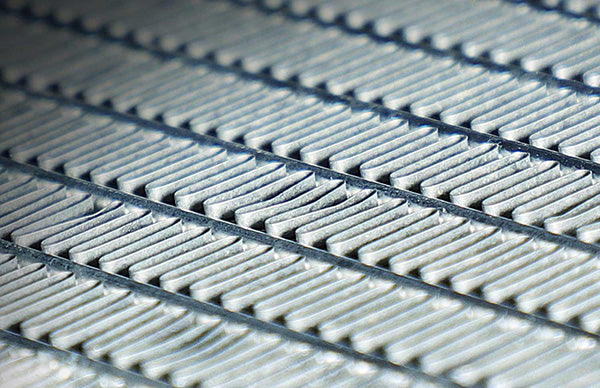
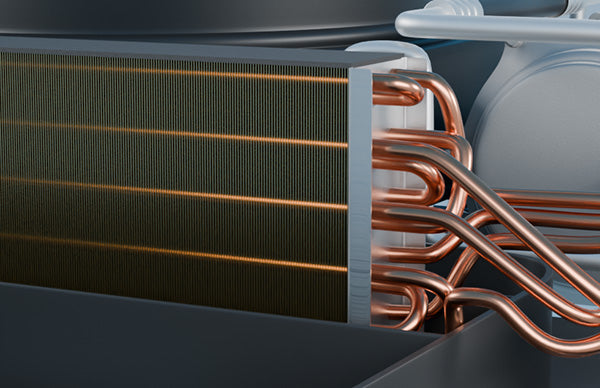
Powerful Capacity

Battery Protection

Lightweight Design

Advanced Climate Control

1. Mount external unit: Clean roof, apply gasket around the roof opening.
2. Secure with brackets: Attach rods to unit base, align and tighten brackets to roof.
3. Install indoor panel: Align with external unit rods, secure tightly.


Easy to install, works as it should.
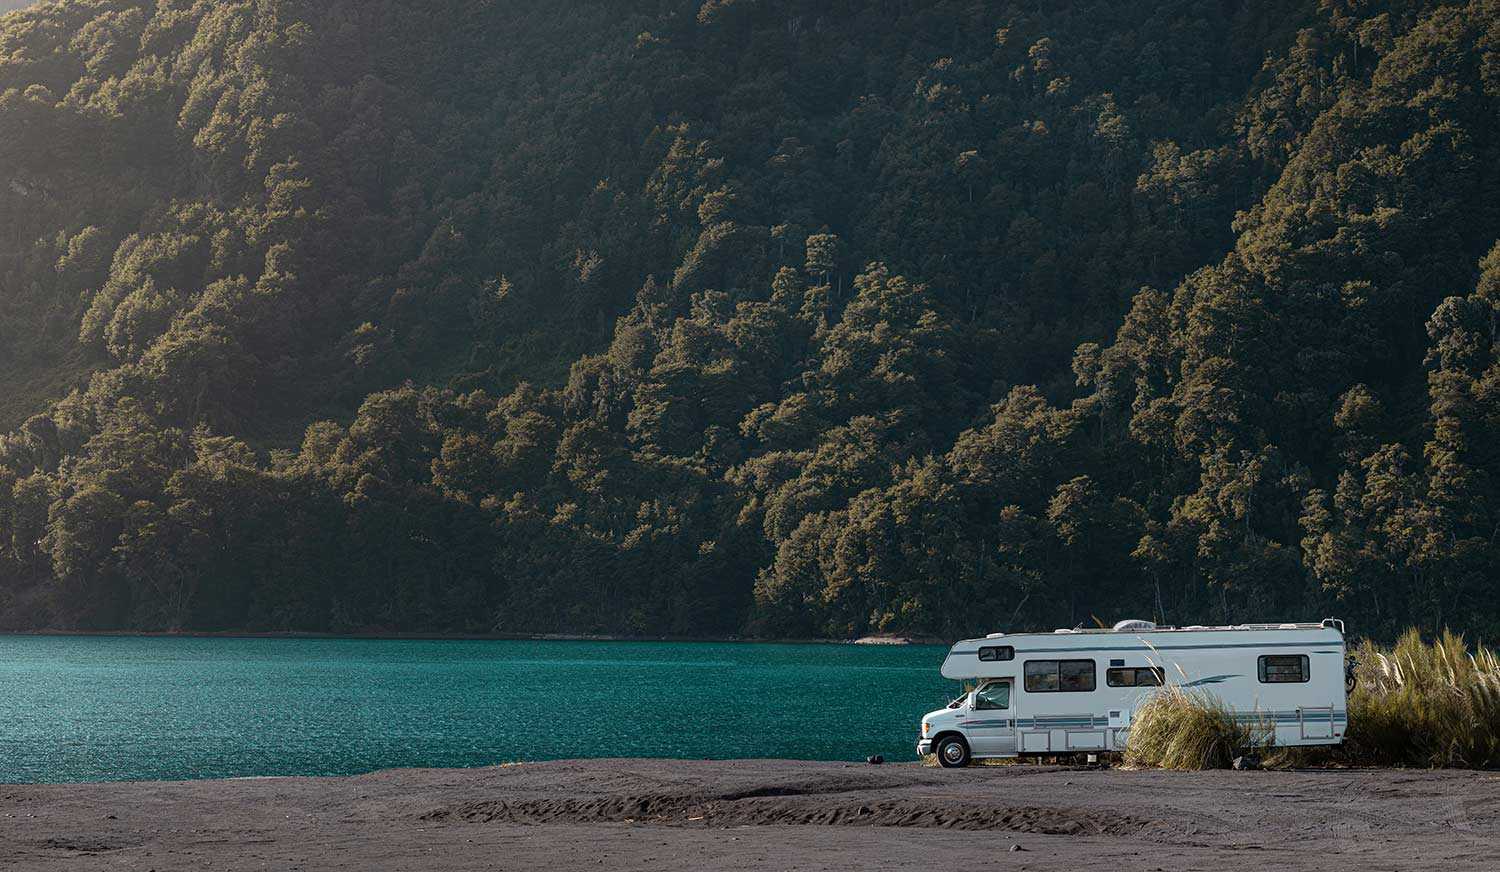
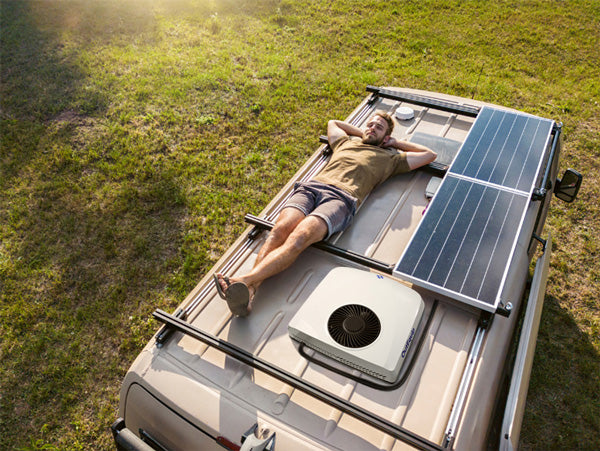
We have been traveling around the past four years in our Campervan with a MaxxAir Maxxfan Delux installed on our Campervan roof that has met most of our needs in circulating the air, but when it’s too hot it just doesn’t cut it. We’ve tried at least three different portable air conditioners that were either too large taking up floor space and/or they just didn’t meet our needs.
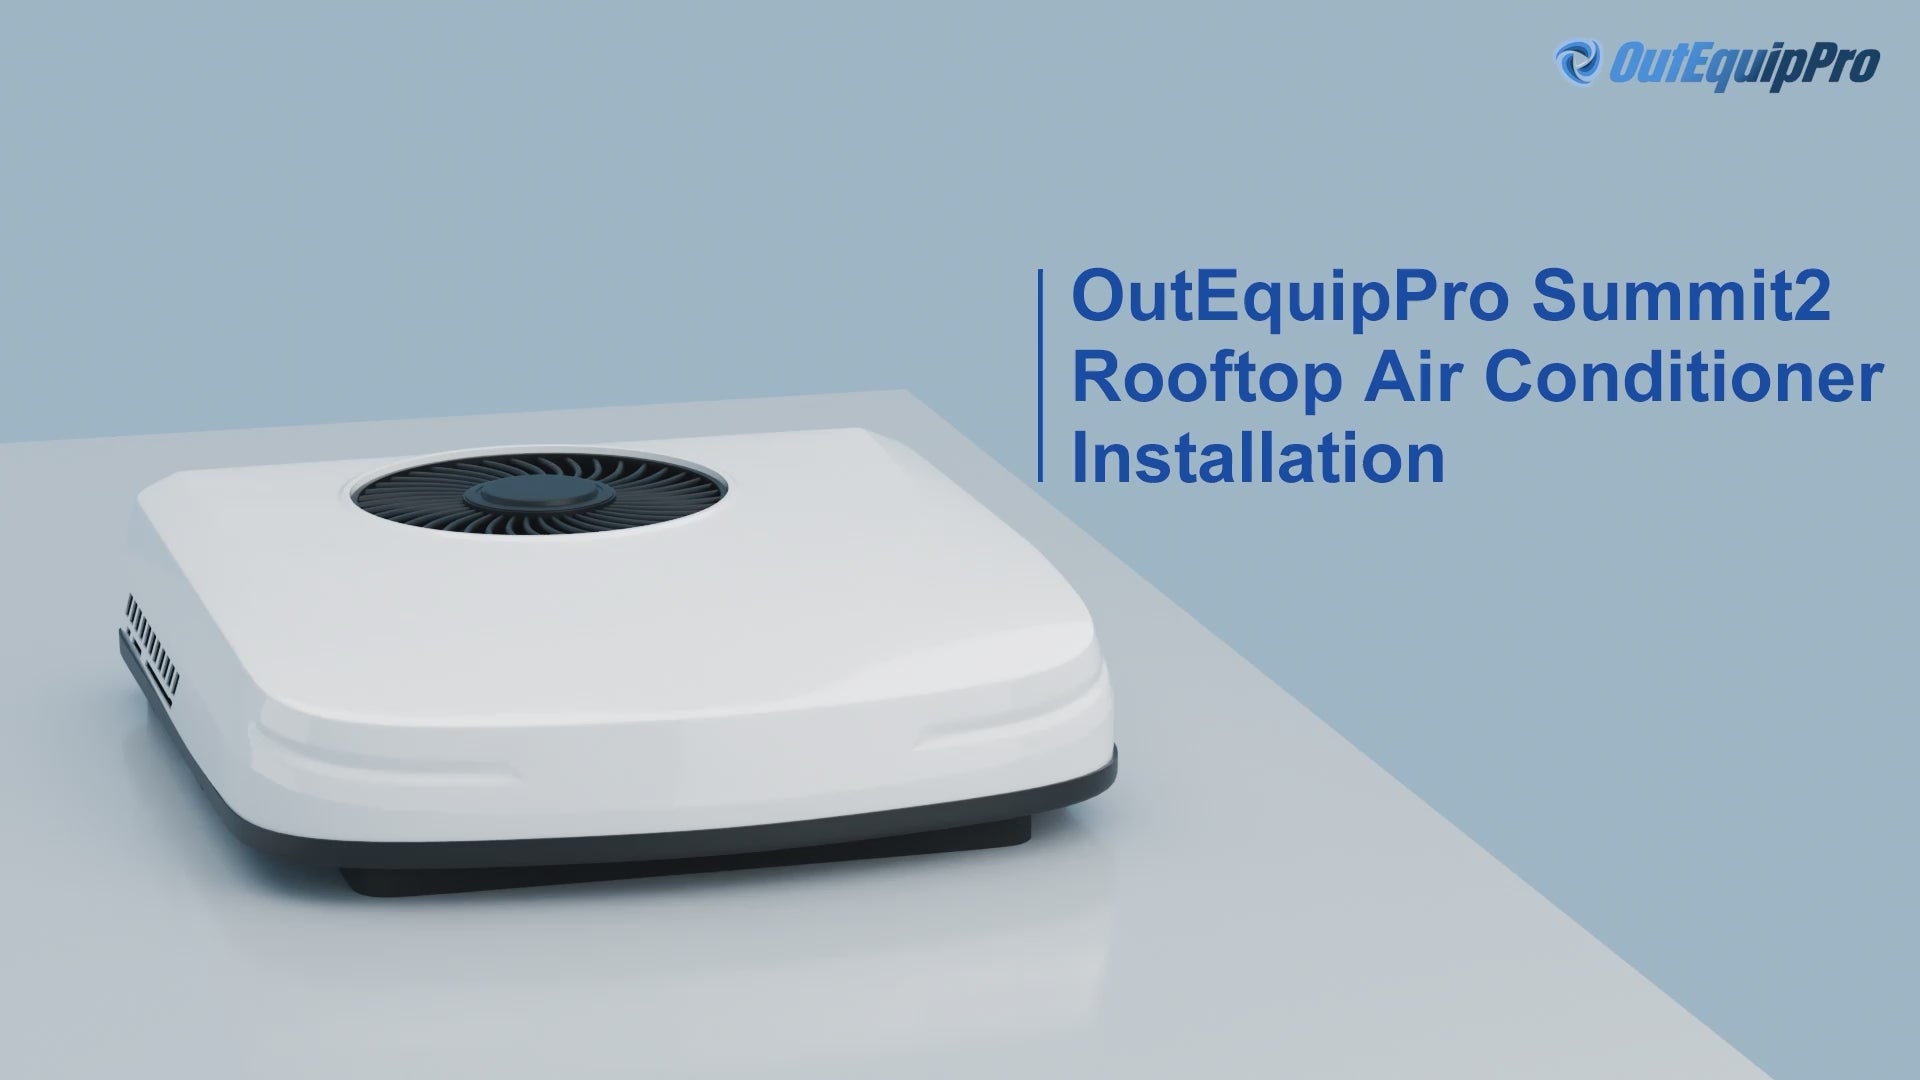
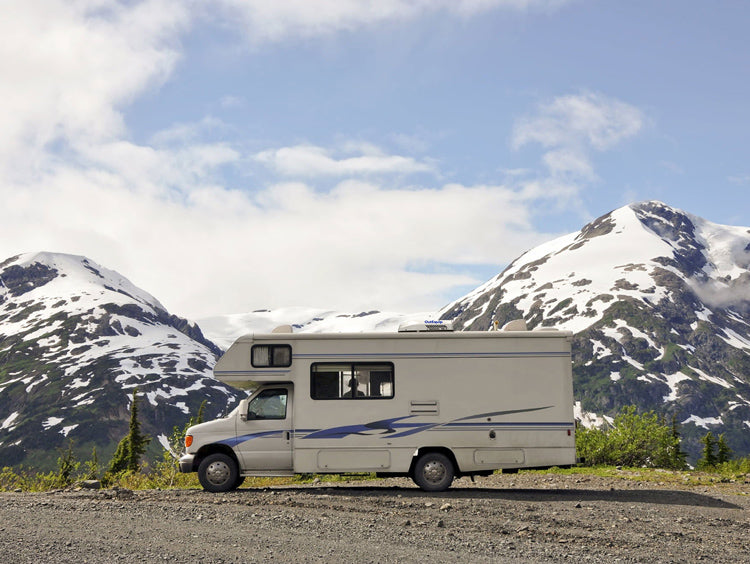
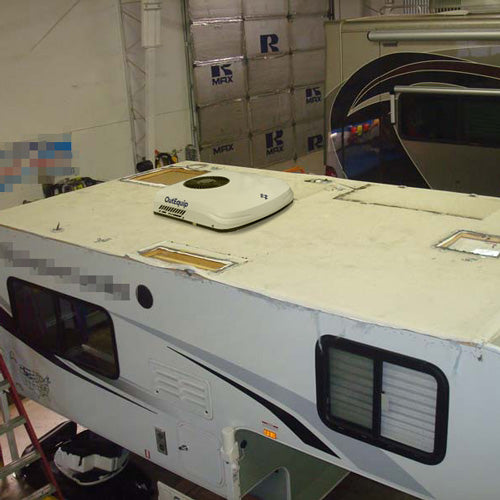
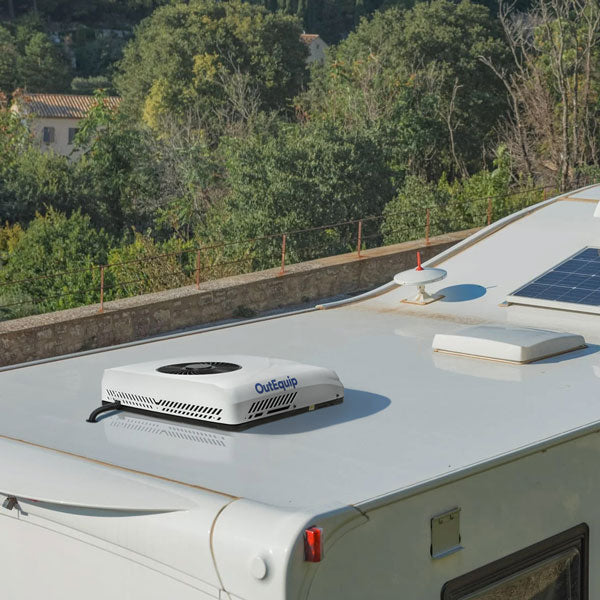
Over the years we have looked at installing a top mounted air conditioner but until recently hadn’t taken the plunged into buying one or installing it. After reviewing several top mounted air conditioners we decided to give OutEquipPro.com a try. We chose their “RV Air Conditioner, 12V 10000 BTU Top Mounted Heating and Cooling Parking Air Conditioner Set for RVs, Trucks, Vans, Campers,” and also for their reasonable price.
We liked the DIY aspect of their product. After ordering the air conditioner it arrived within three business days. It was well packaged and came with all the necessary parts for installation. The only thing it didn’t have was well defined instructions for the actual installation. Their website had some information but we would suggest to them to include simple instructions for the consumer. We say this because after our installation of our air conditioner we received an email from the company with actual instructions as to how to install the weather/support gasket which would have been great to have had before we installed their product. However, the installation process is pretty straight forward and common sense should make the installation fairly easy.
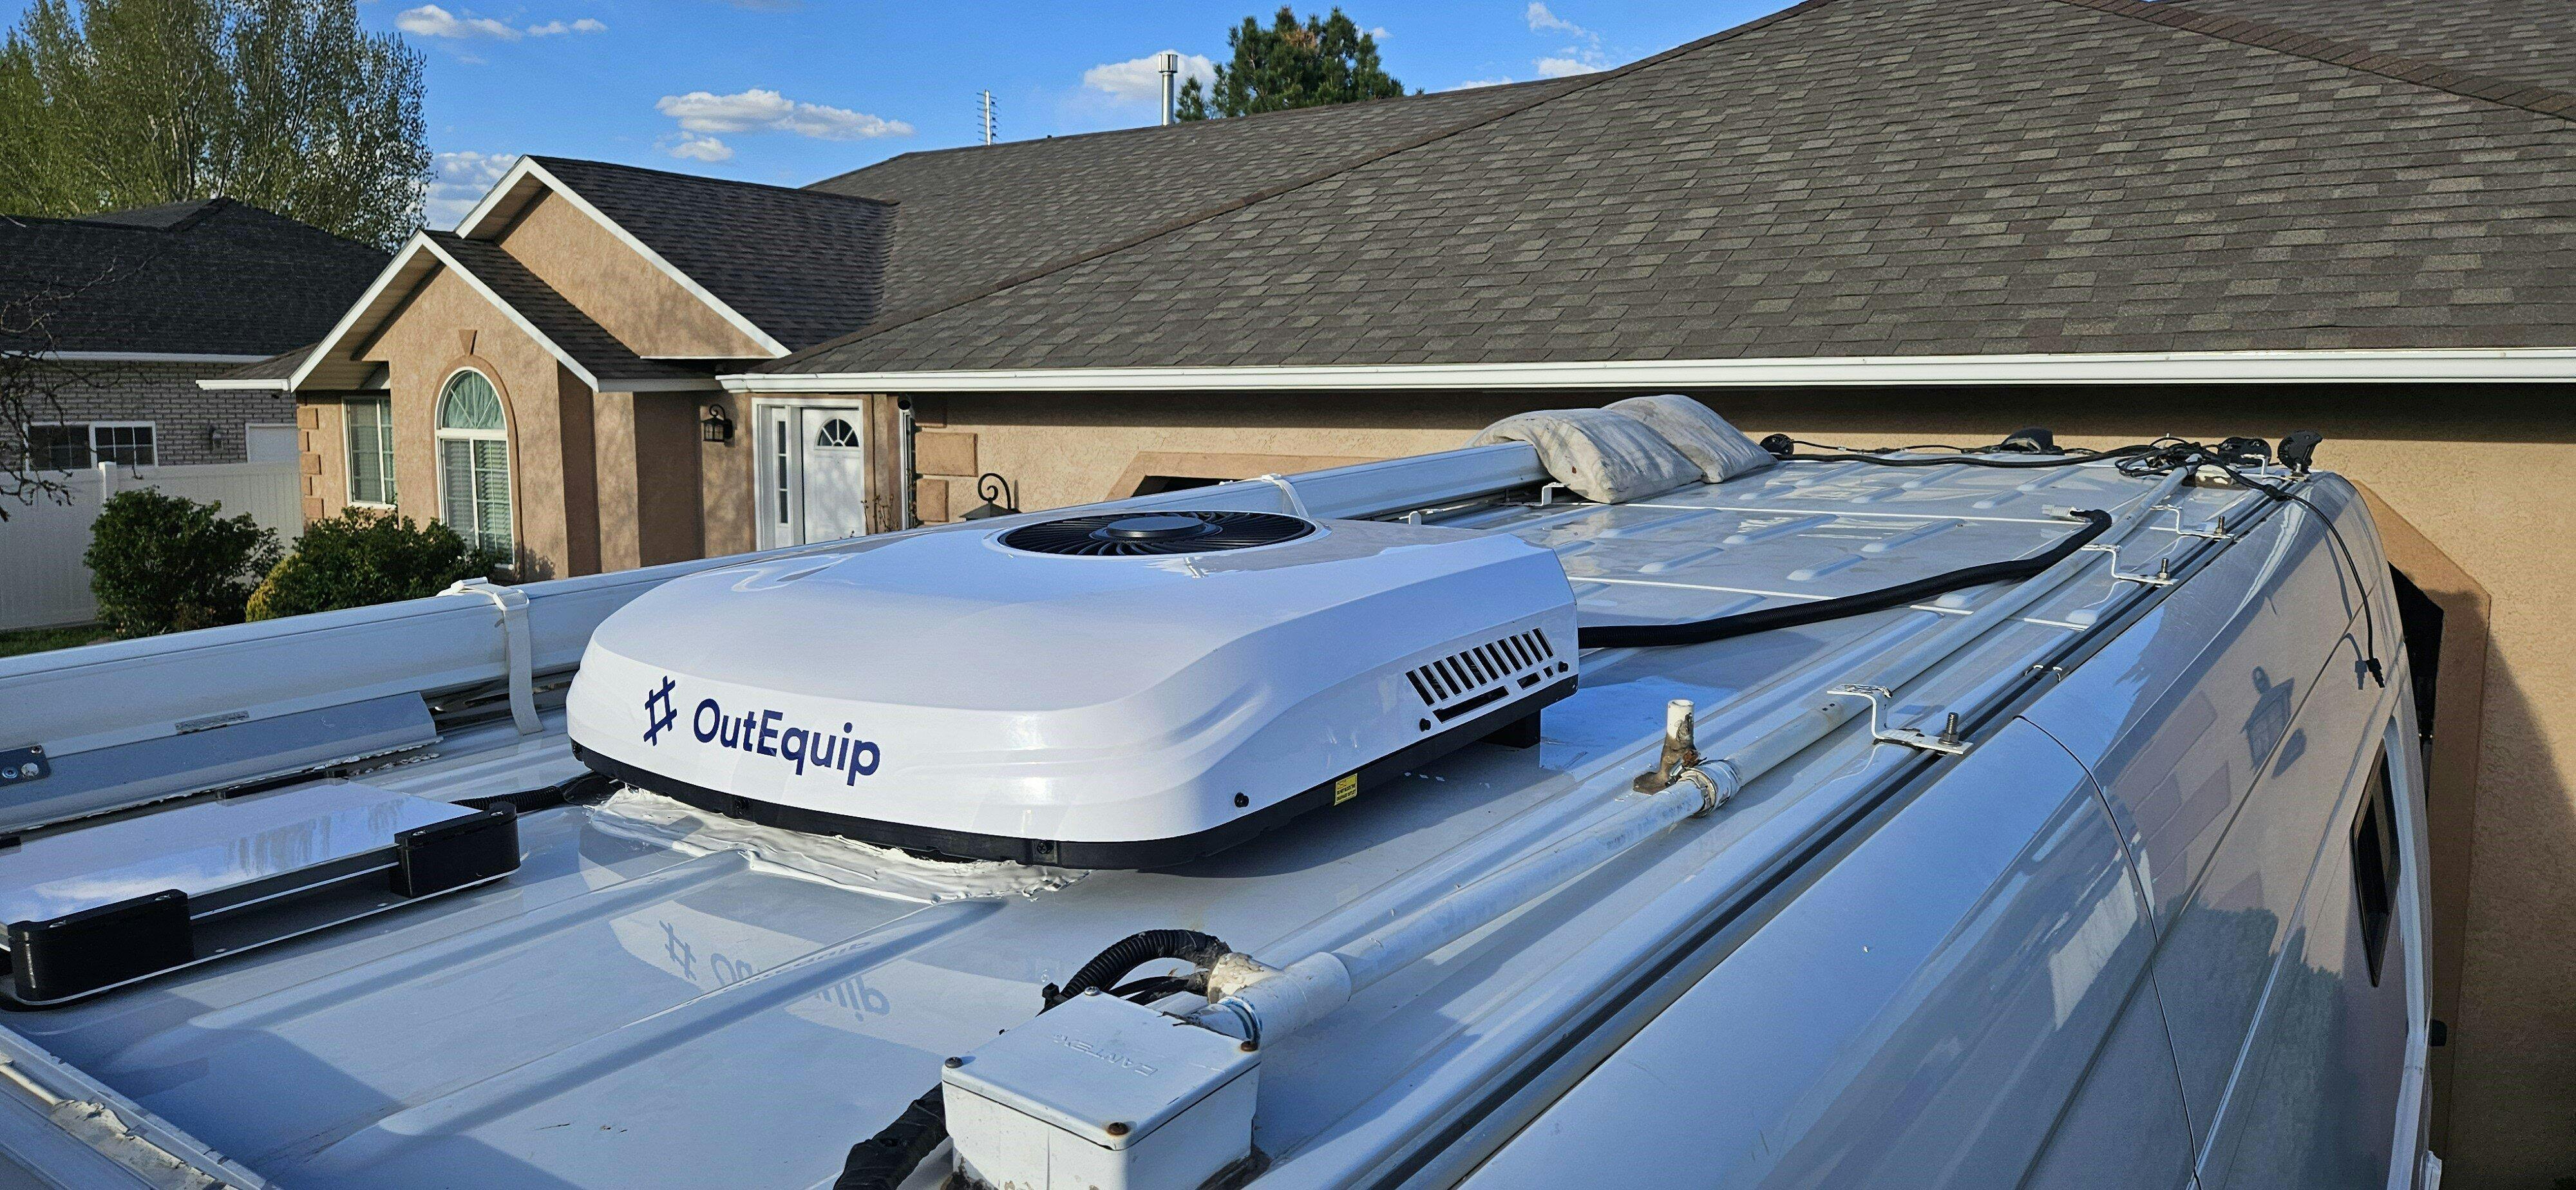
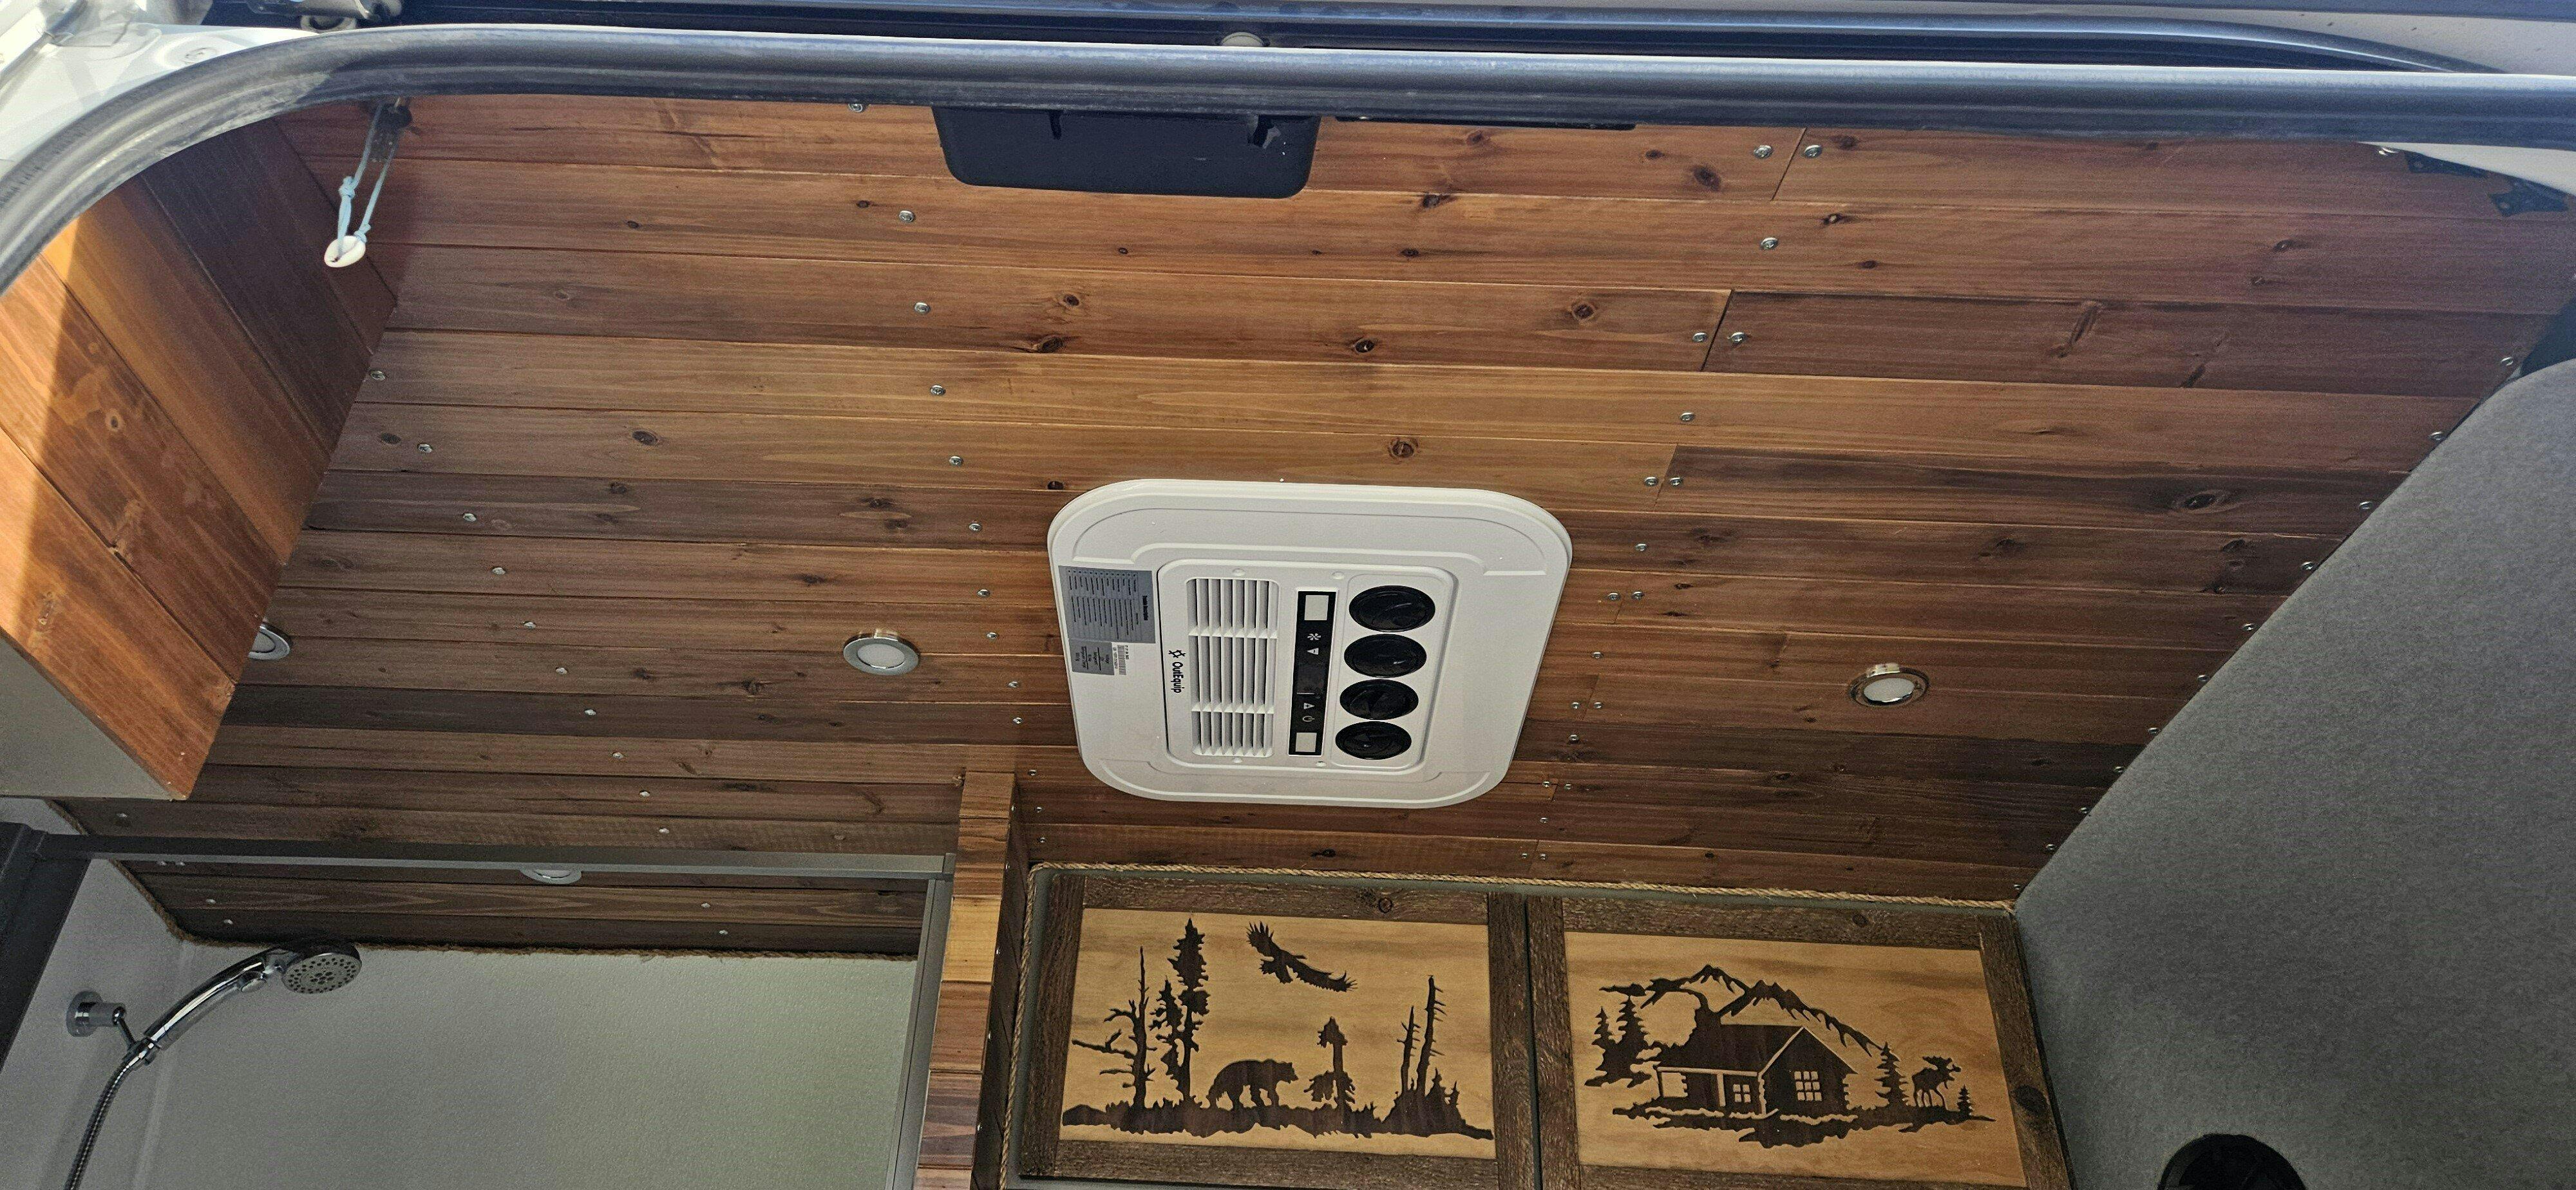
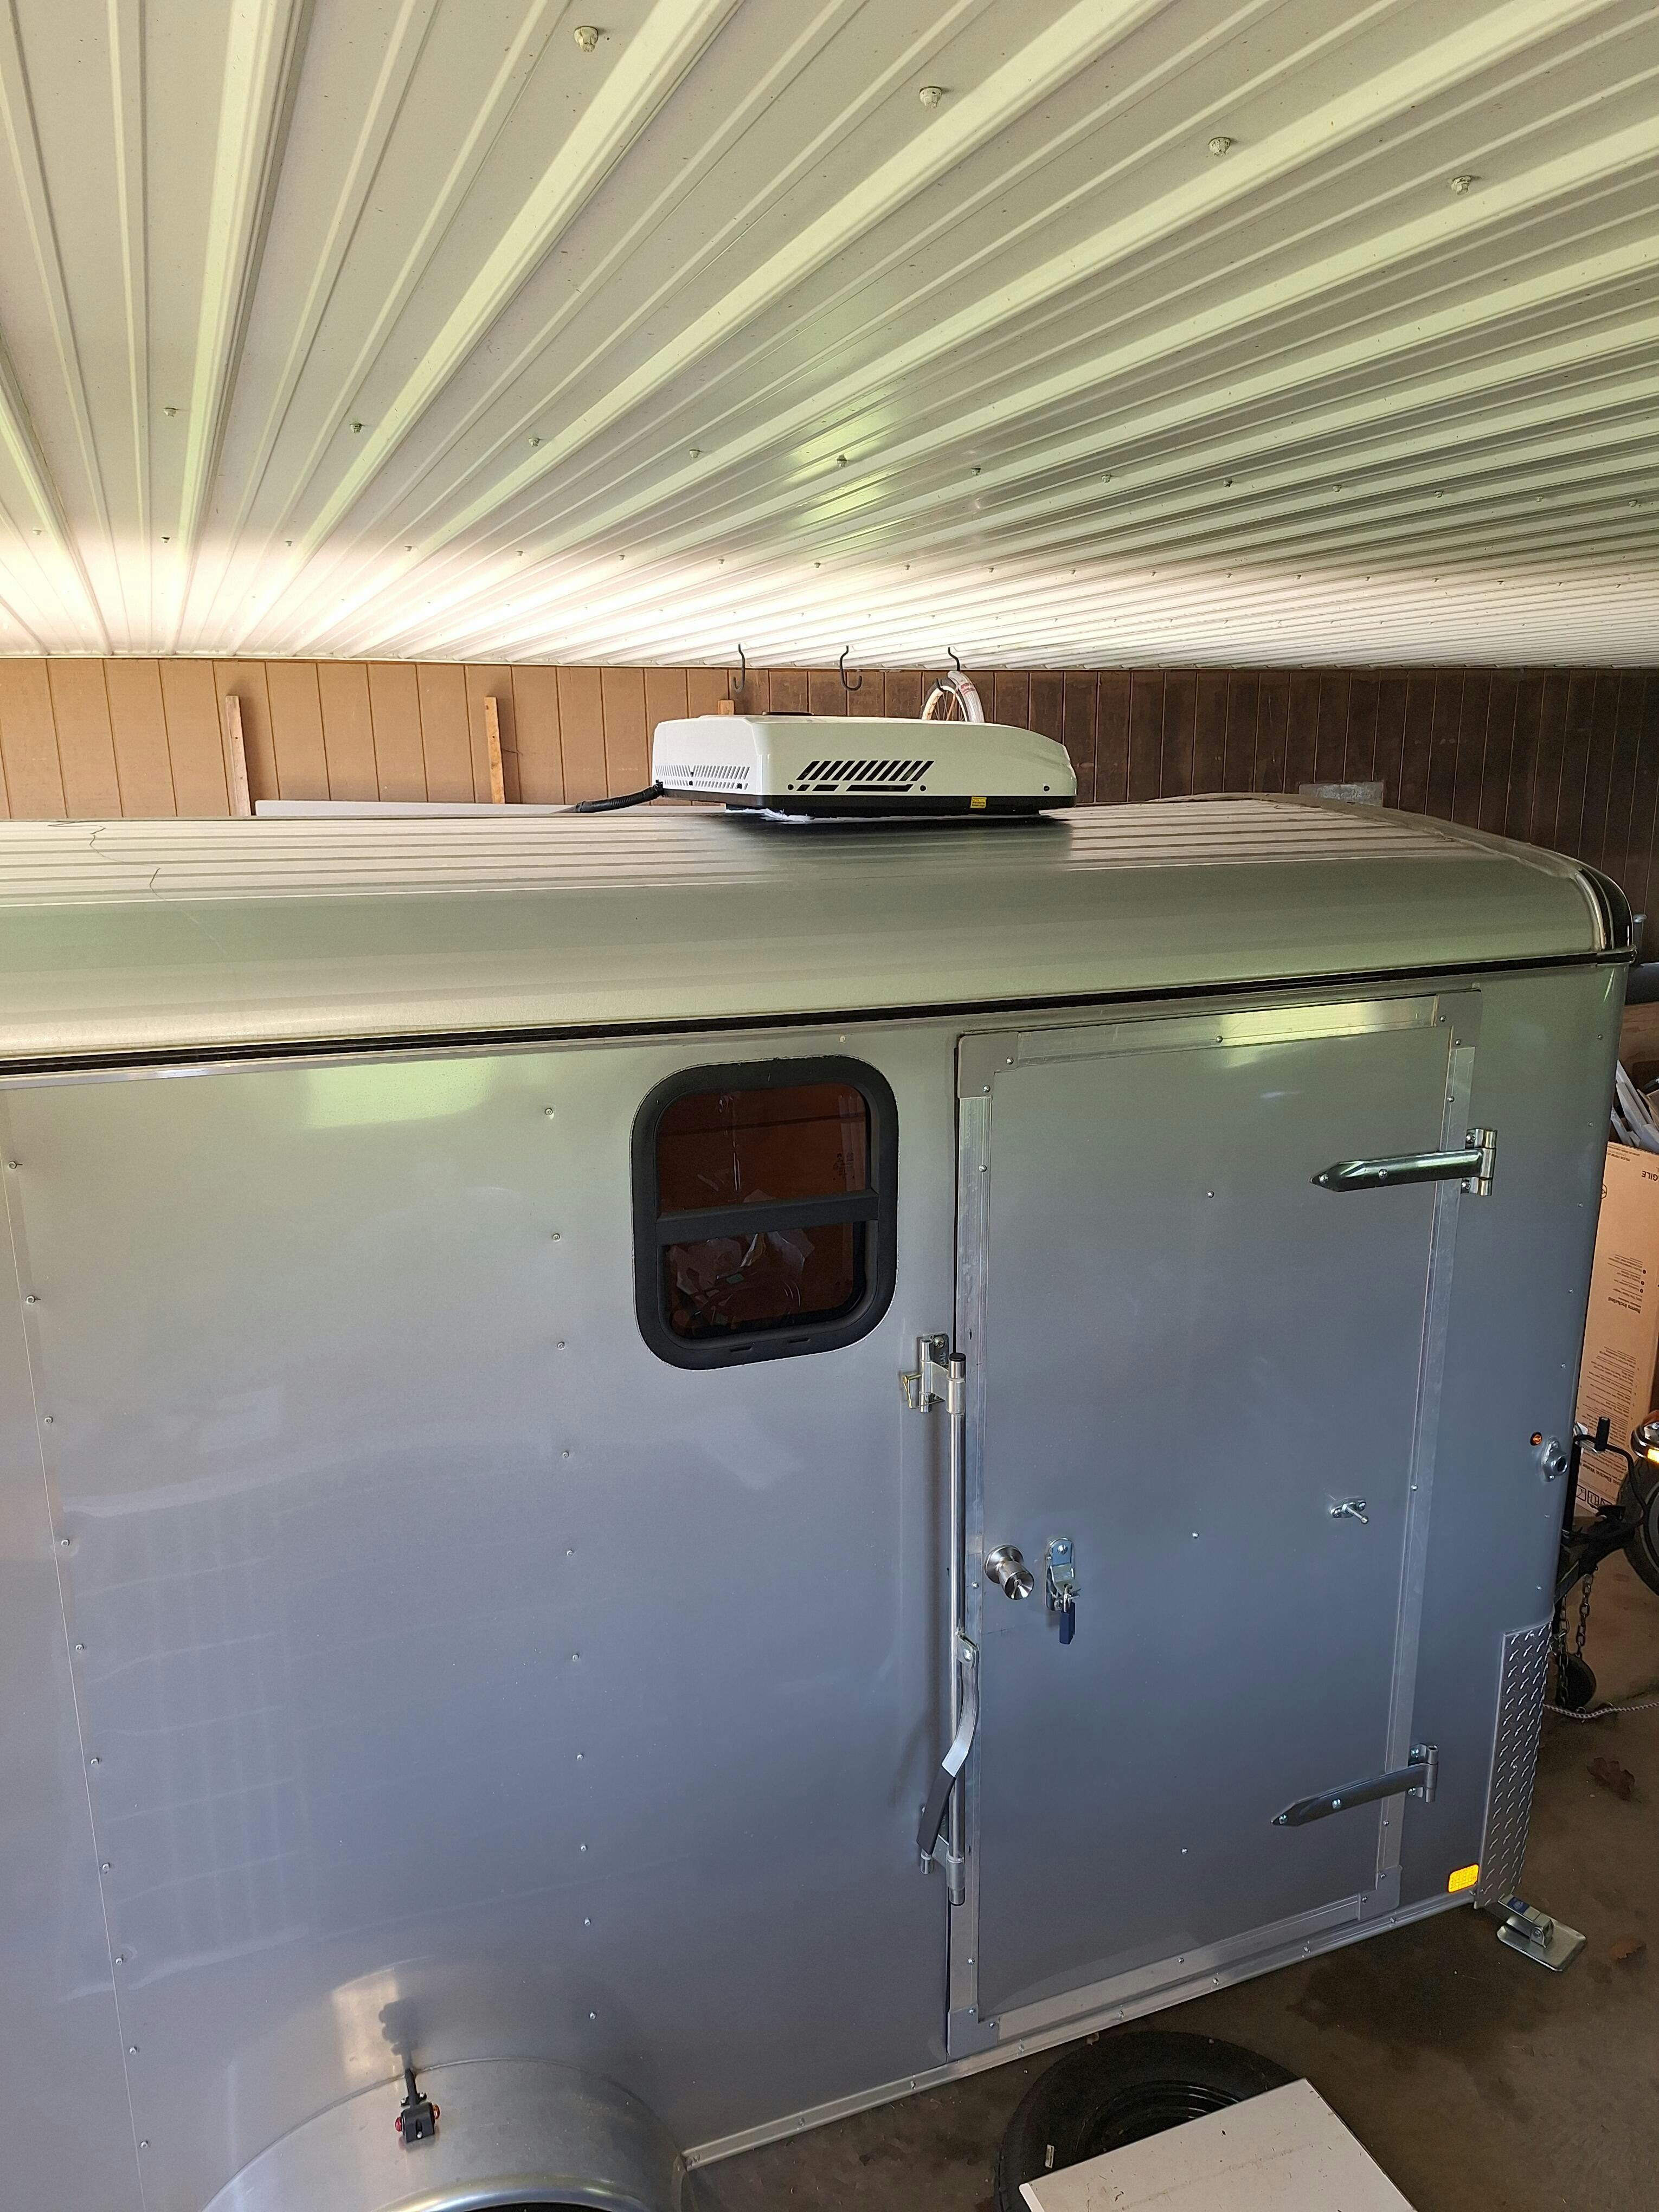
Installation of our OutEquip air conditioner was installed in place of our MaxxAir 14” X 14” opening and the MaxxAir was moved to another location. Although our ceiling was finished, we had no issues installing the air conditioner in the opening. The wiring provided with the air conditioner is 6 AWG. Installation in our case required an extension of the 6 AWG wire and another hole for the wire for passage into the cab of the vehicle to our battery banks for easy attachment.
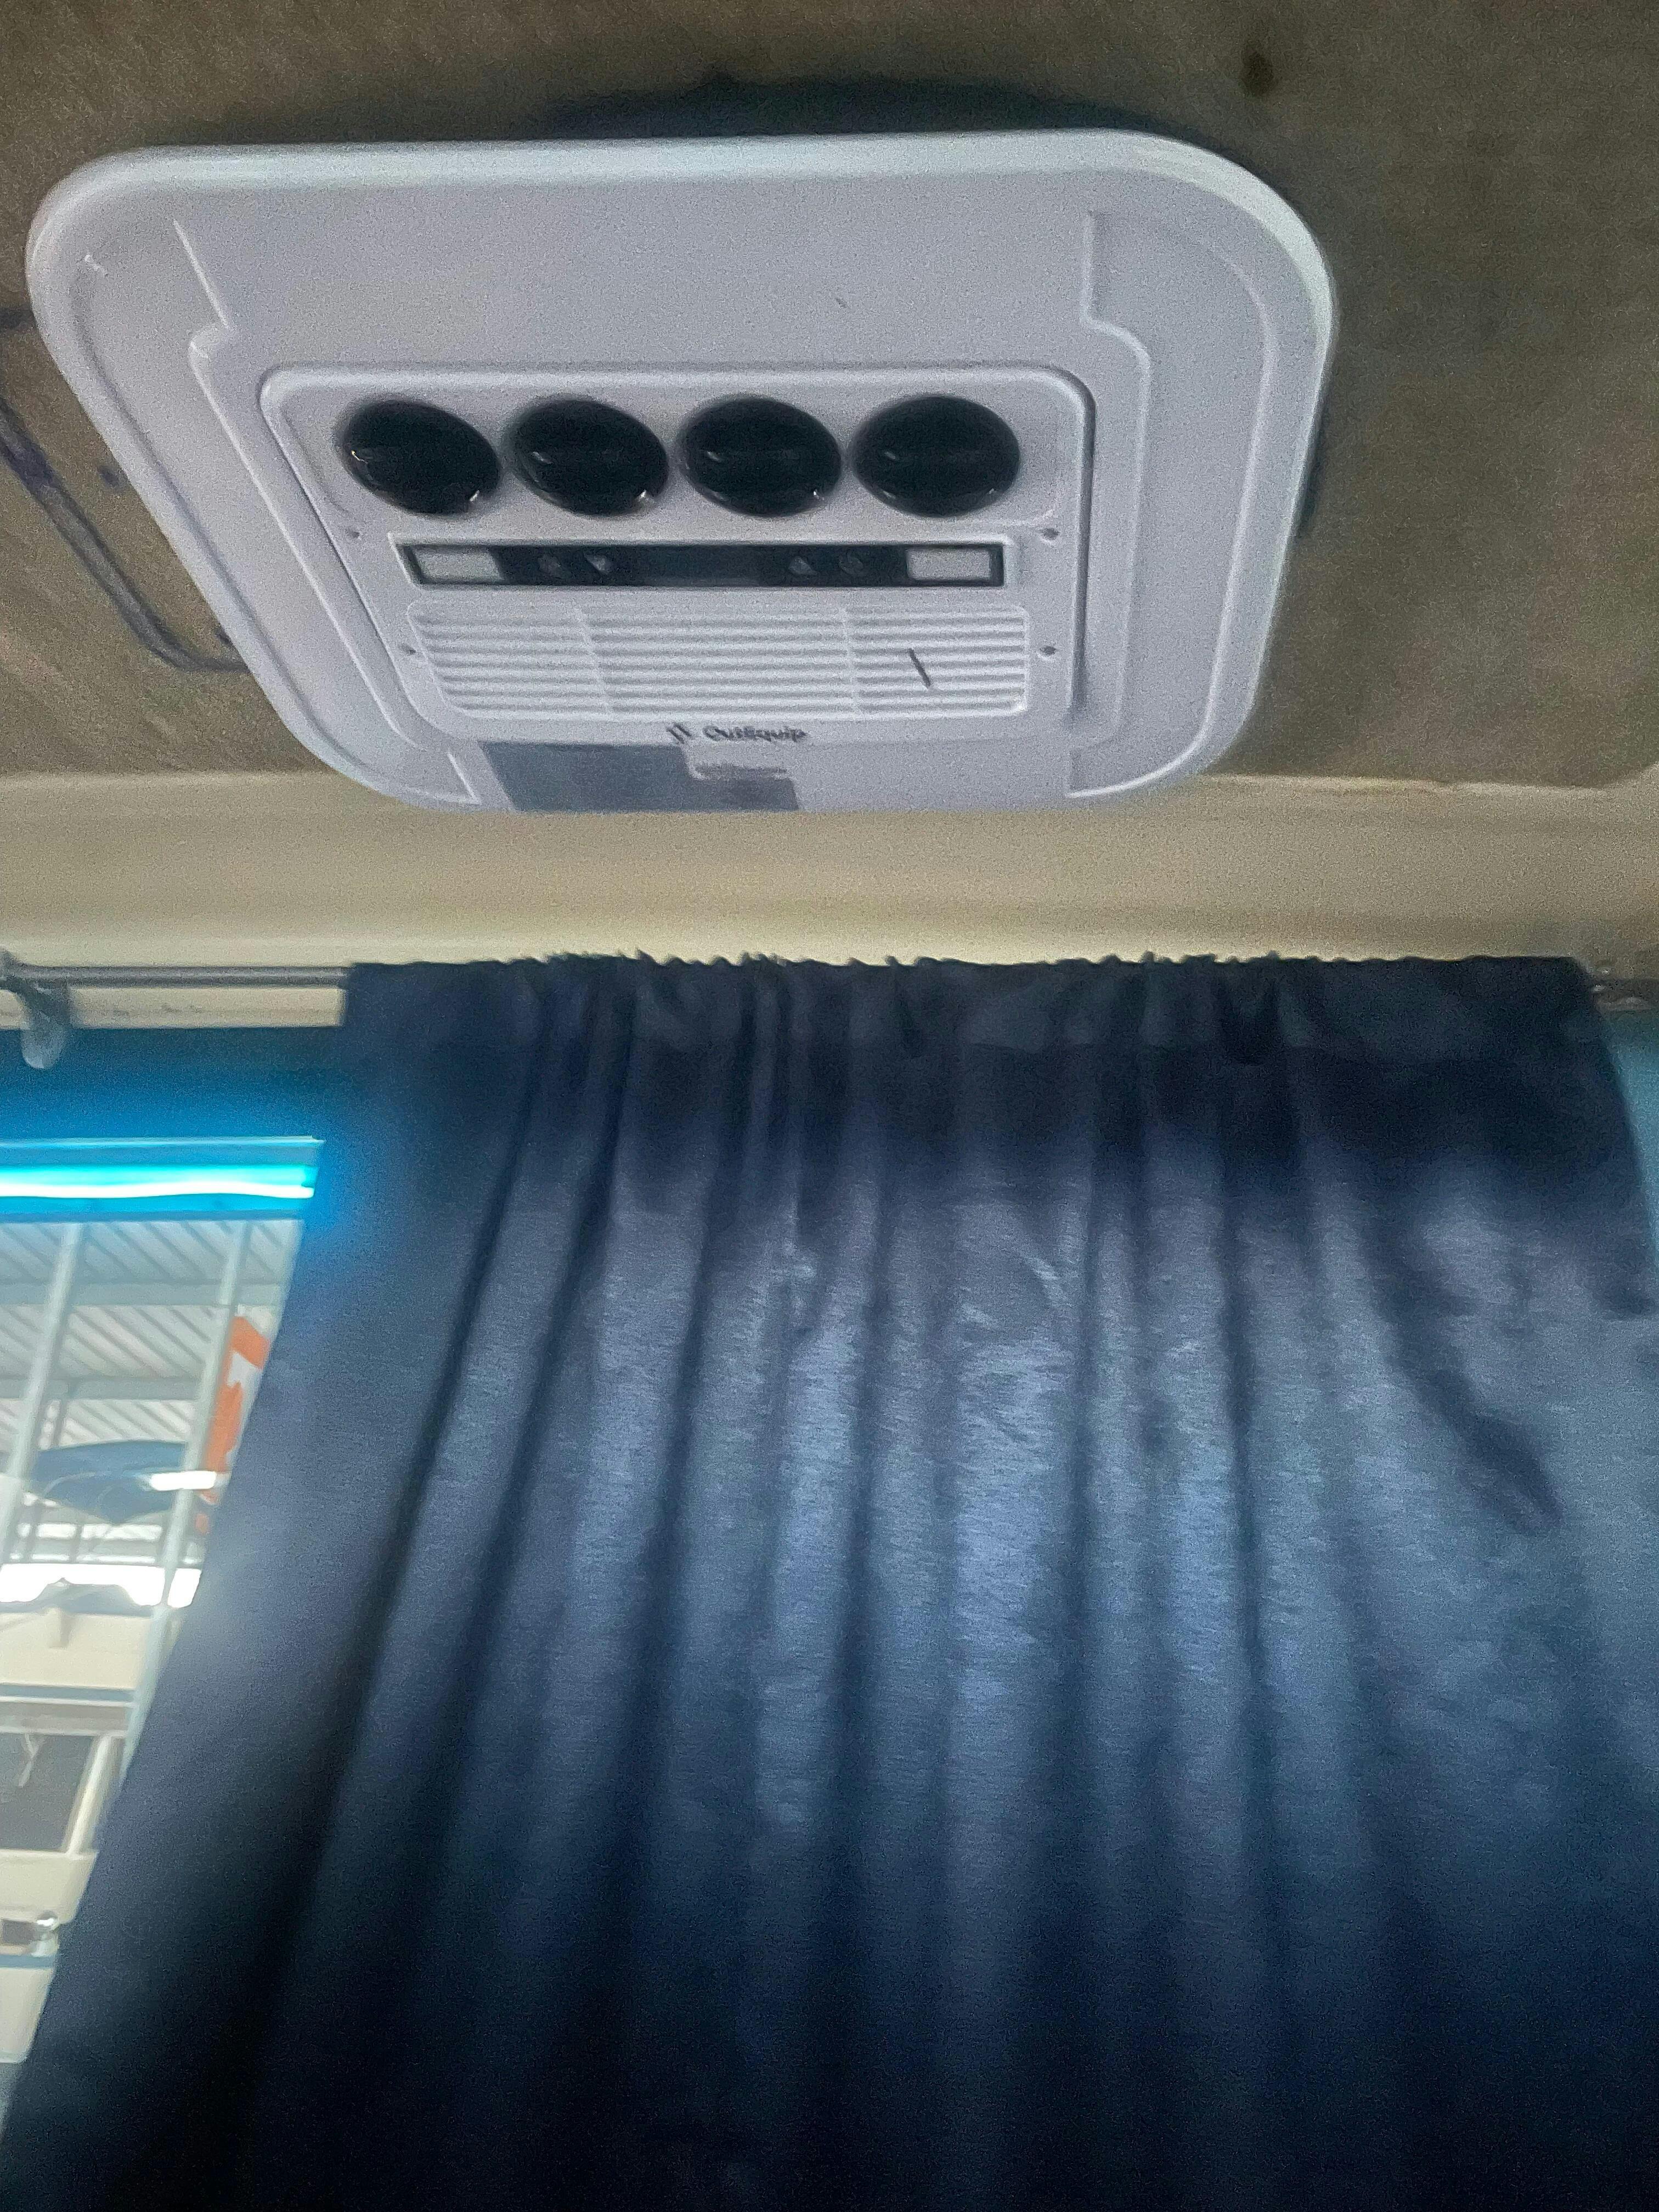
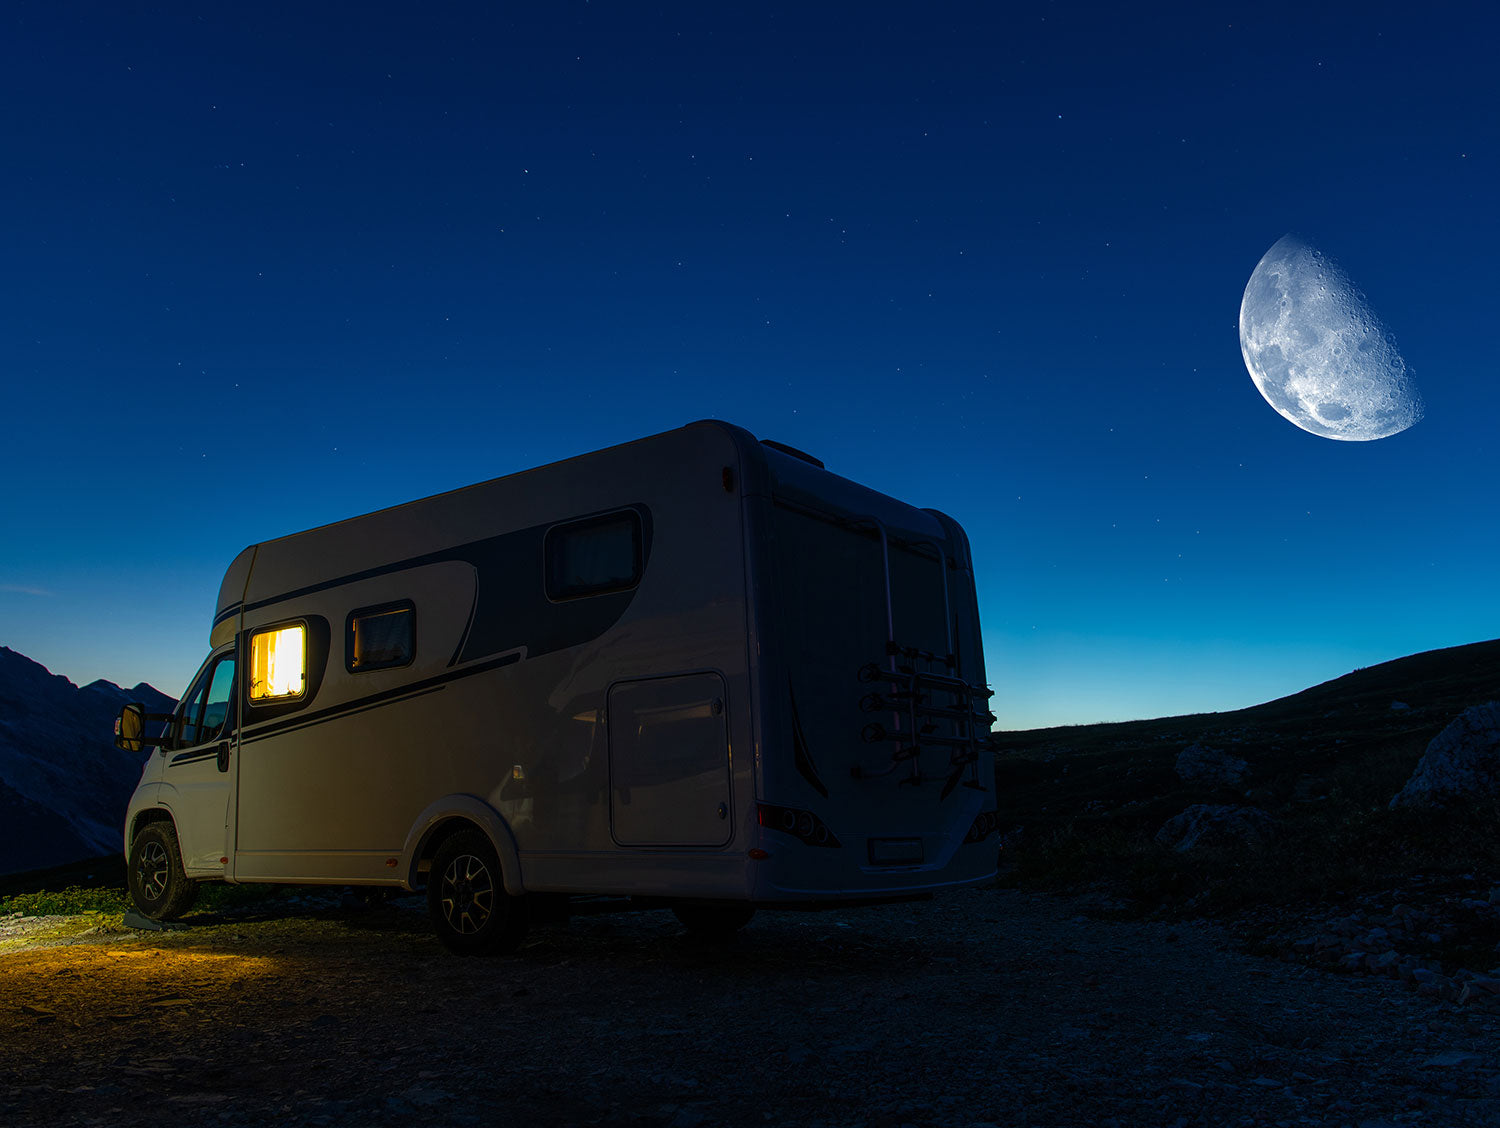
We found the OutEquip air conditioner to be quiet. We mounted it in the front of our Campervan where we spend most of our time and testing of the airflow did make its way to the back of our vehicle. The cooling and heating functions worked as designed. The product comes with a remote control and operating instructions for the OutEquip air conditioner. When it comes to cooling, it ultimately comes down to how well your outfit is insulated. Our testing is still ongoing but so far it looks promising.
We do have to say all our questions to OutEquipPro have been answered promptly. They seem to stand behind their products giving you a sense of commitment to customer satisfaction. So far we haven’t been disappointed.
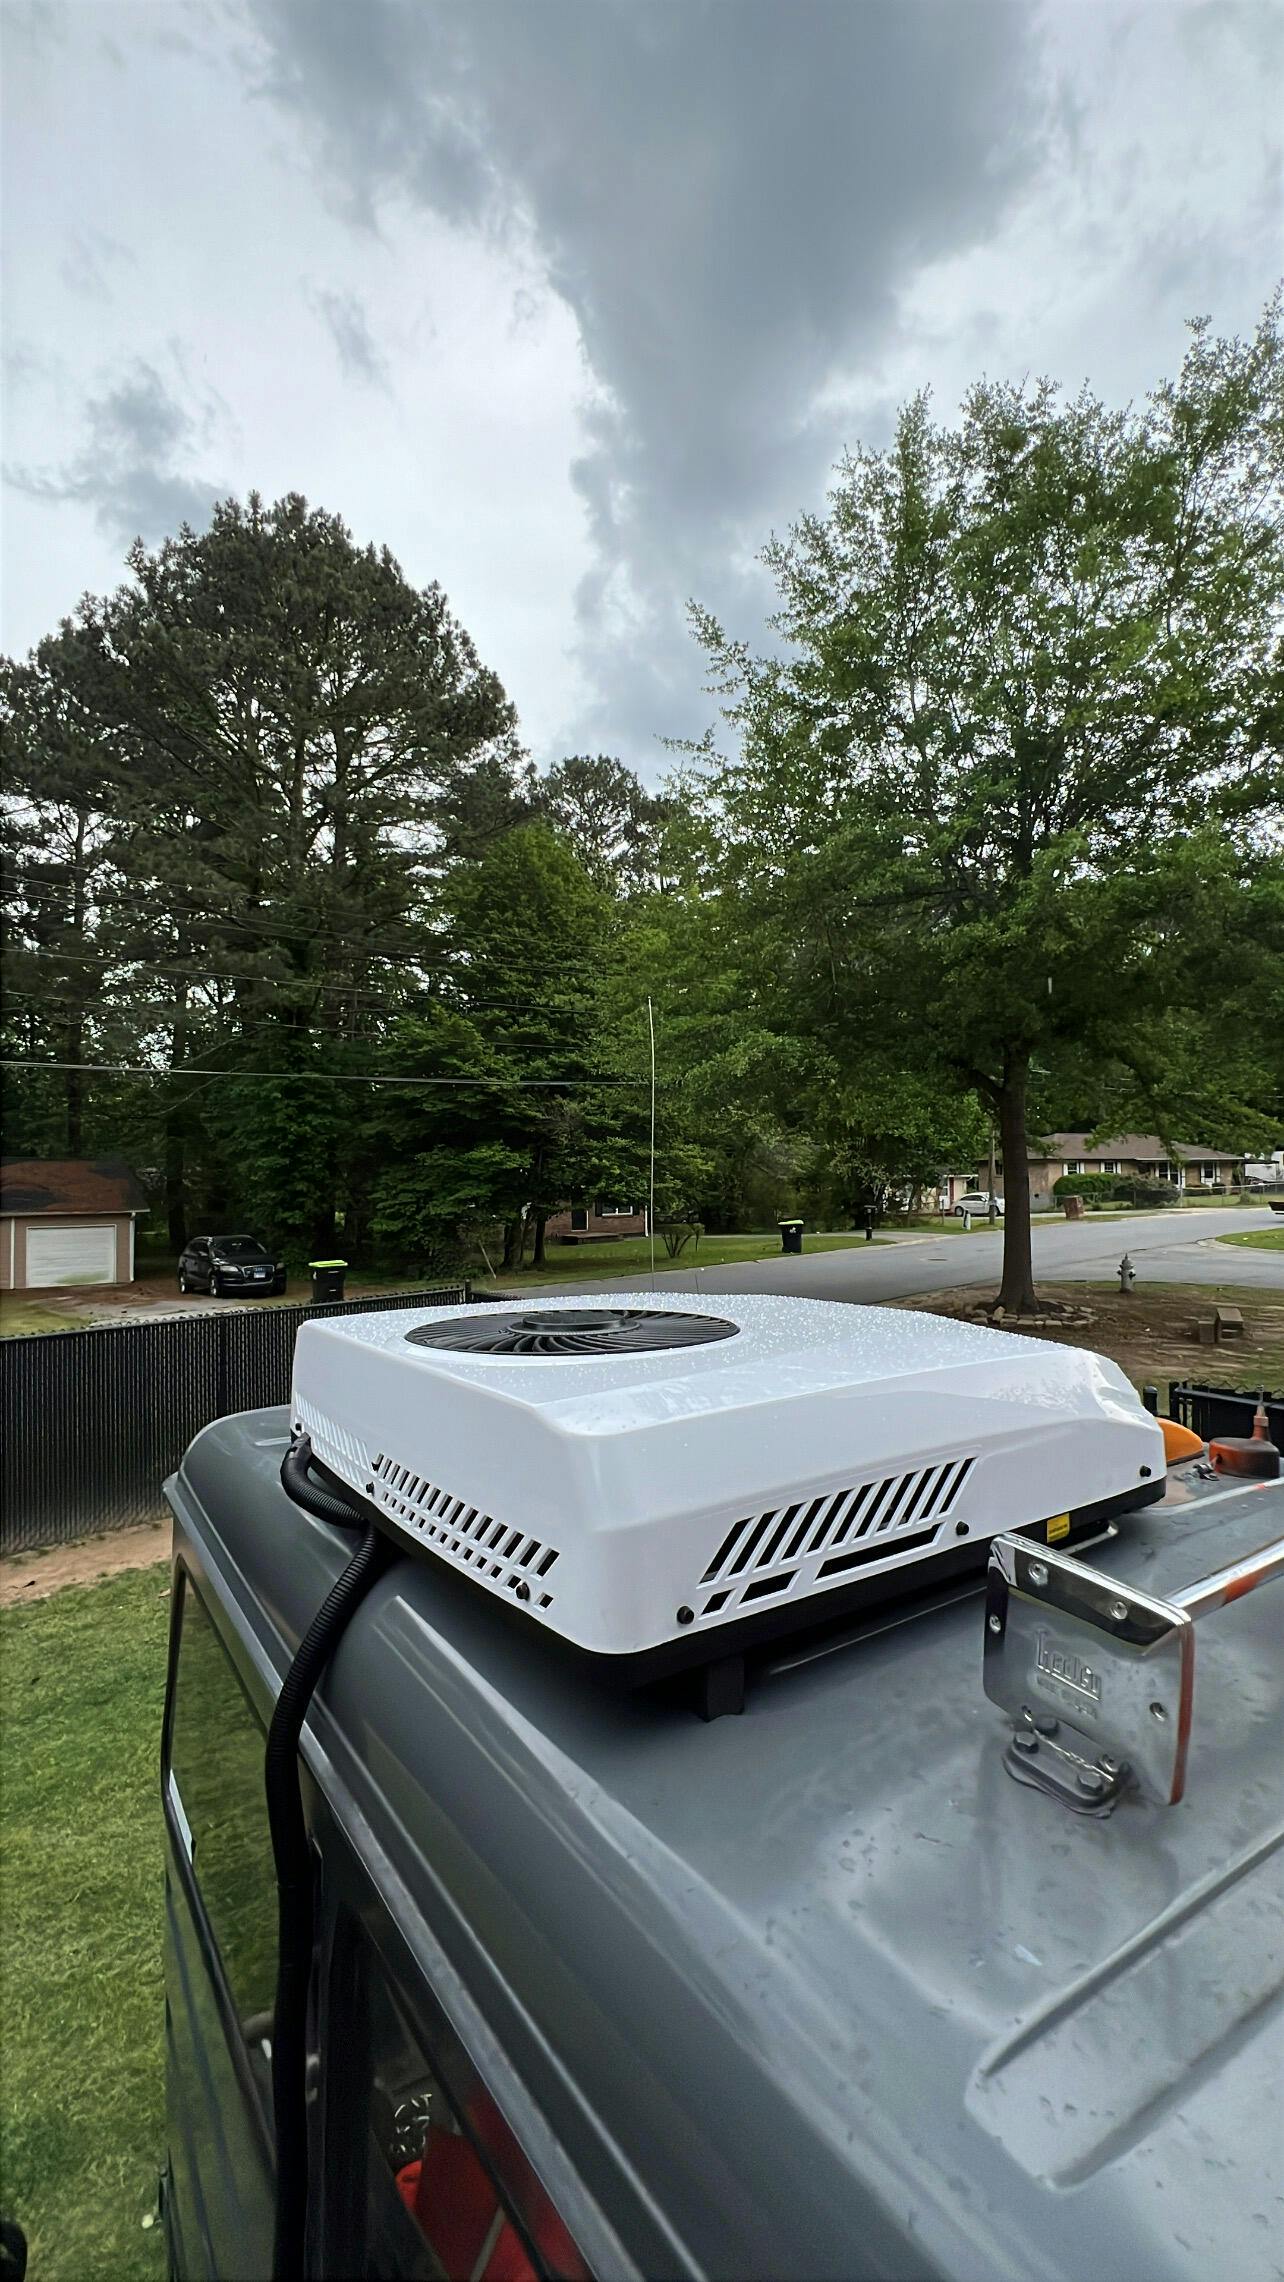
Installation was a simple process , unit works as expected , very pleased with it !
Works well still need to get out camping
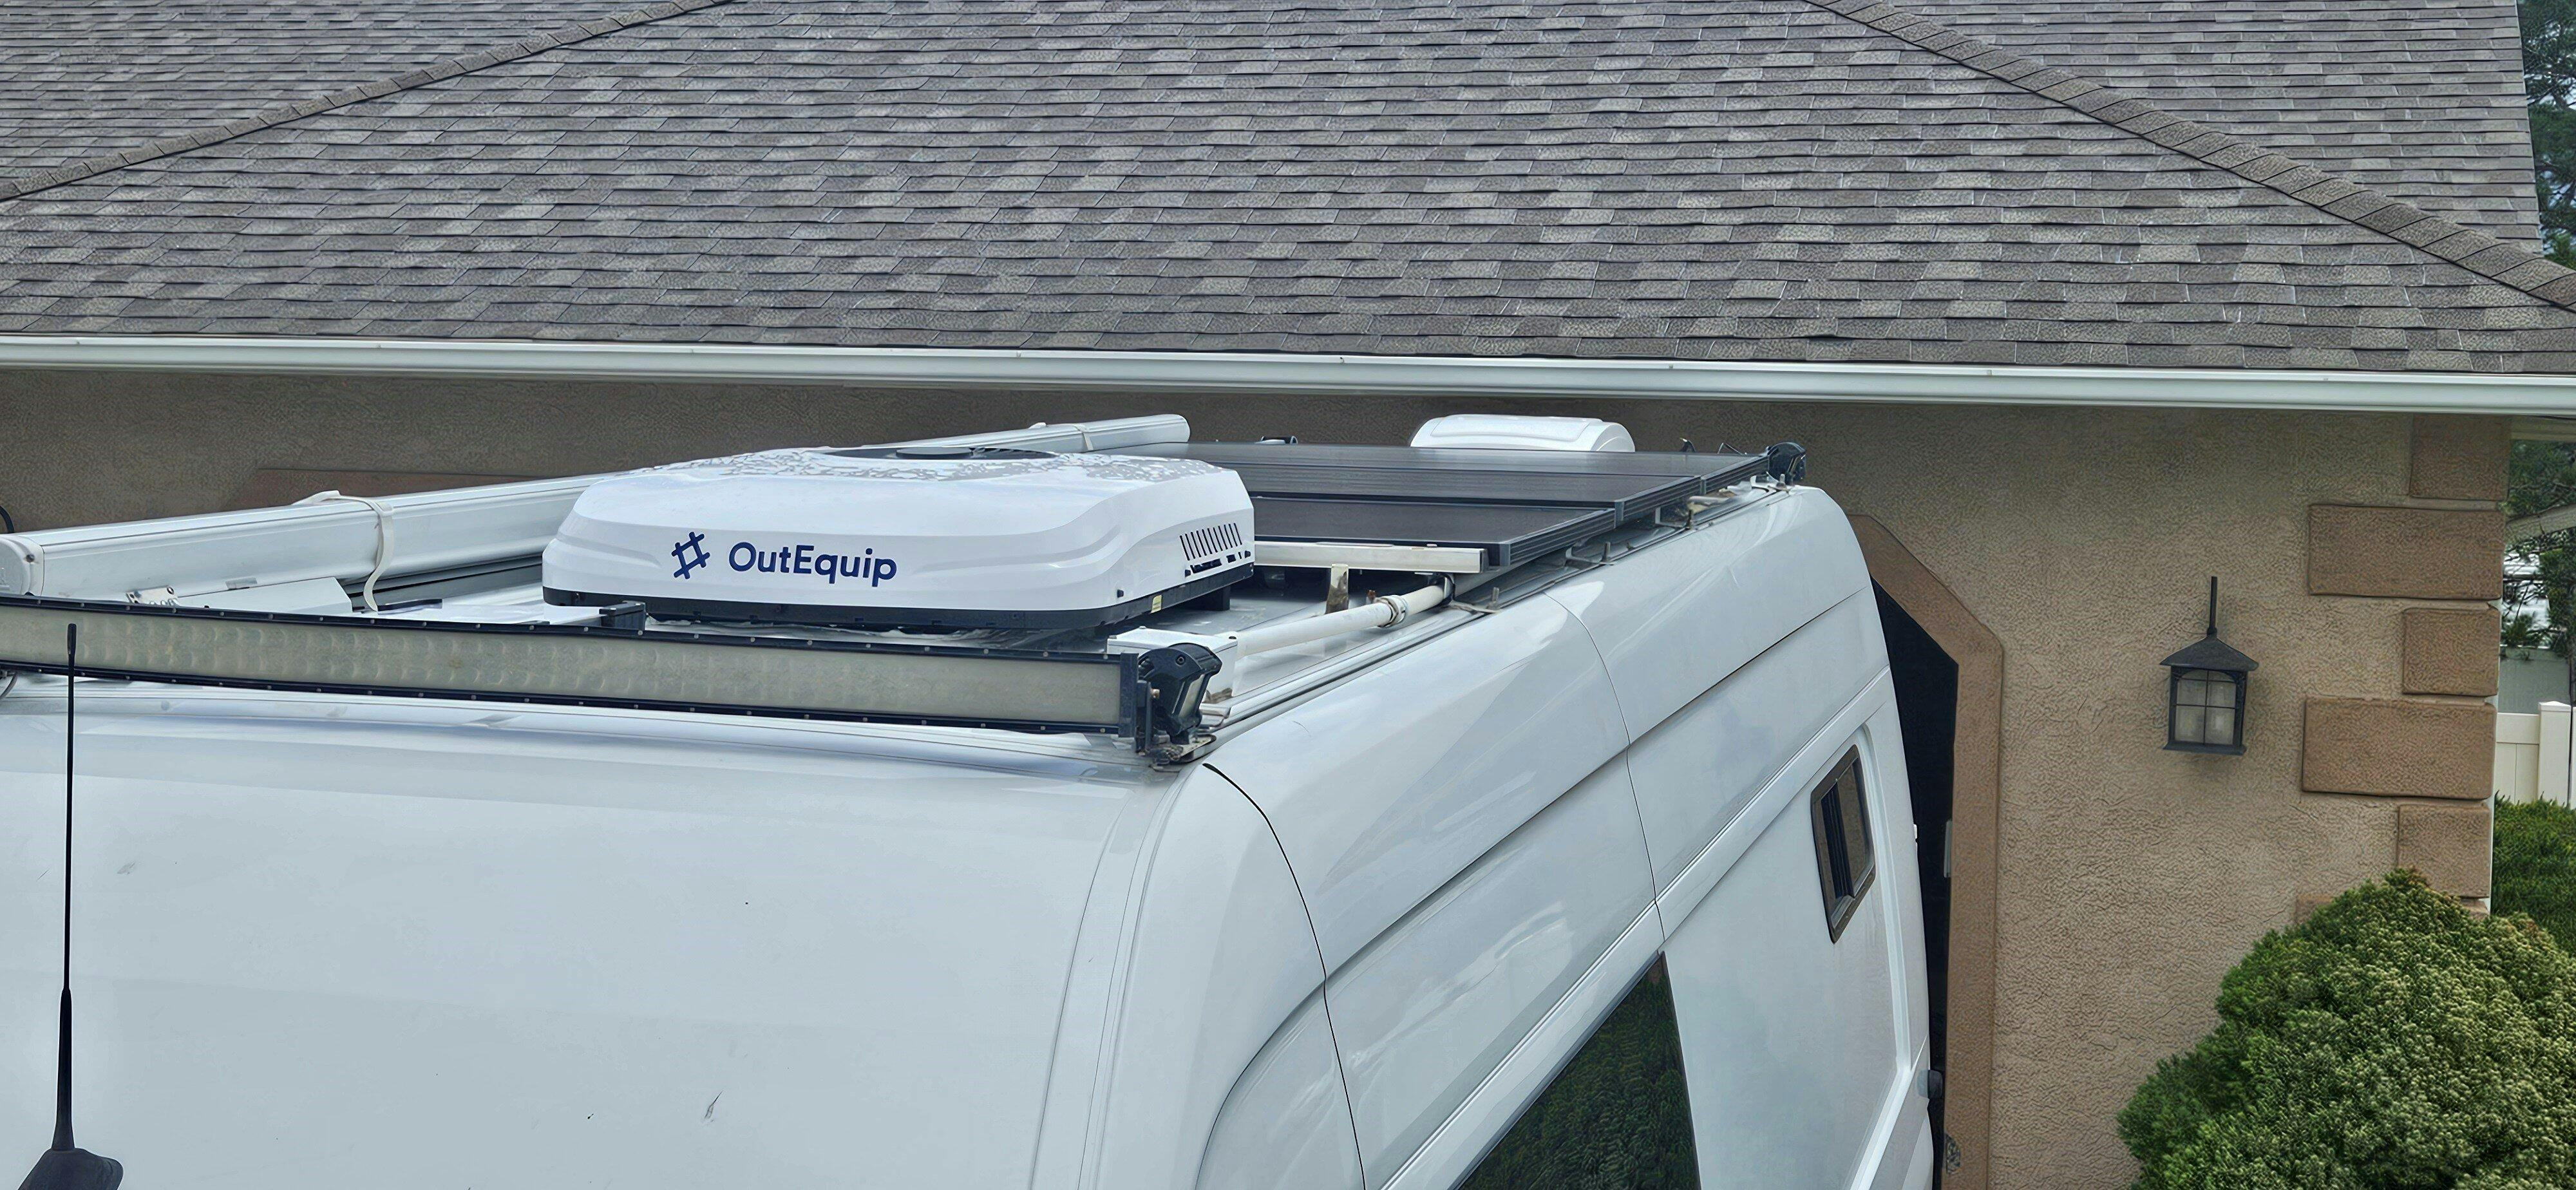
Got this unit in and mounted it on my high roof van. Still working on the interior build, but I’ve already hooked up the AC and tested it a few times. I know some folks wonder if a 12V unit can really cool a van this size, especially in the heat, but with good insulation, it does a solid job. You can see in my photo the ceiling assembly’s already installed, it’s a clean look. The seal feels tight, and no leaks so far. Can’t say how it handles peak summer just yet, but early signs are promising.