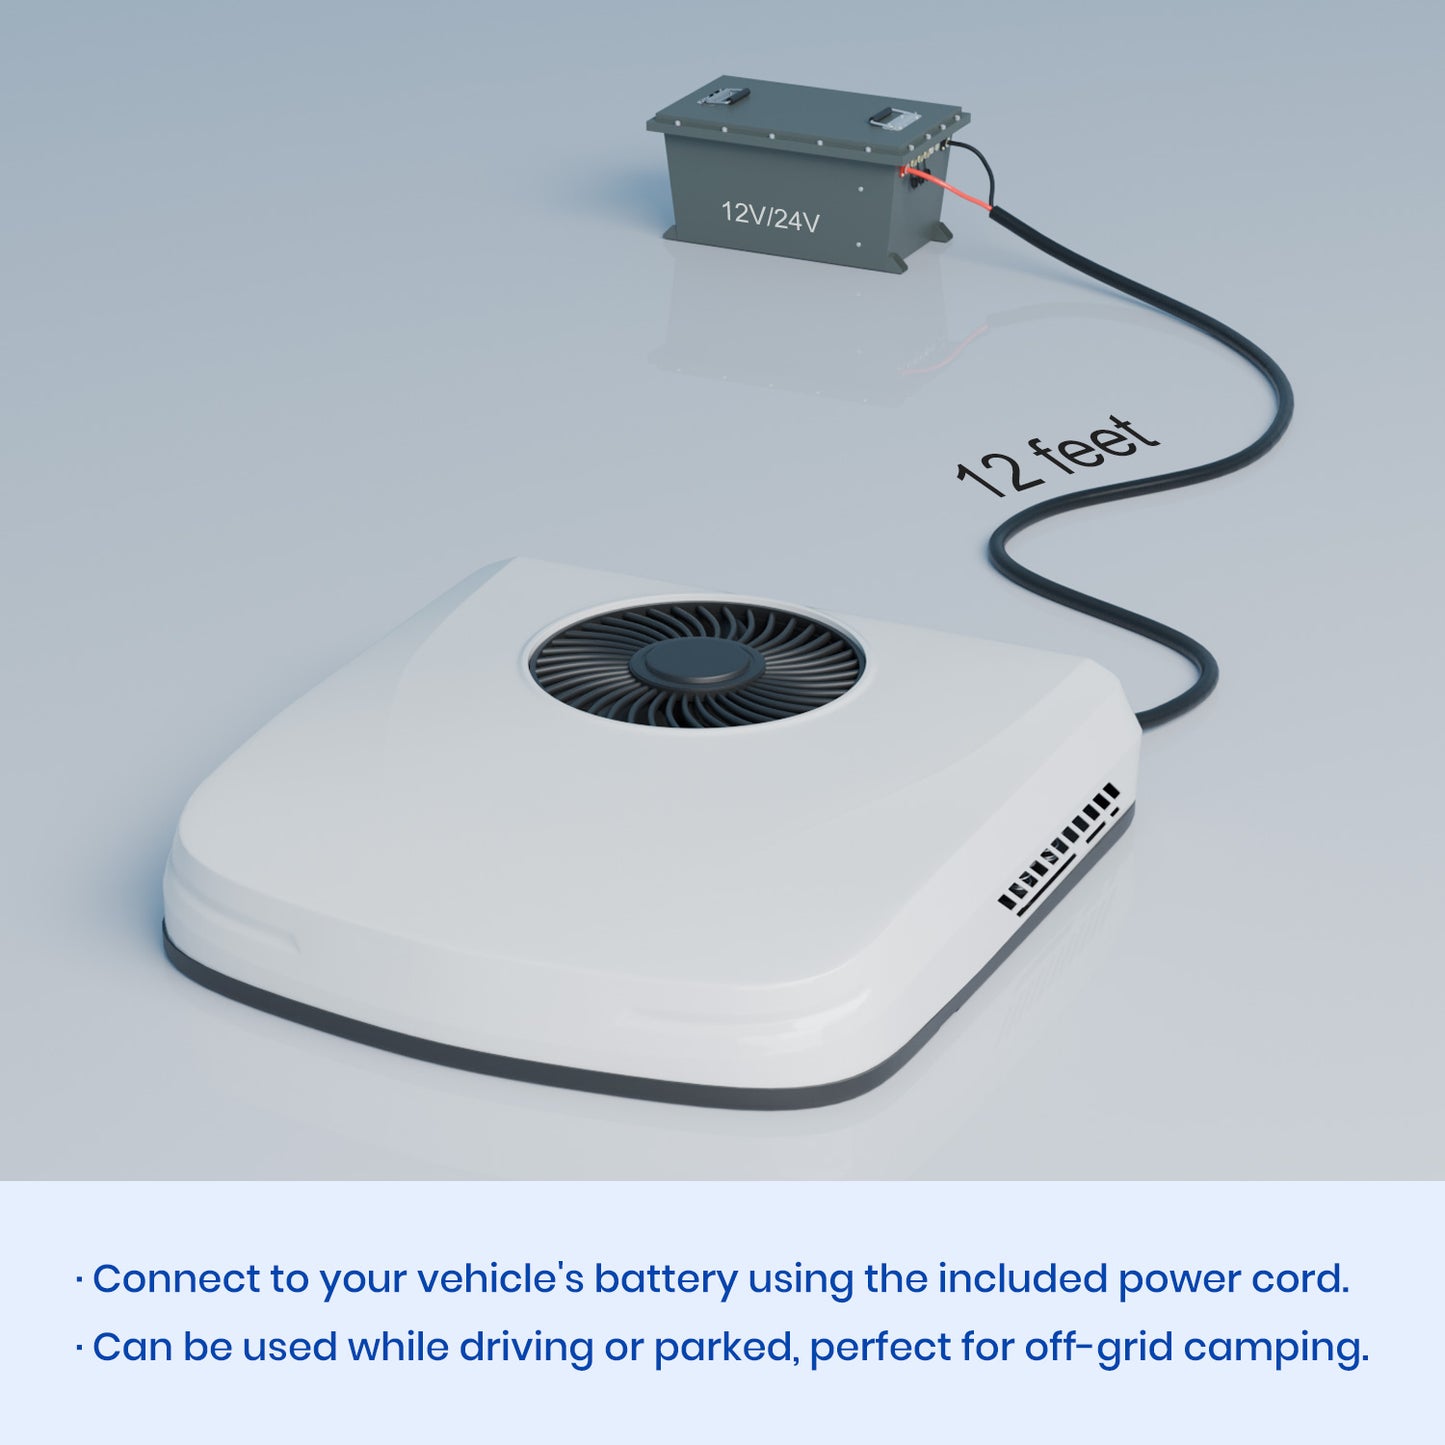
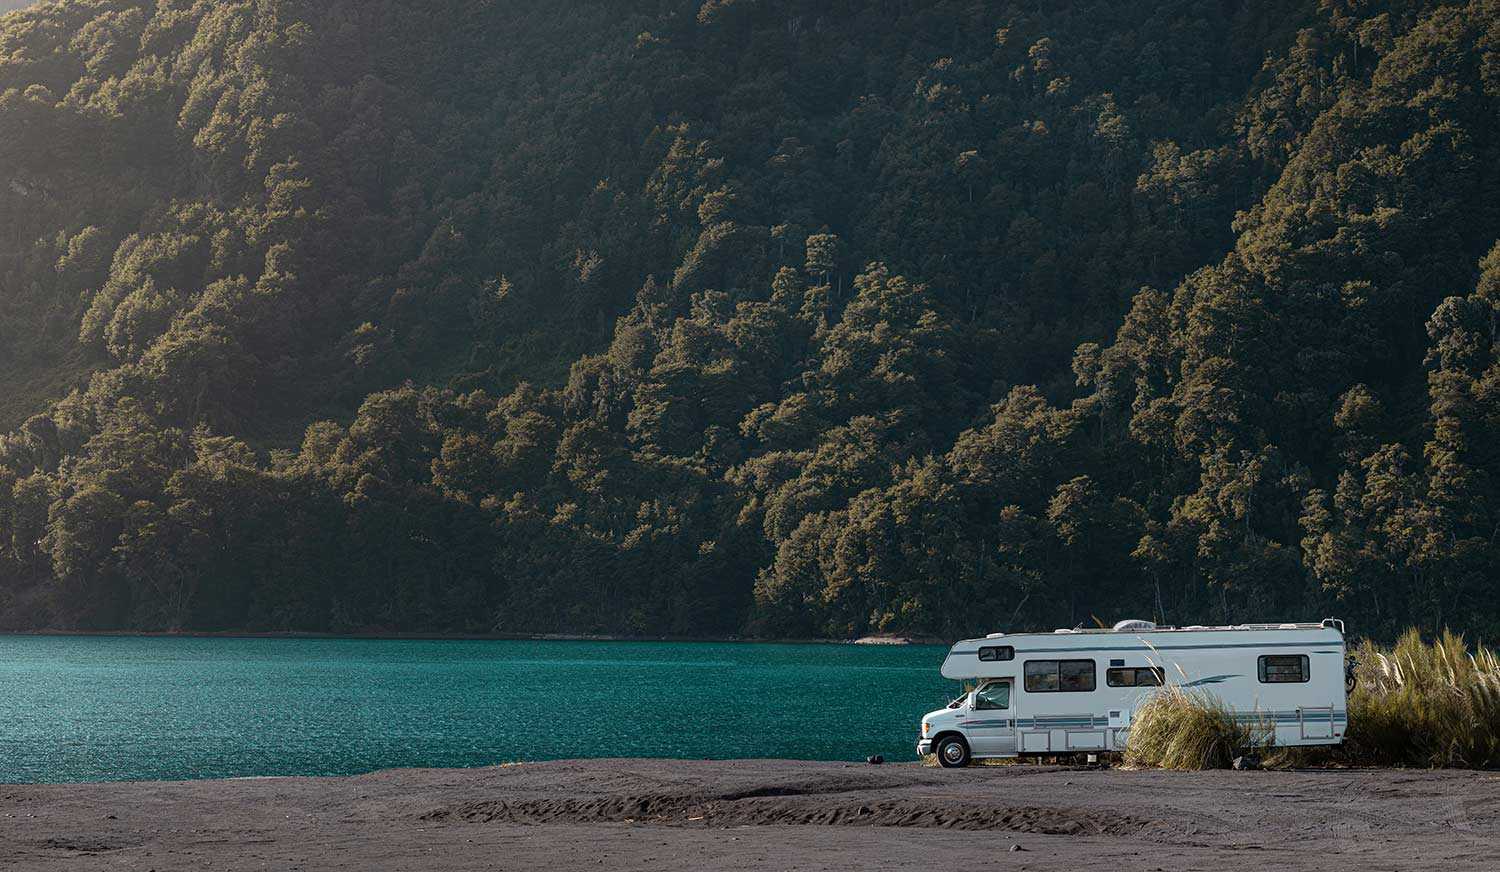
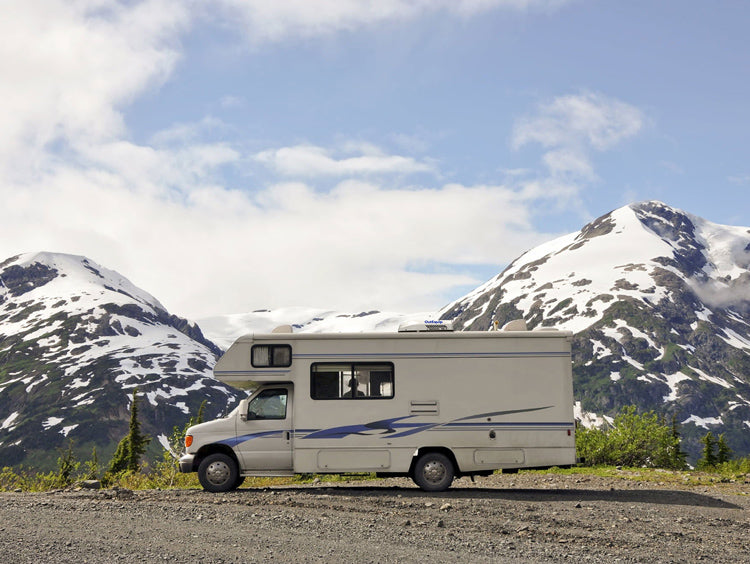
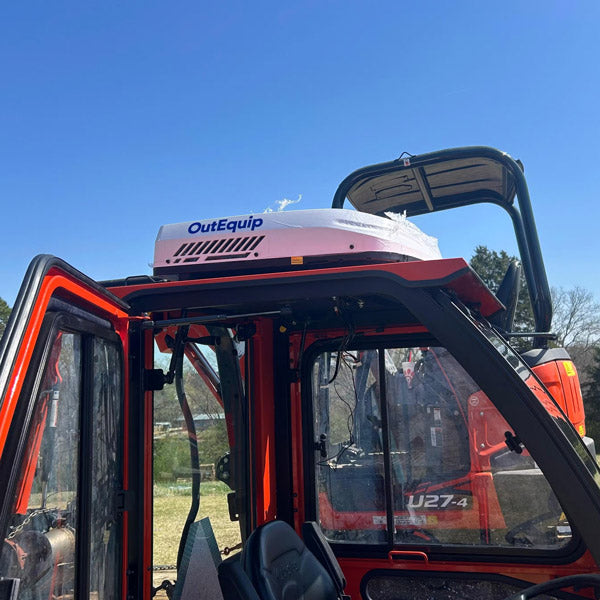
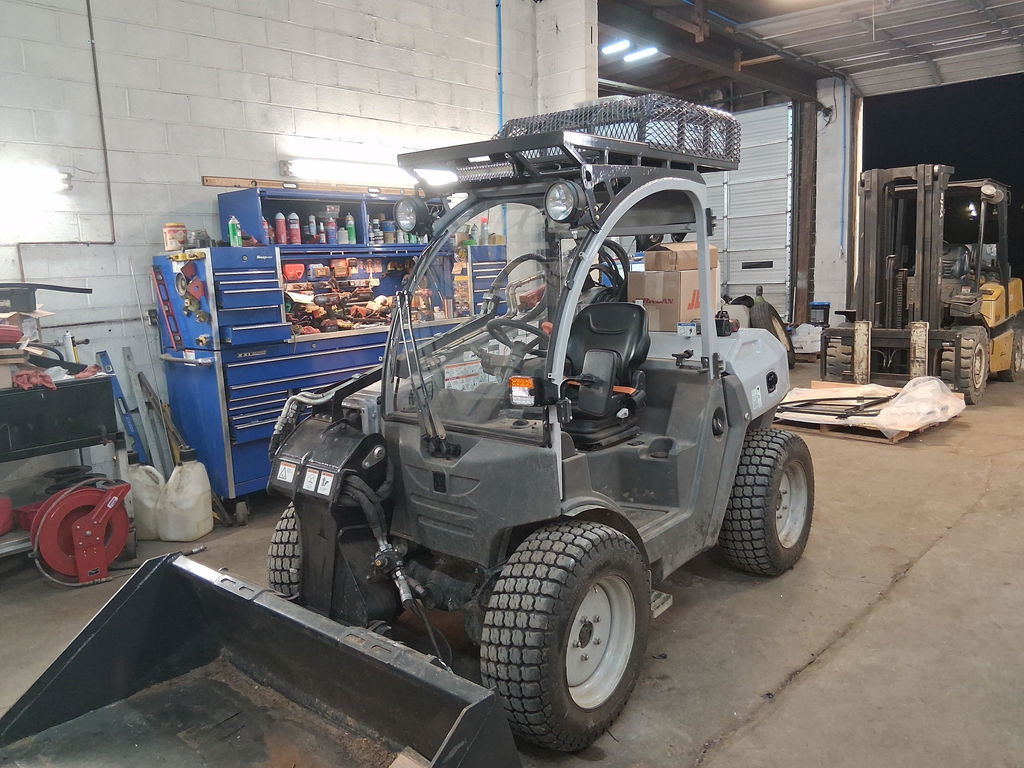
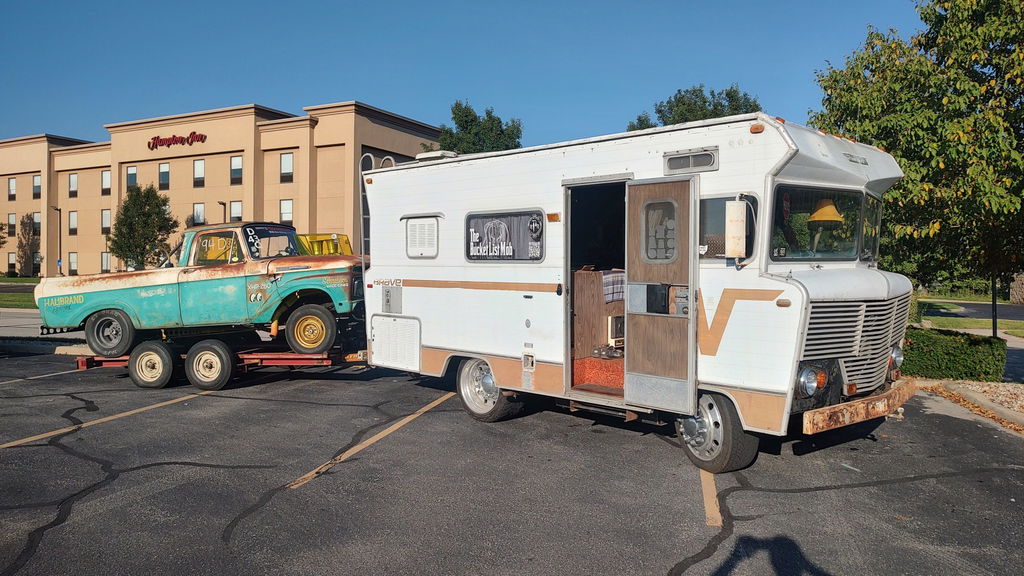
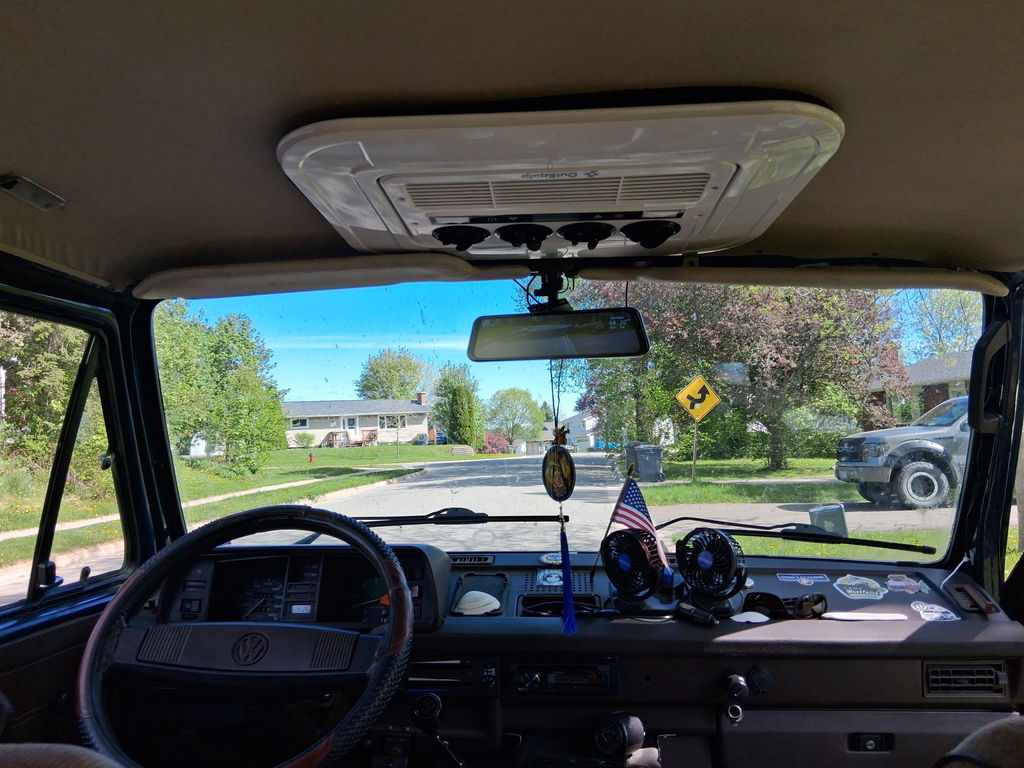
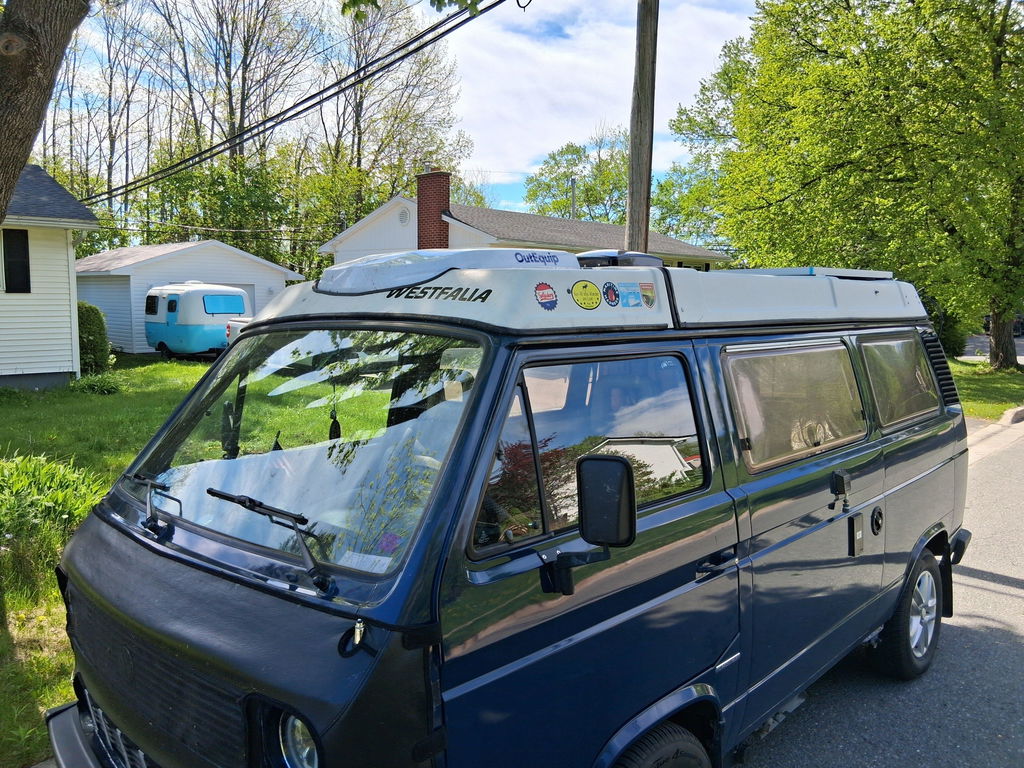
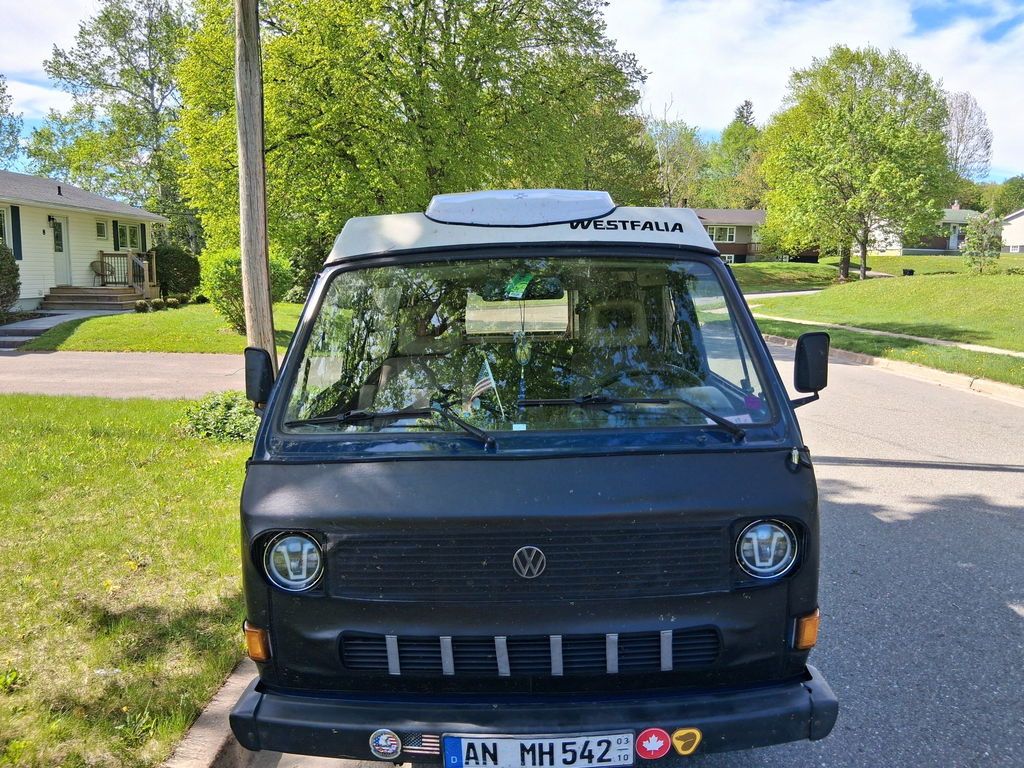
My summer ride is a 1985 Volkswagon Vanagon Westfalia camper. I live on the east coast of Canada and have traveled out to Vancouver and across the United States. My biggest challenge has always been the lack of air conditioning. There aren’t many options for an older vehicle that doesn’t have factory AC.
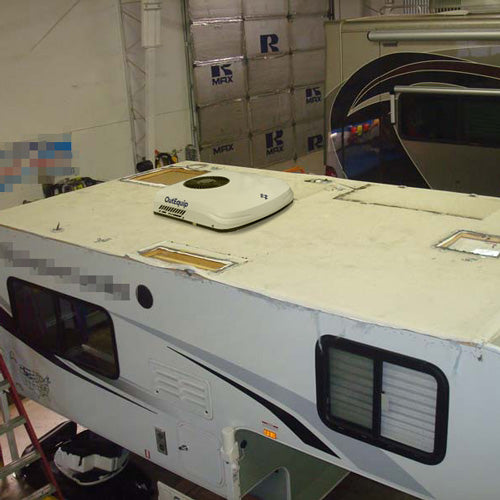
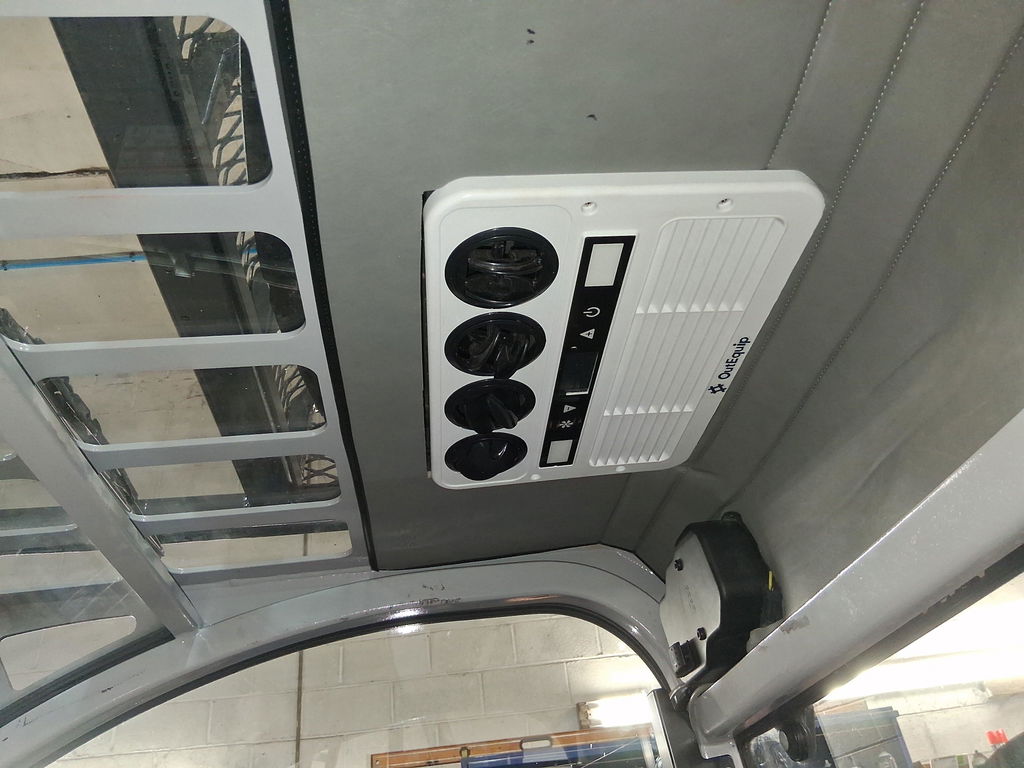
After suffering in the heat for several years I finally came across the OutEquipPro 12Volt unit. The reviews were good, but as an older, retired guy, I had lots of questions. I sent an email one evening and was surprised to find a response in my in-box the very next morning! I went back and forth a few times and after all my questions were answered I felt comfortable ordering the unit which arrived quickly.
In the meantime I ran across an incredible YouTube video by VW Jawbreaker that showed how to install the OutEquipPro AC in an old VW bus. That really helped a lot with my install. I already had a solar system in my van, but added a dc to dc charger.
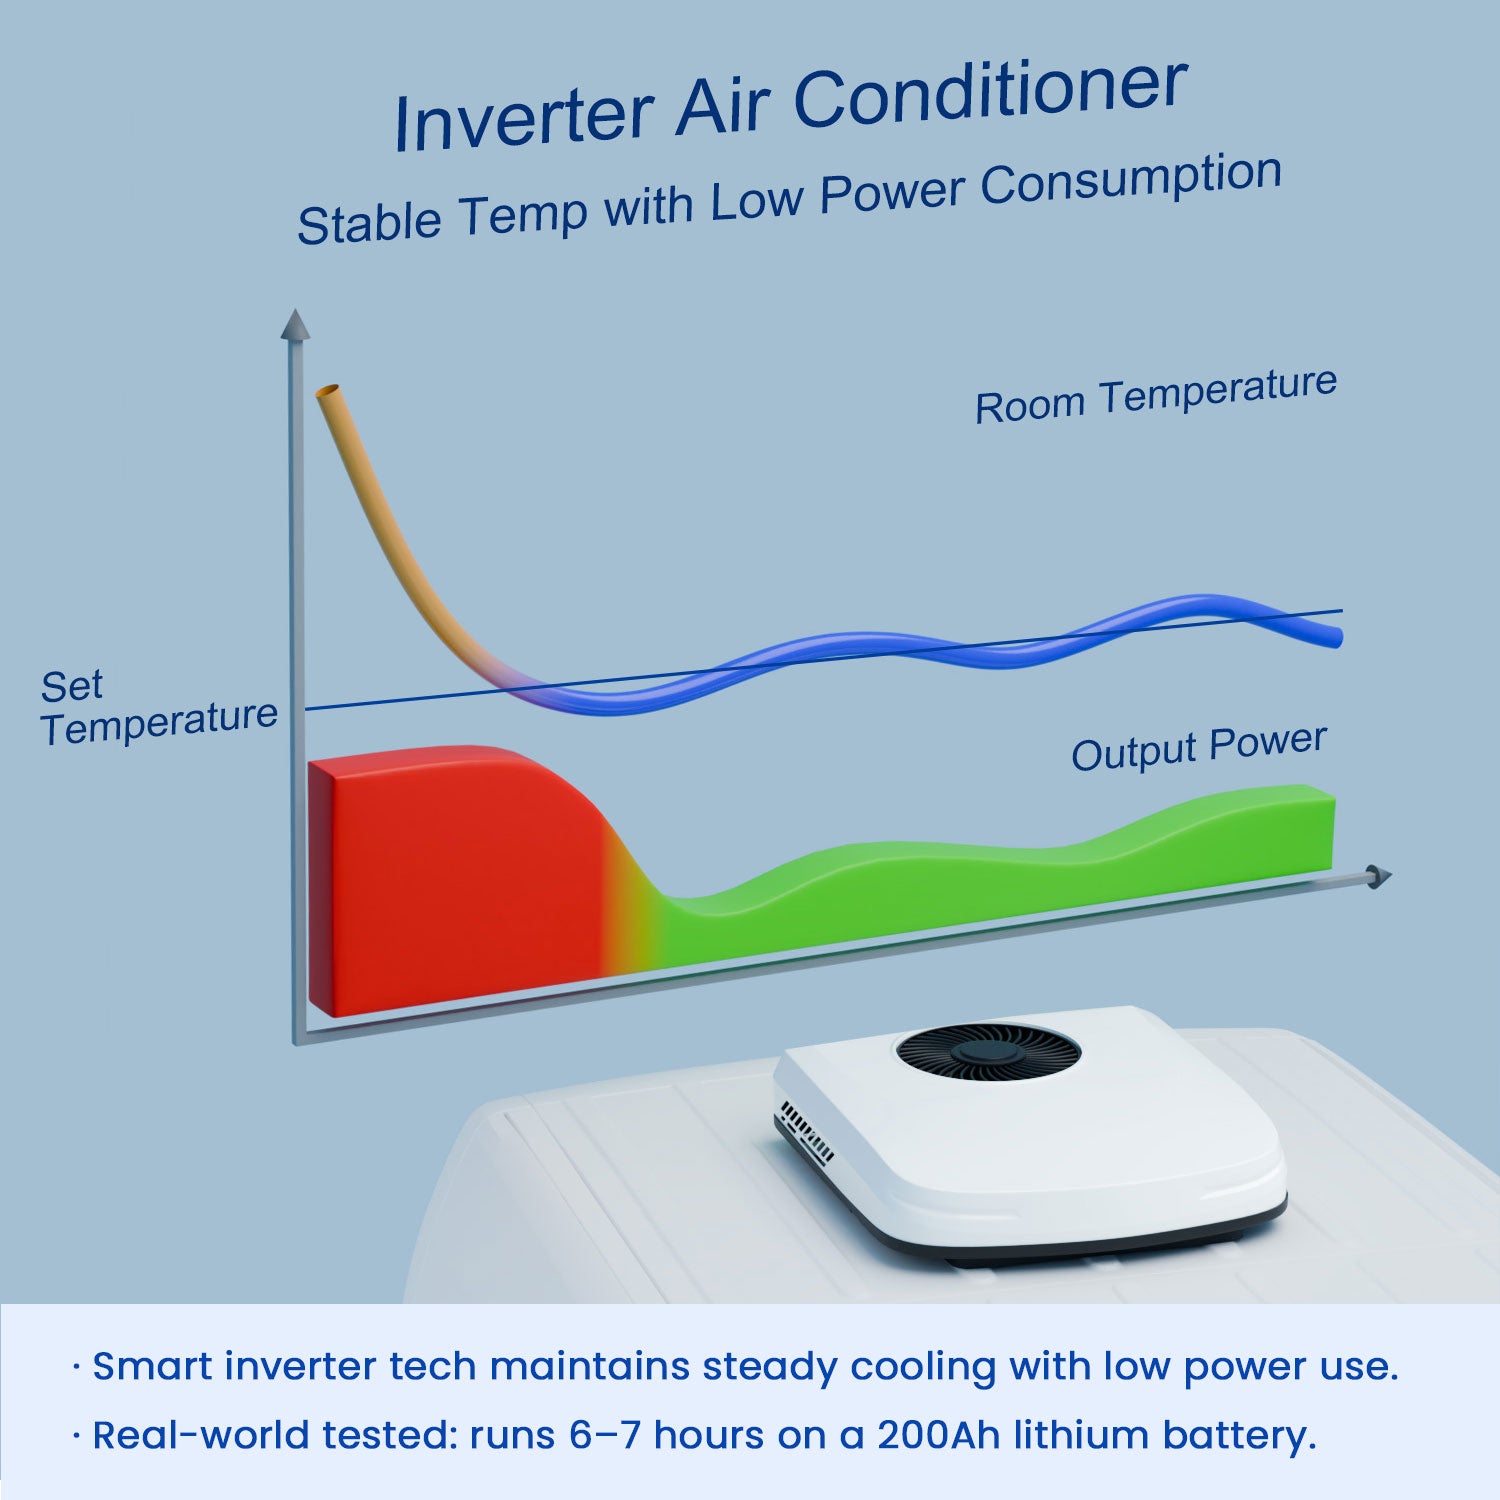
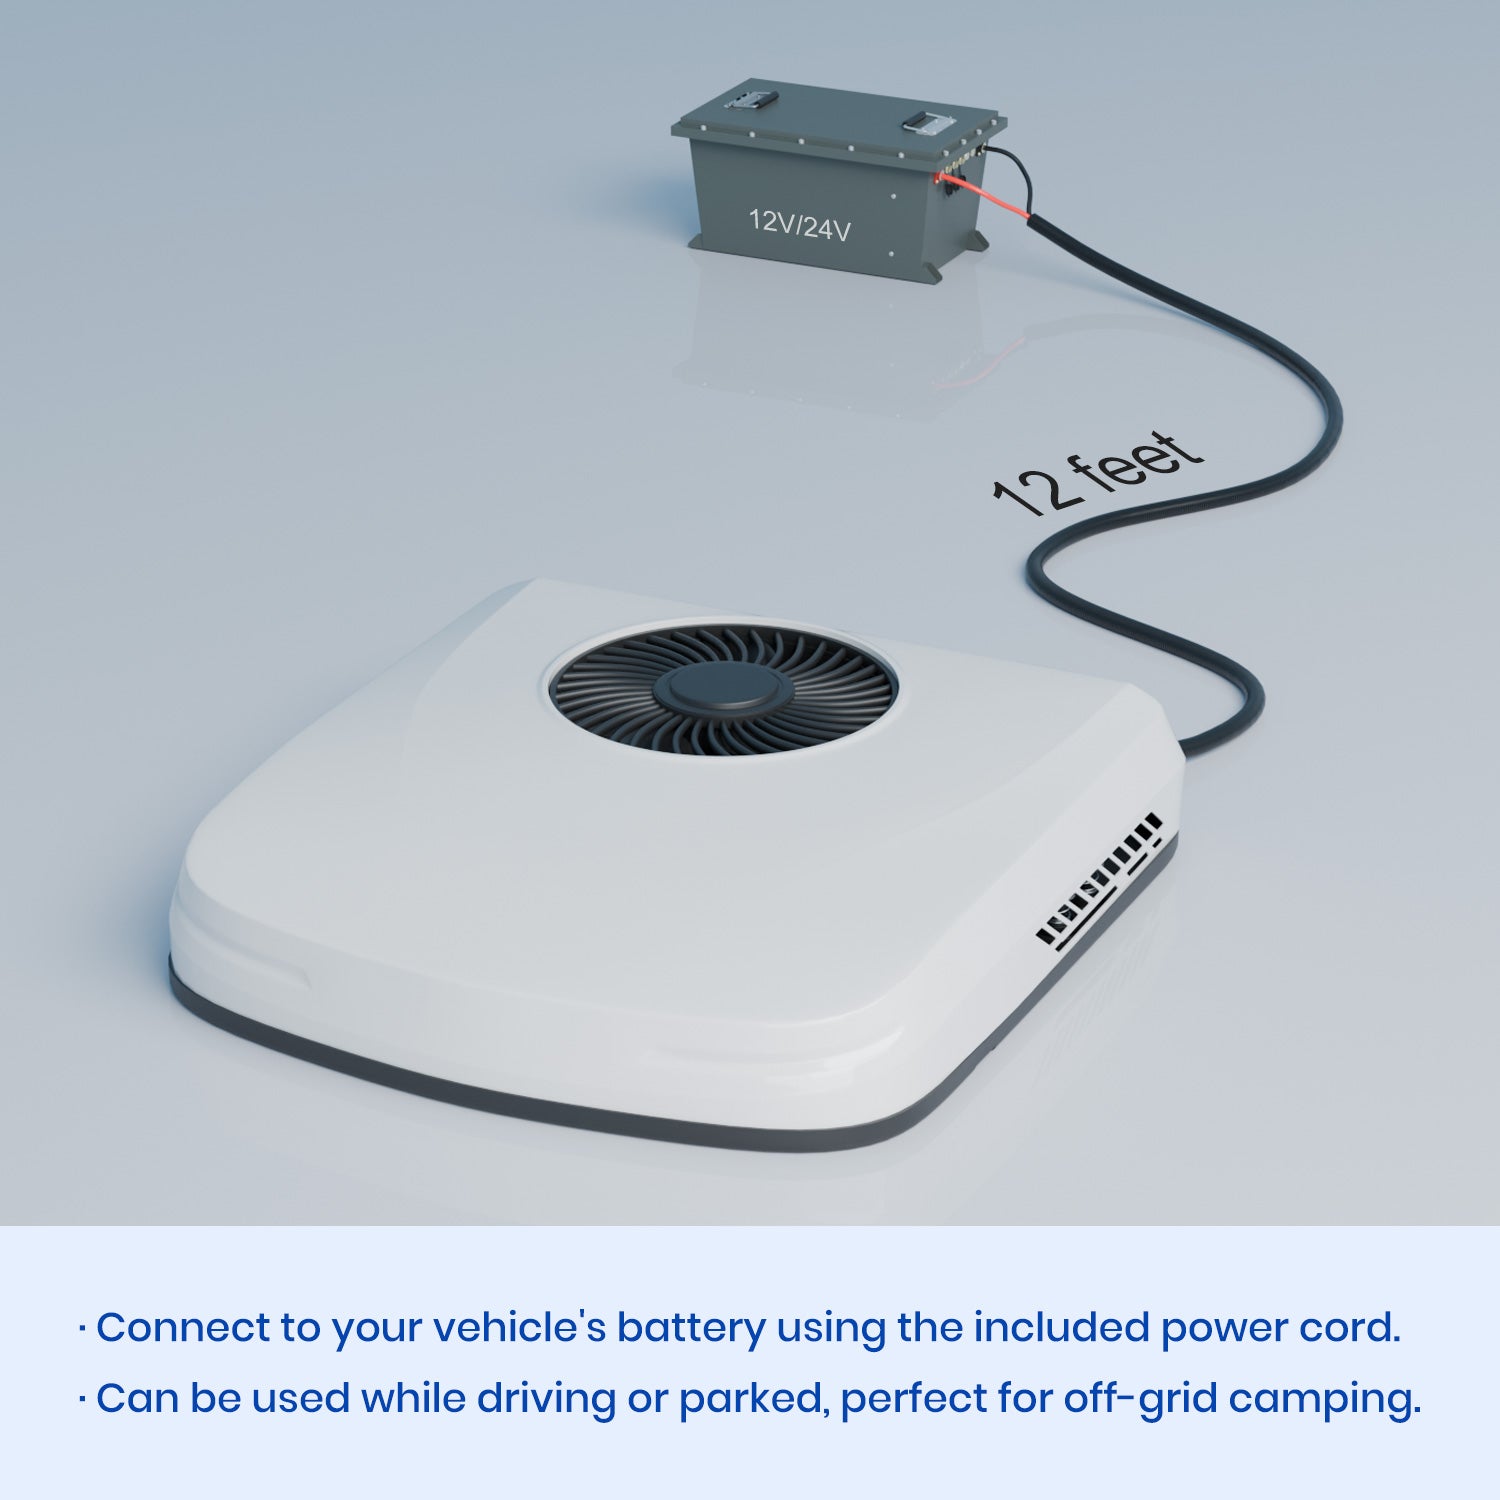
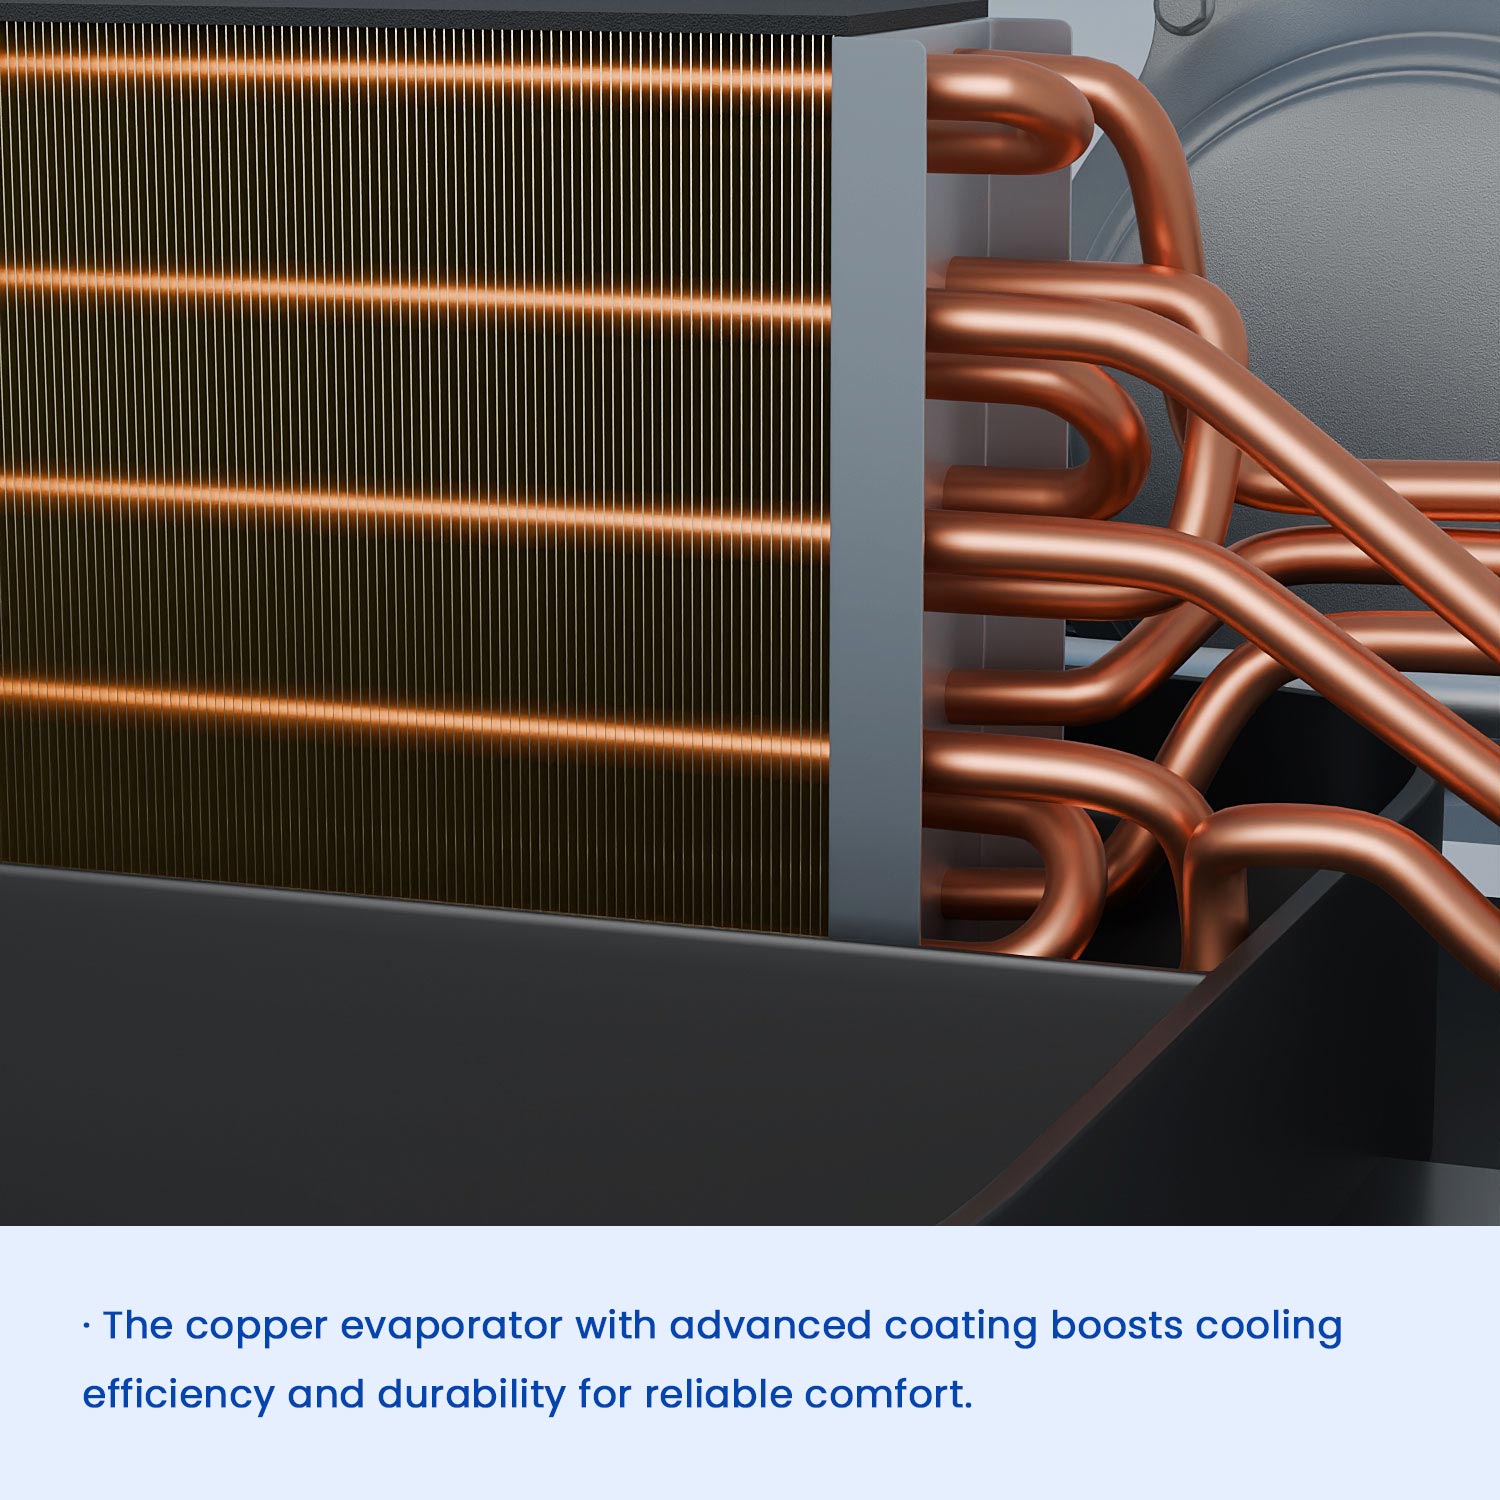
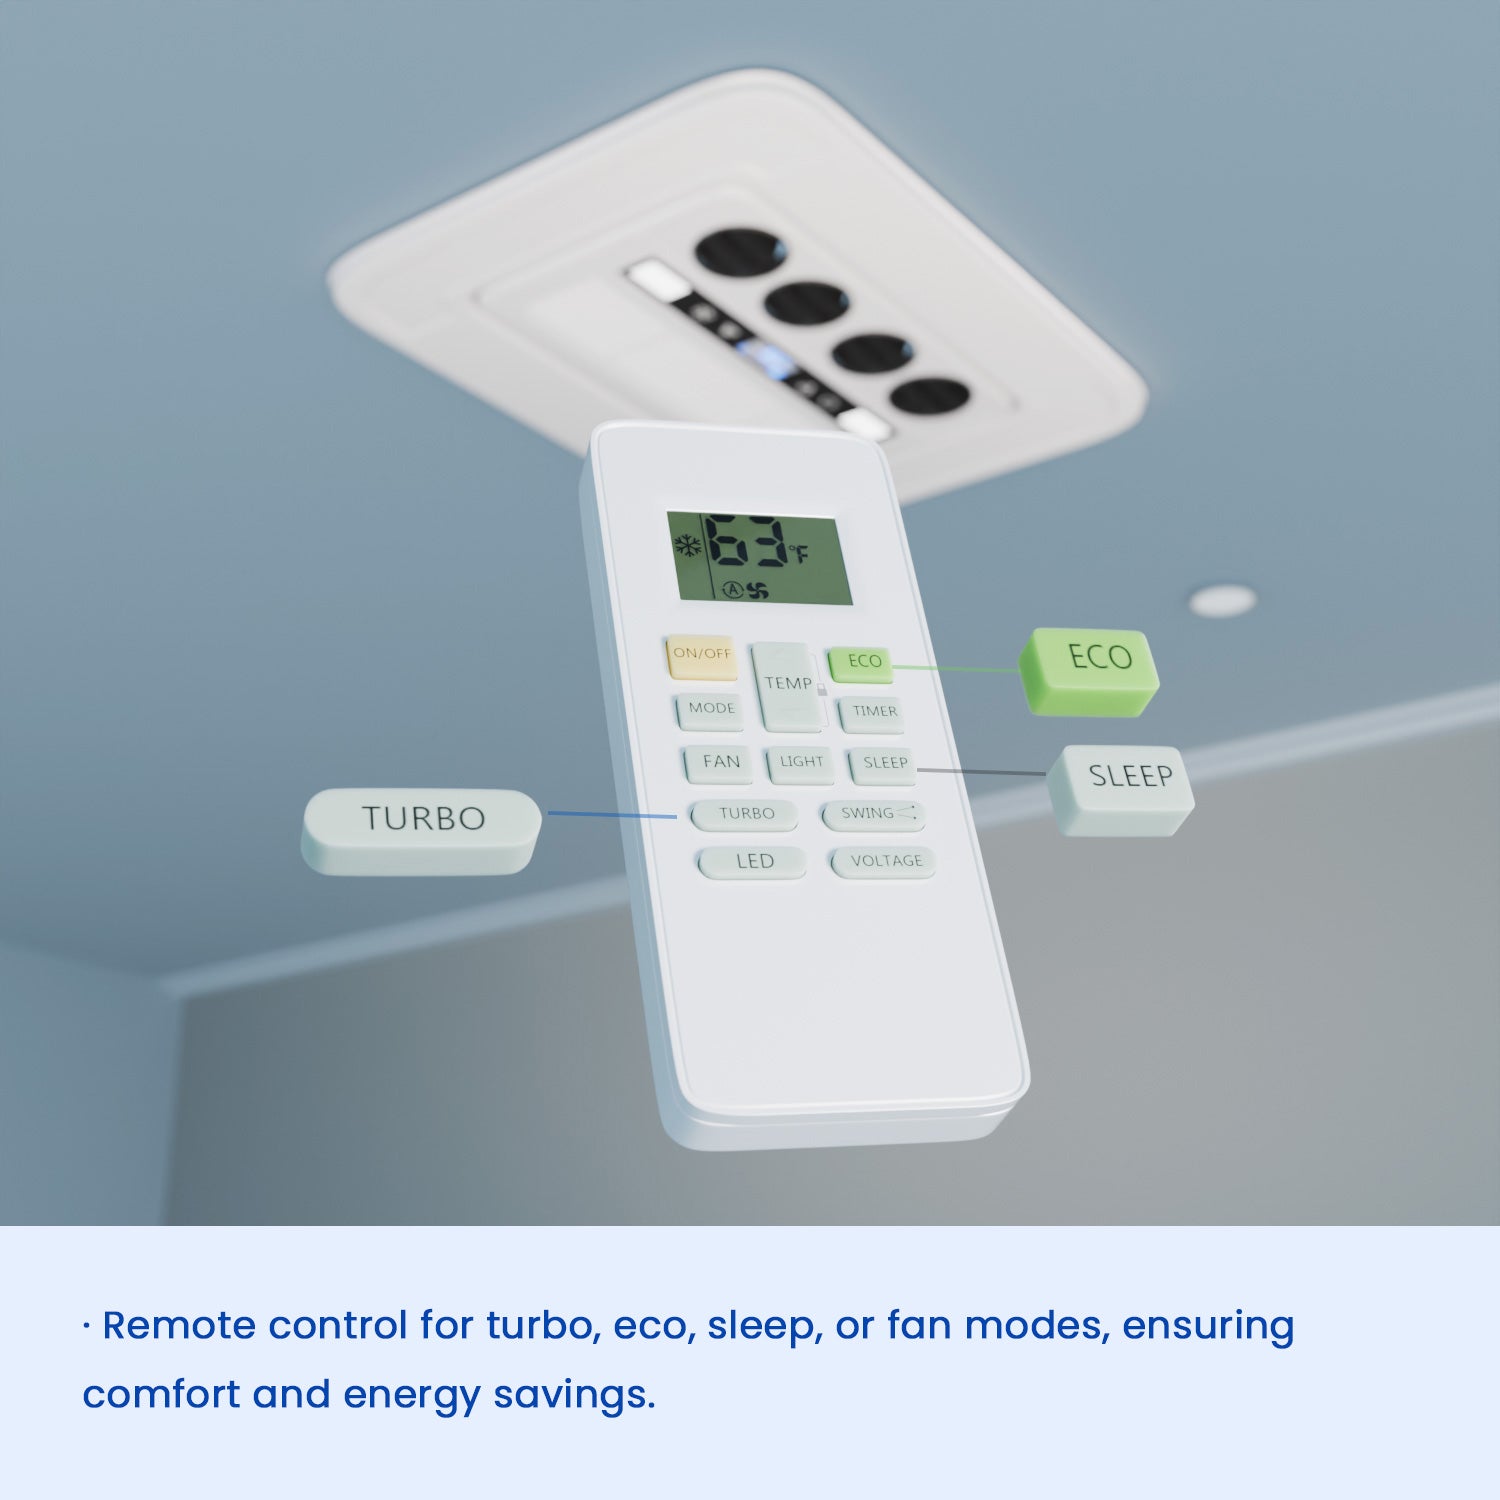
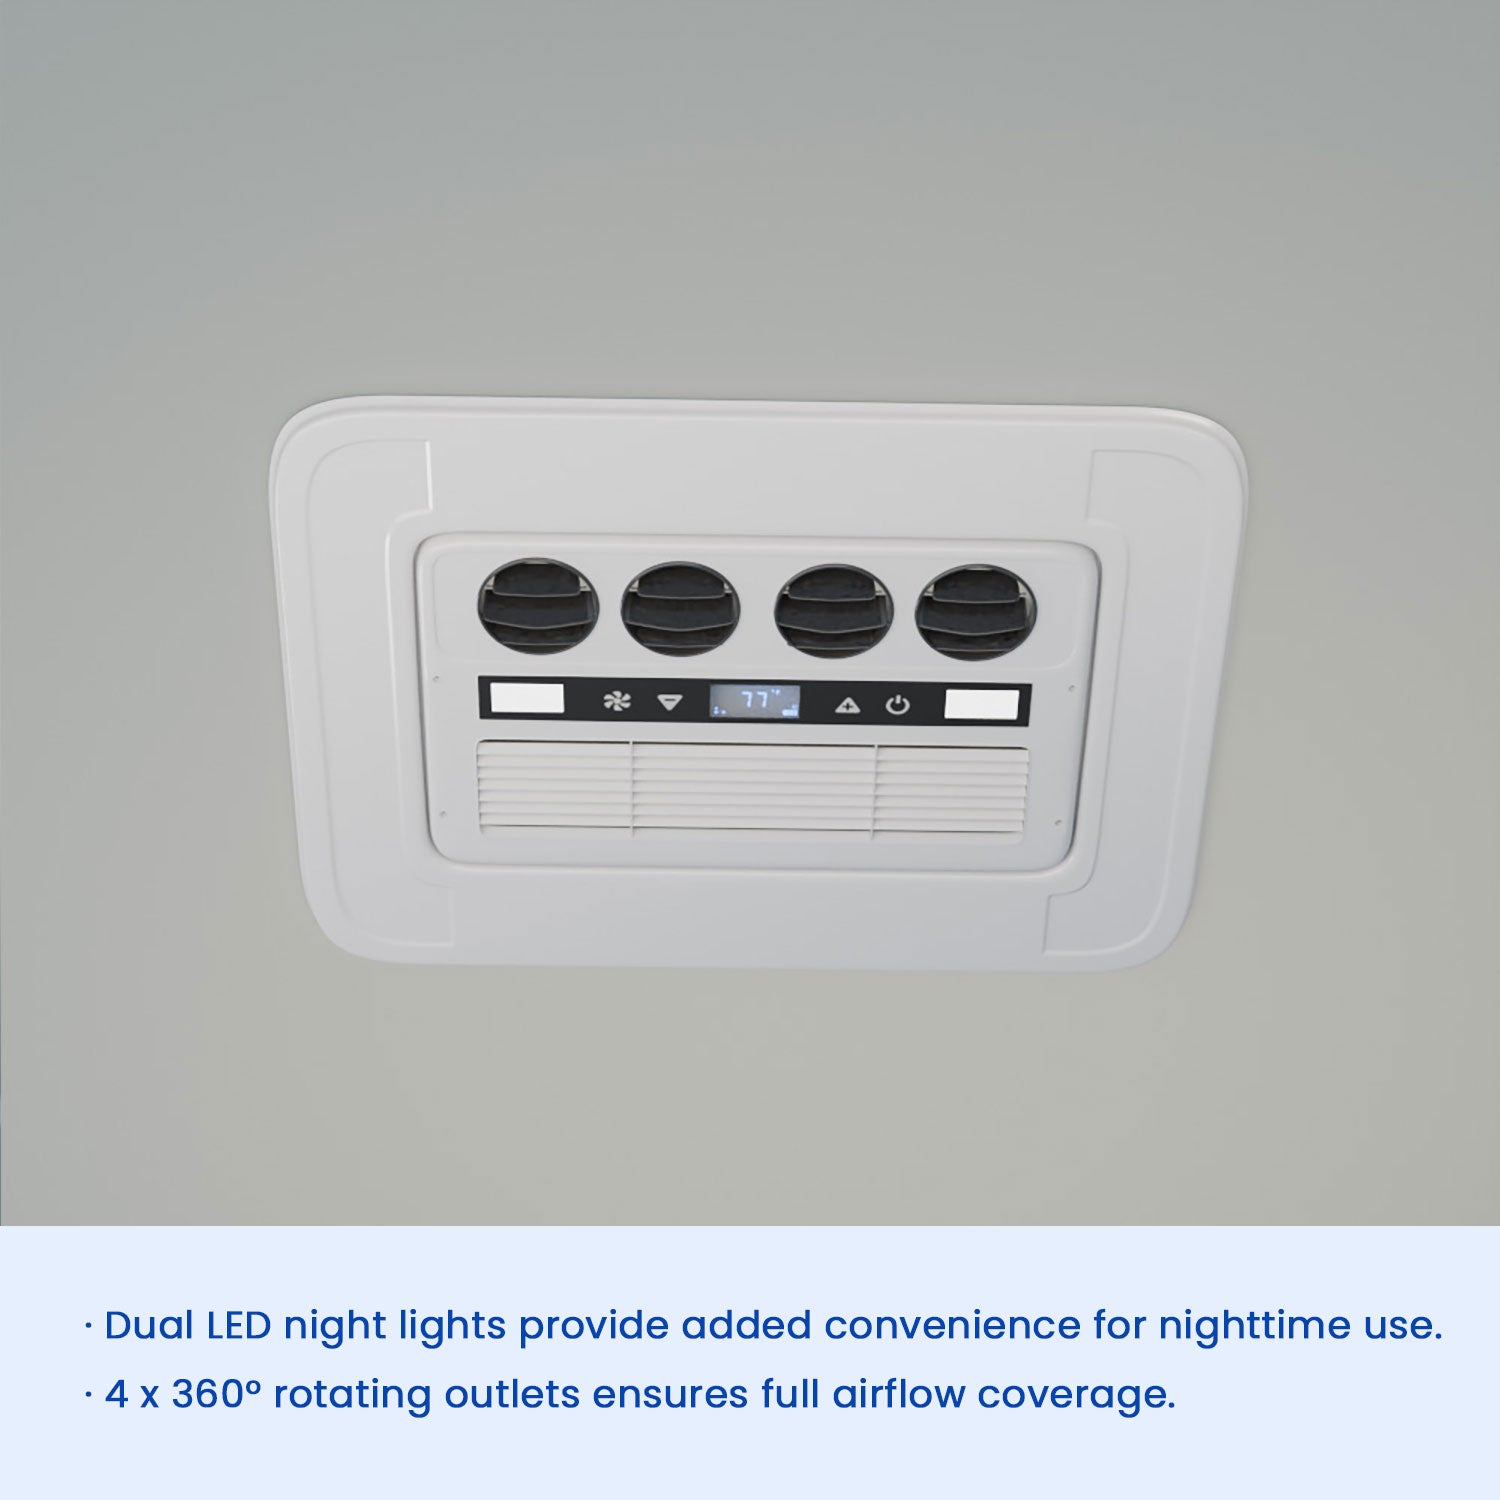
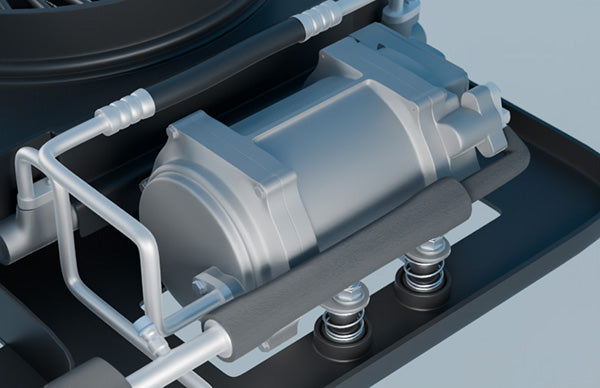
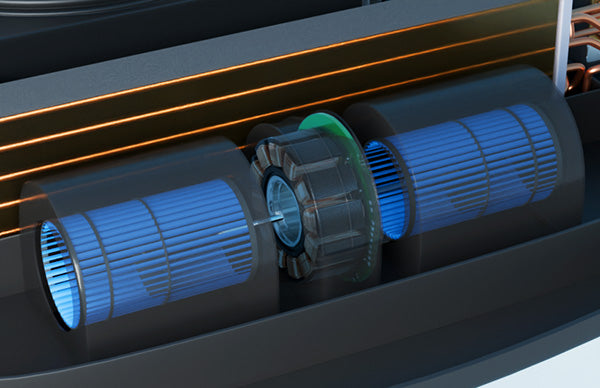
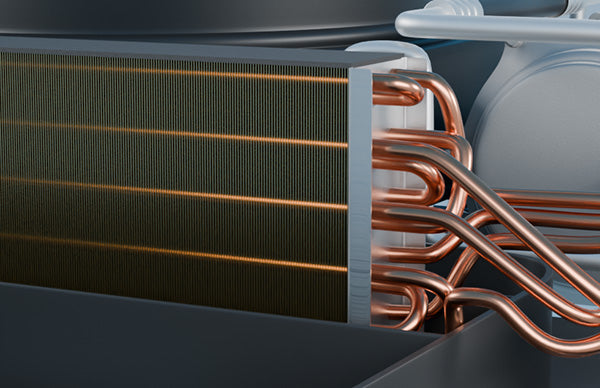
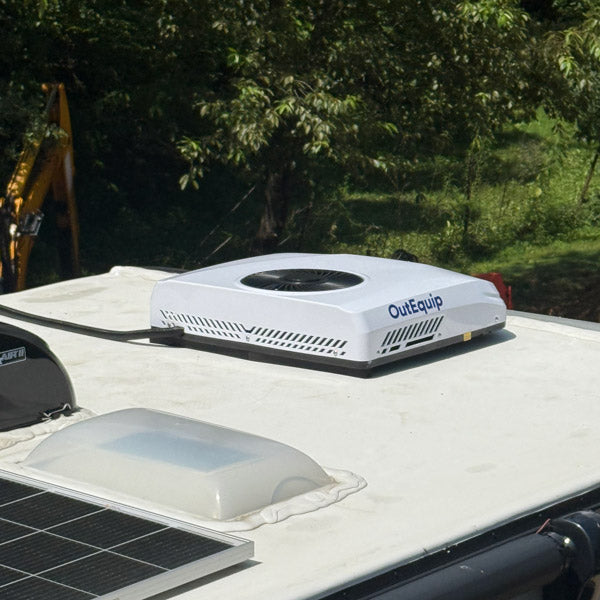
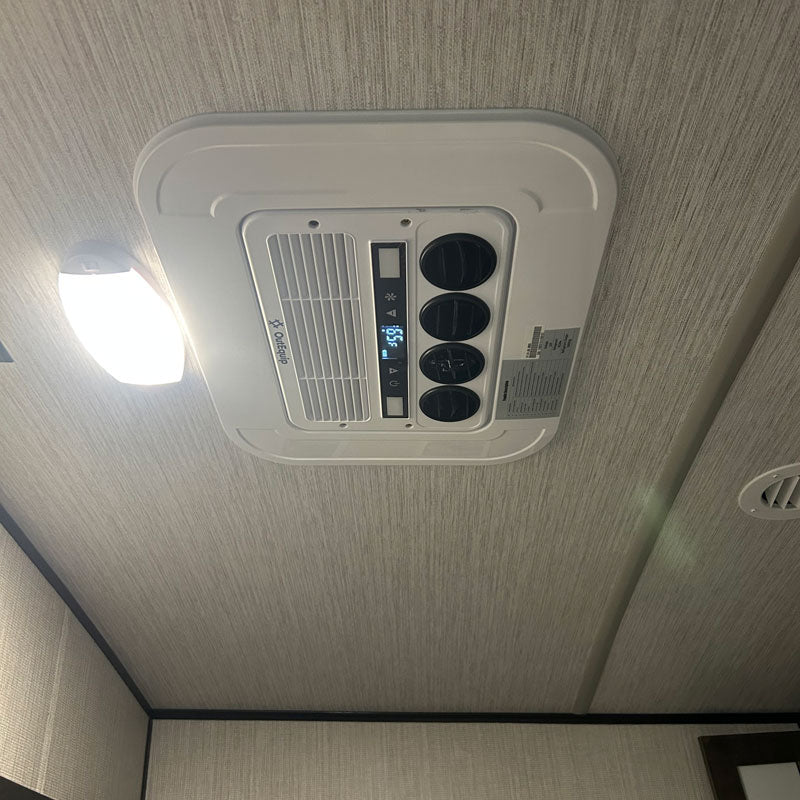
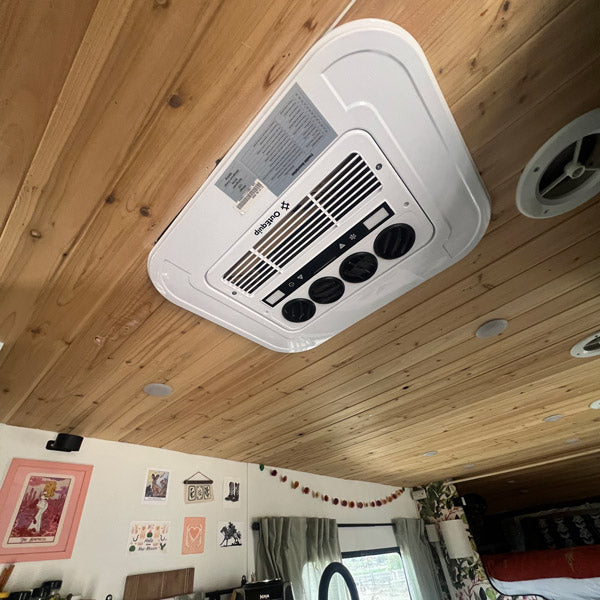
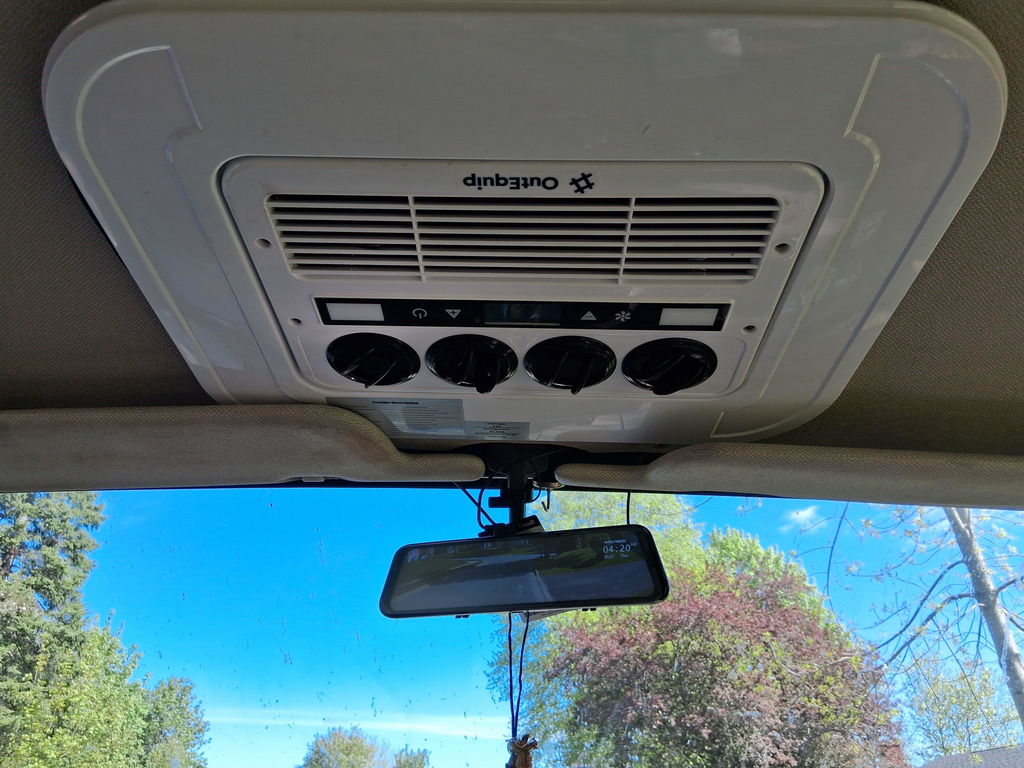
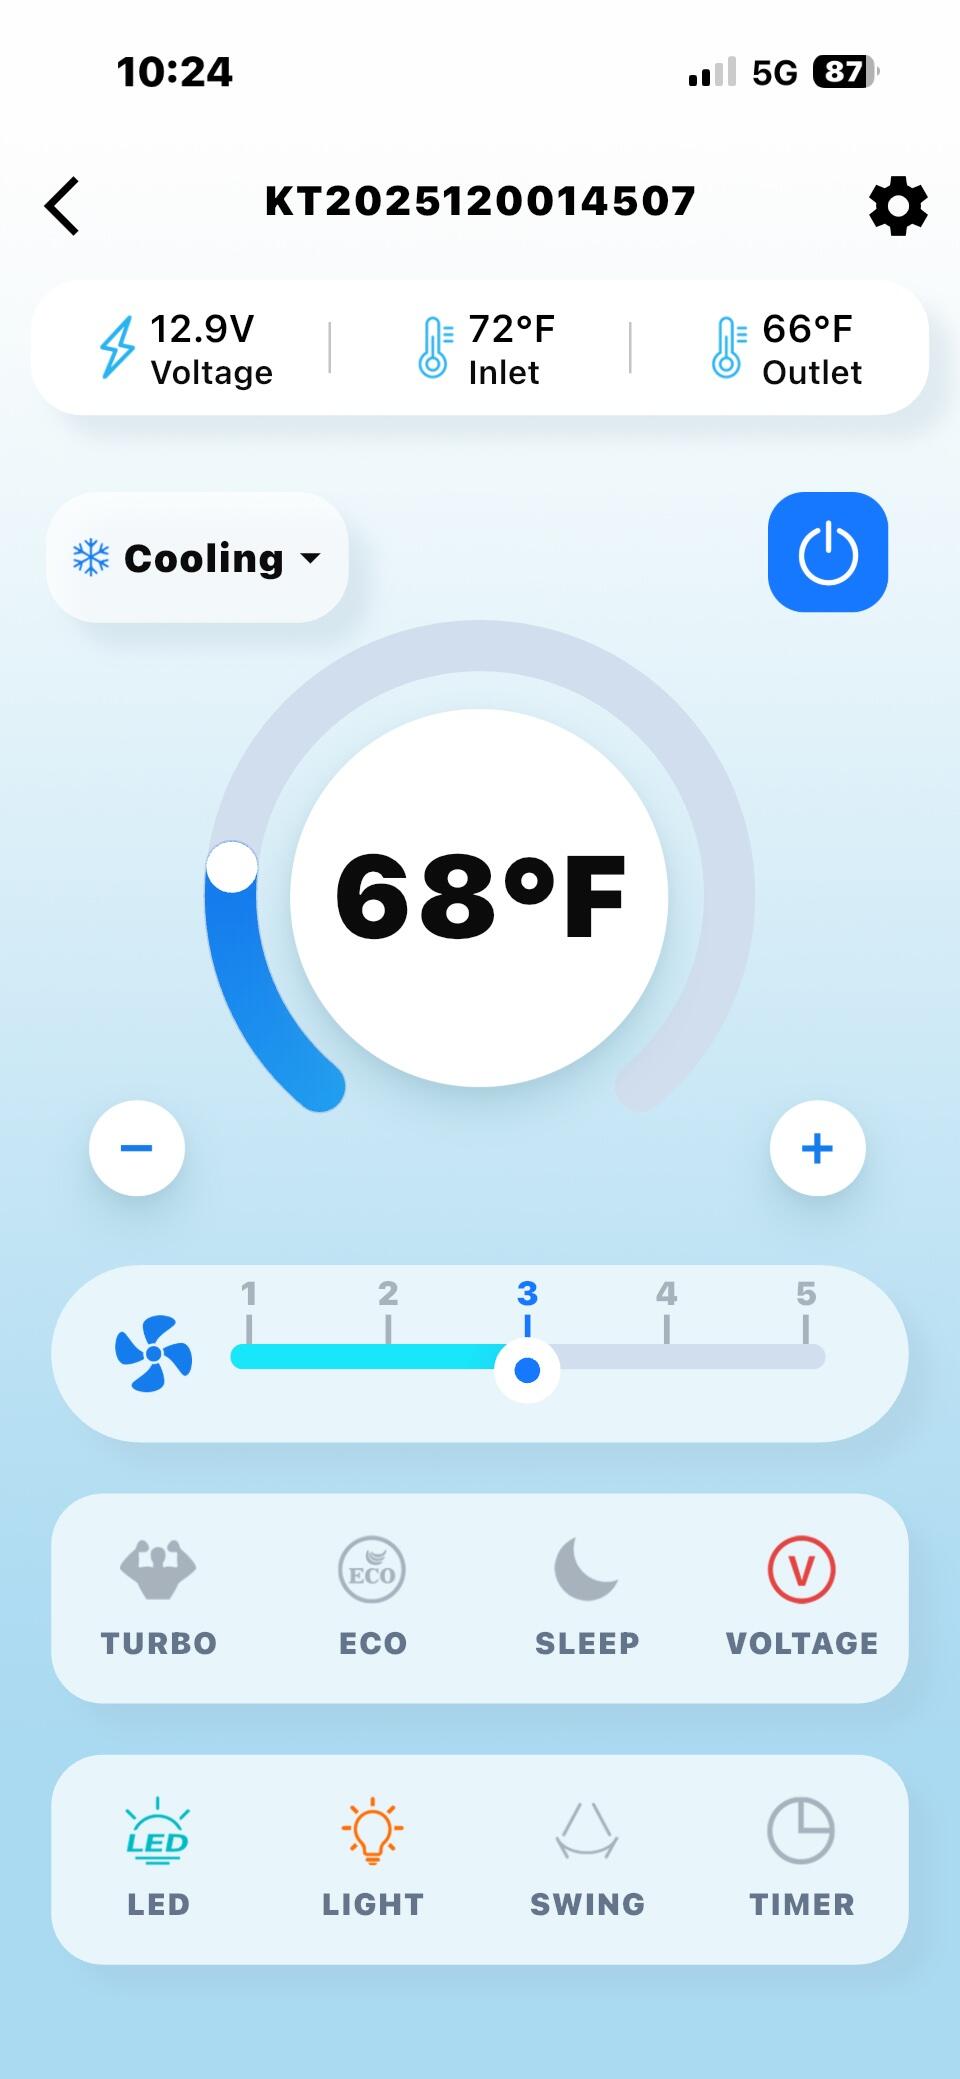
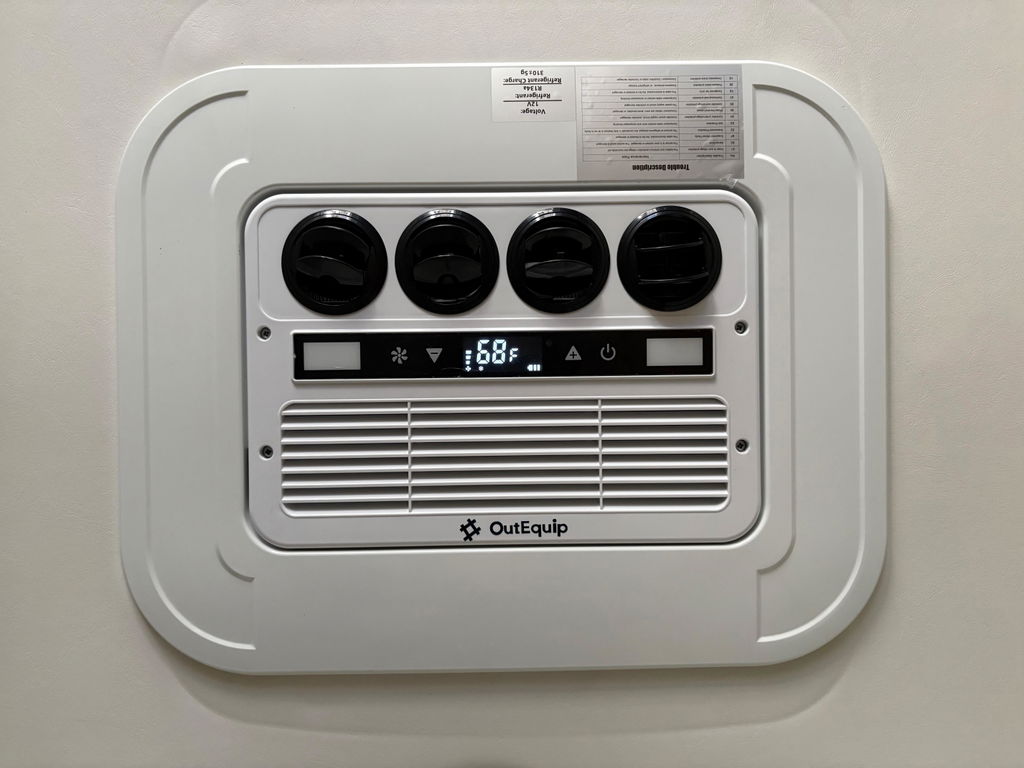
I must say I am totally blown away at how my OutEquipPro AC unit is working. It cools down my Vanagon easily, while driving or parked, and is very efficient in terms of power draw. The heater functions nicely too, although I haven’t used it as much as the AC.
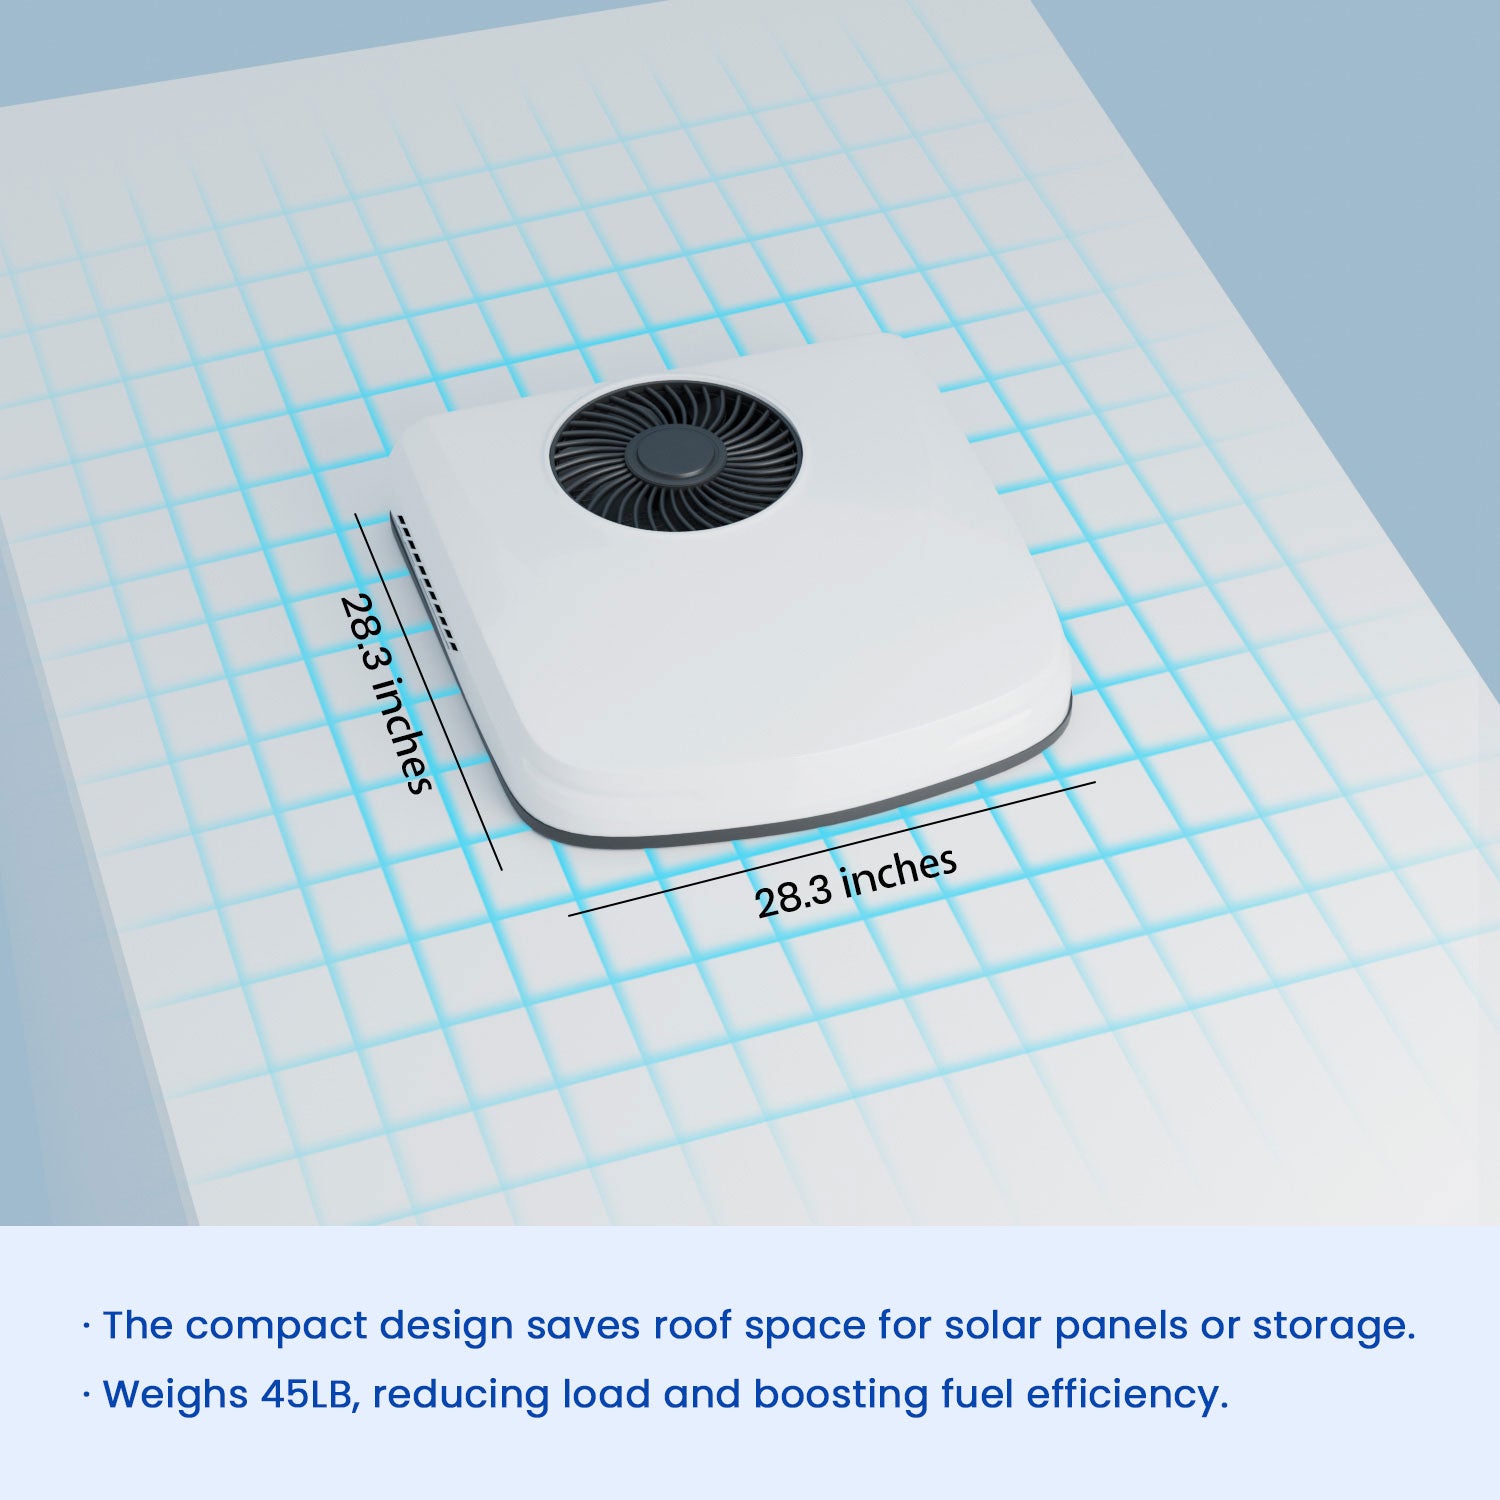
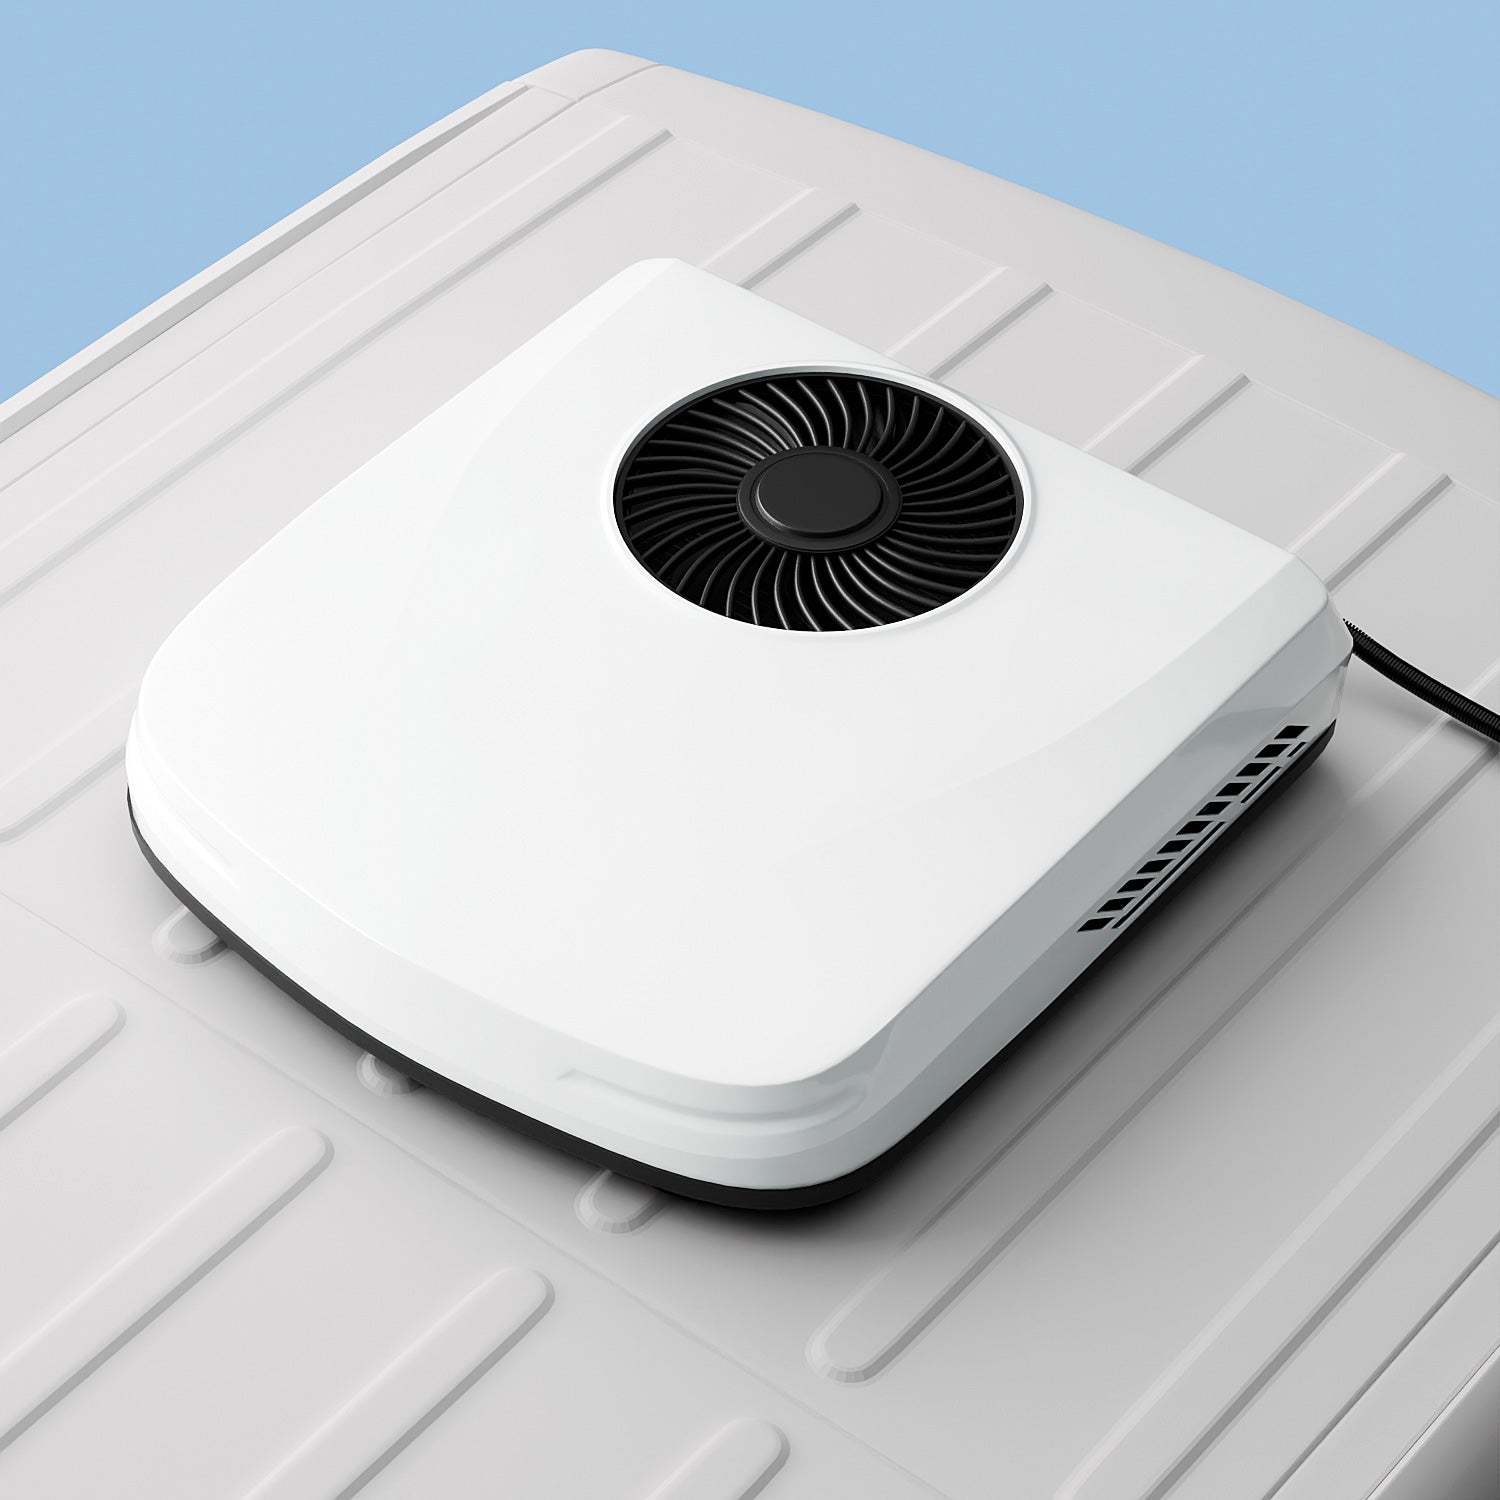
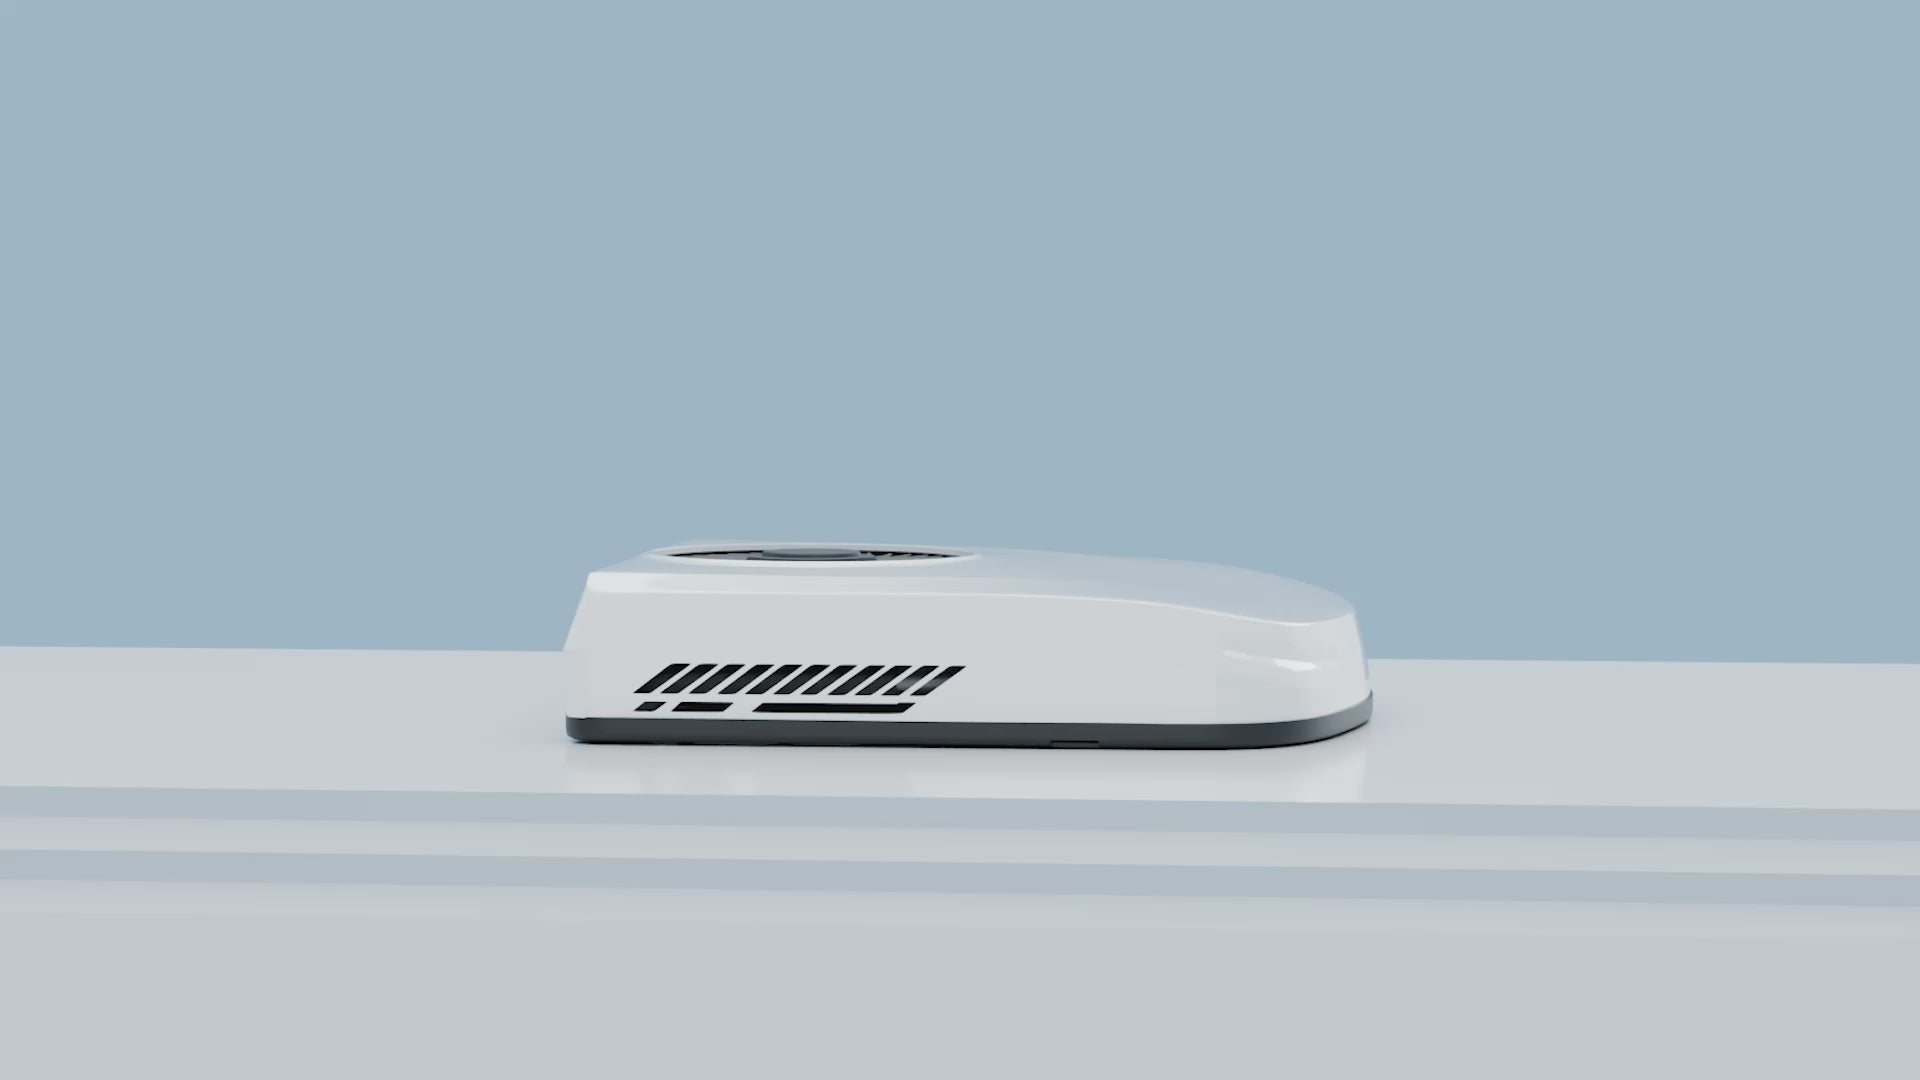
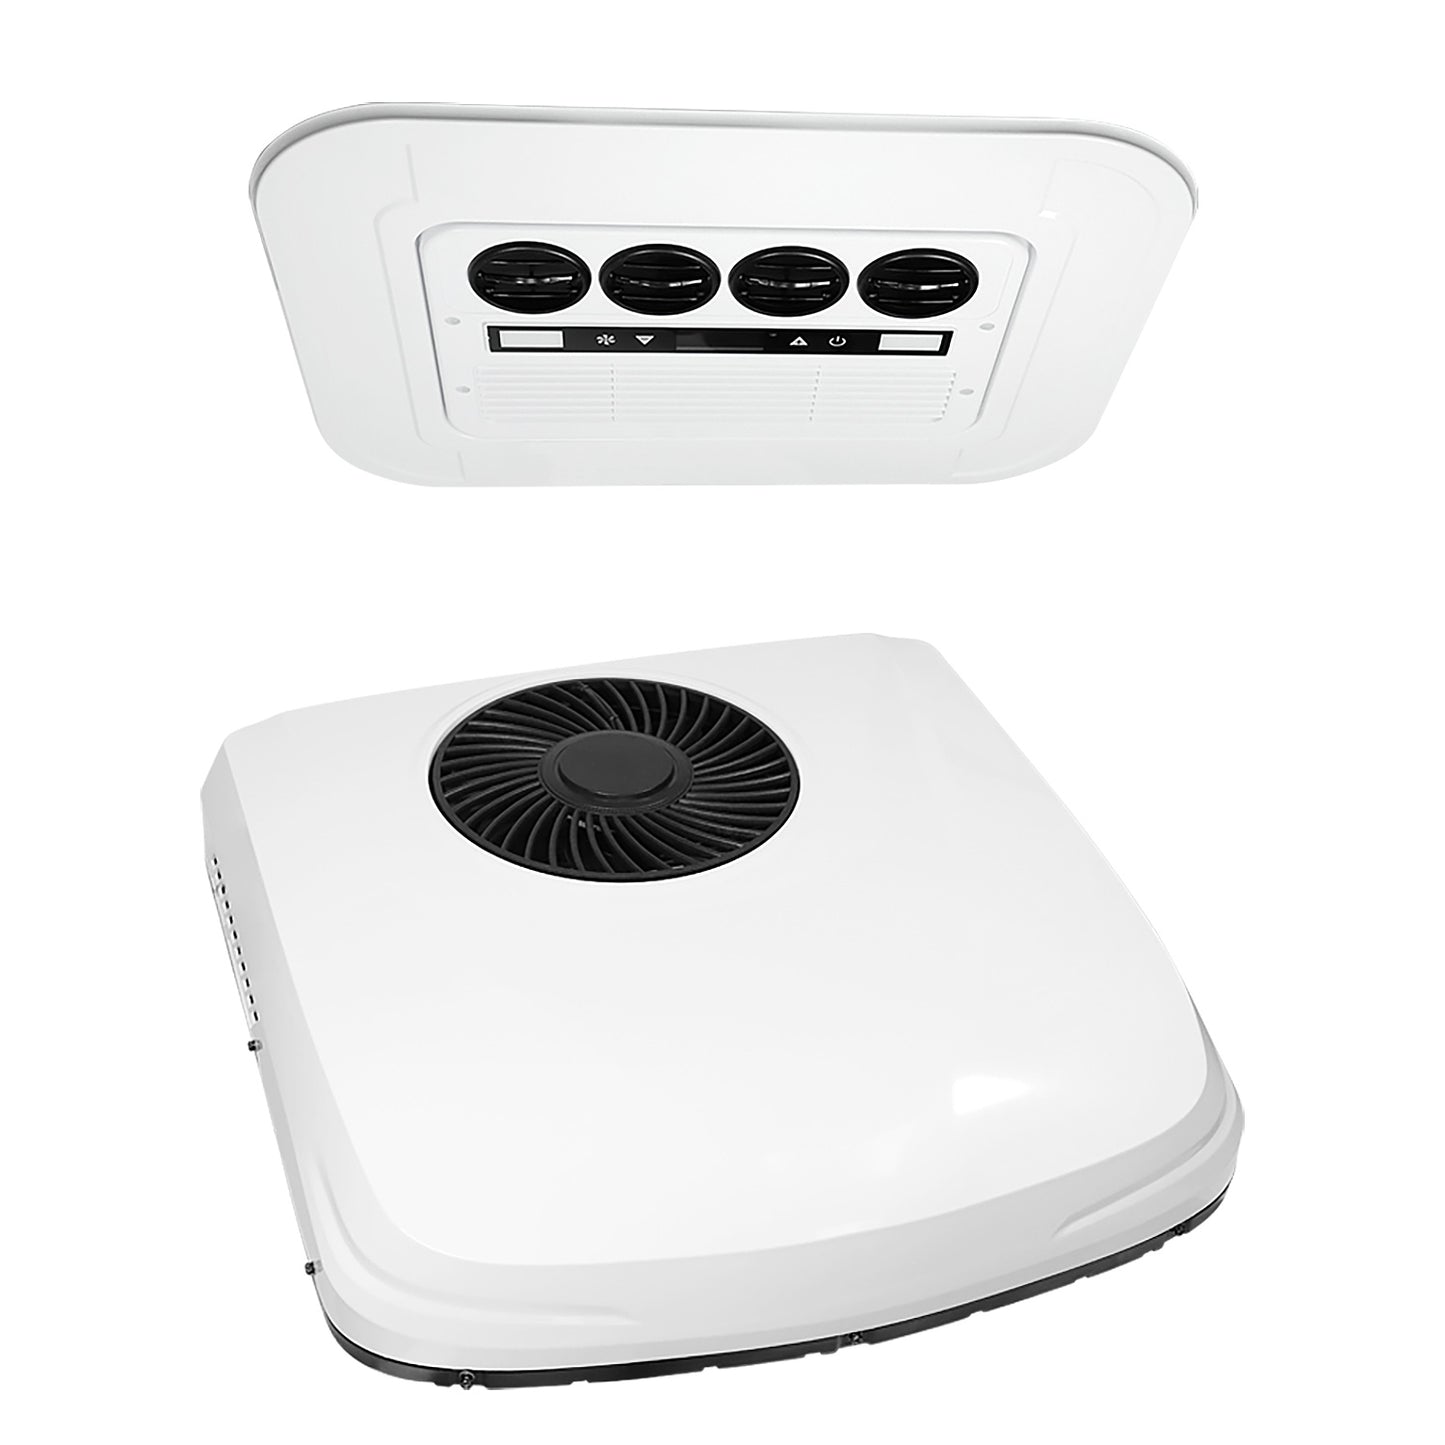
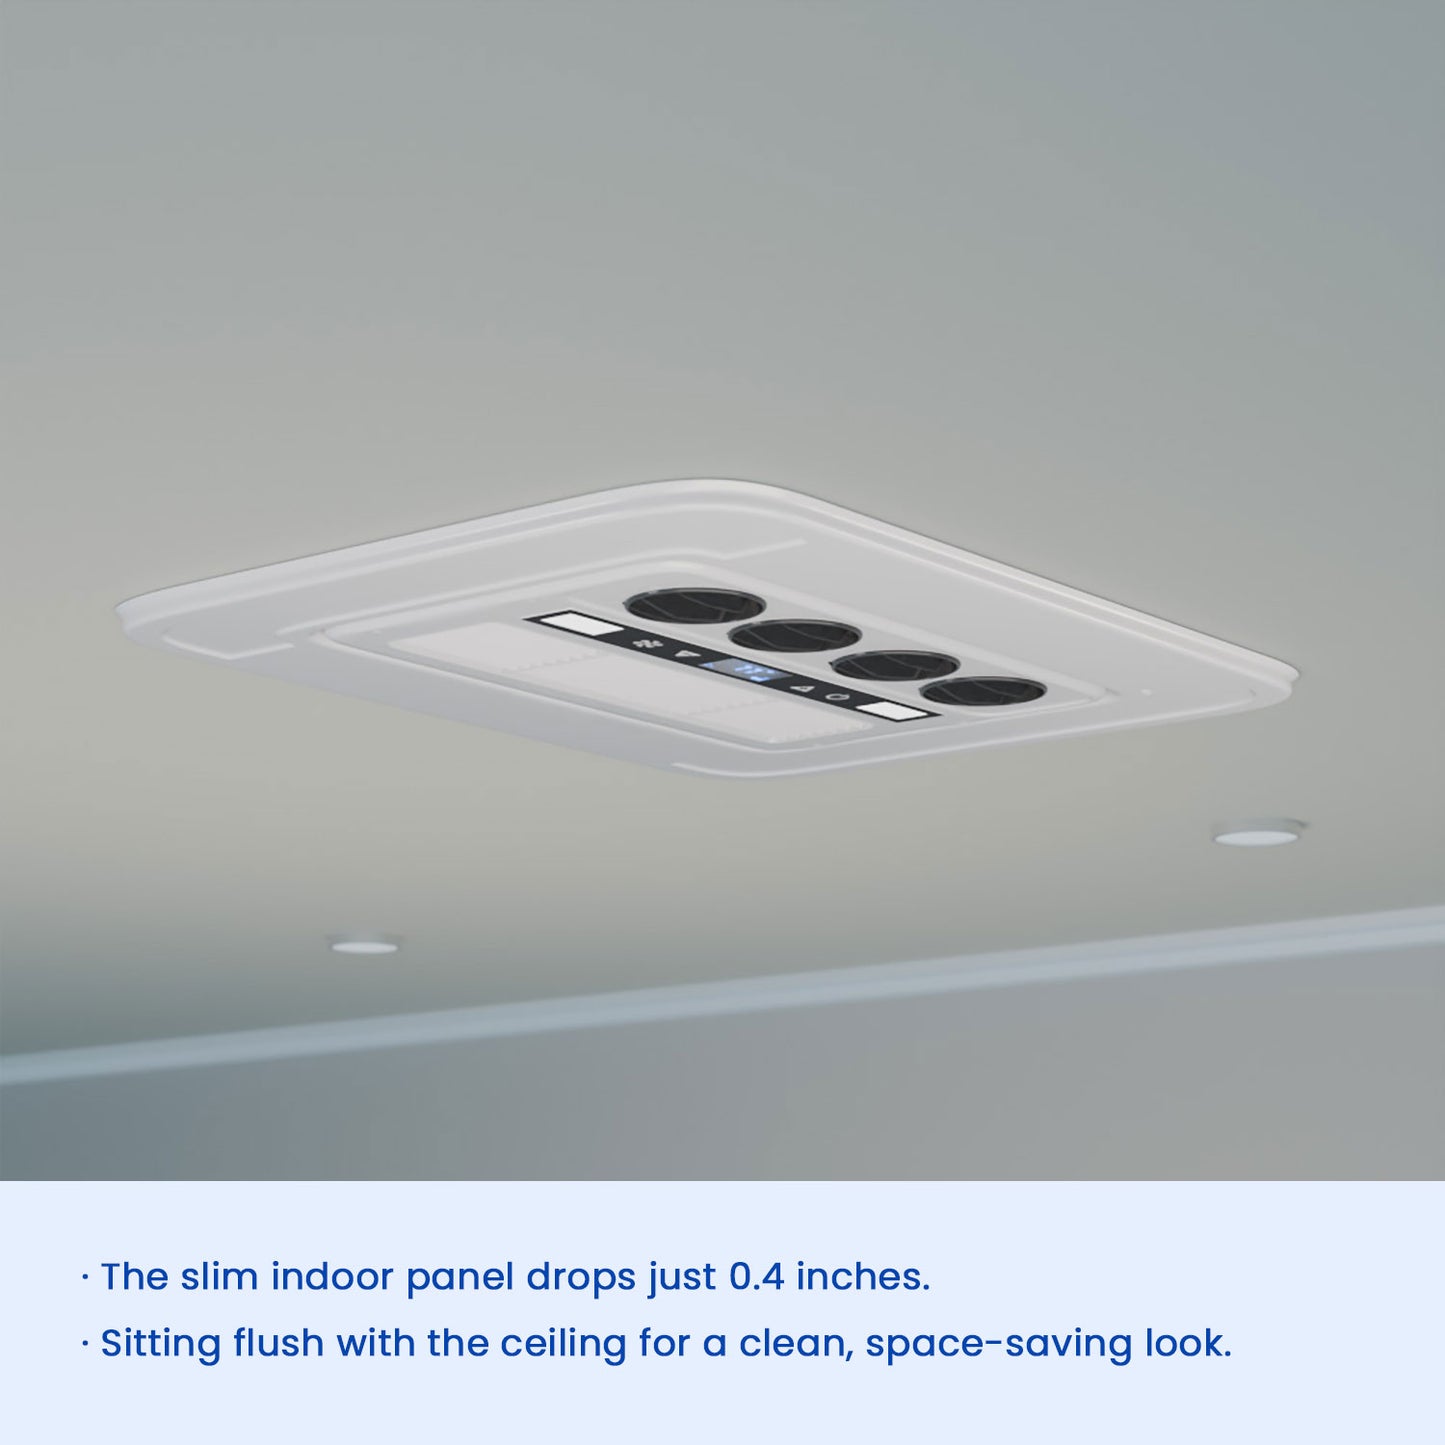
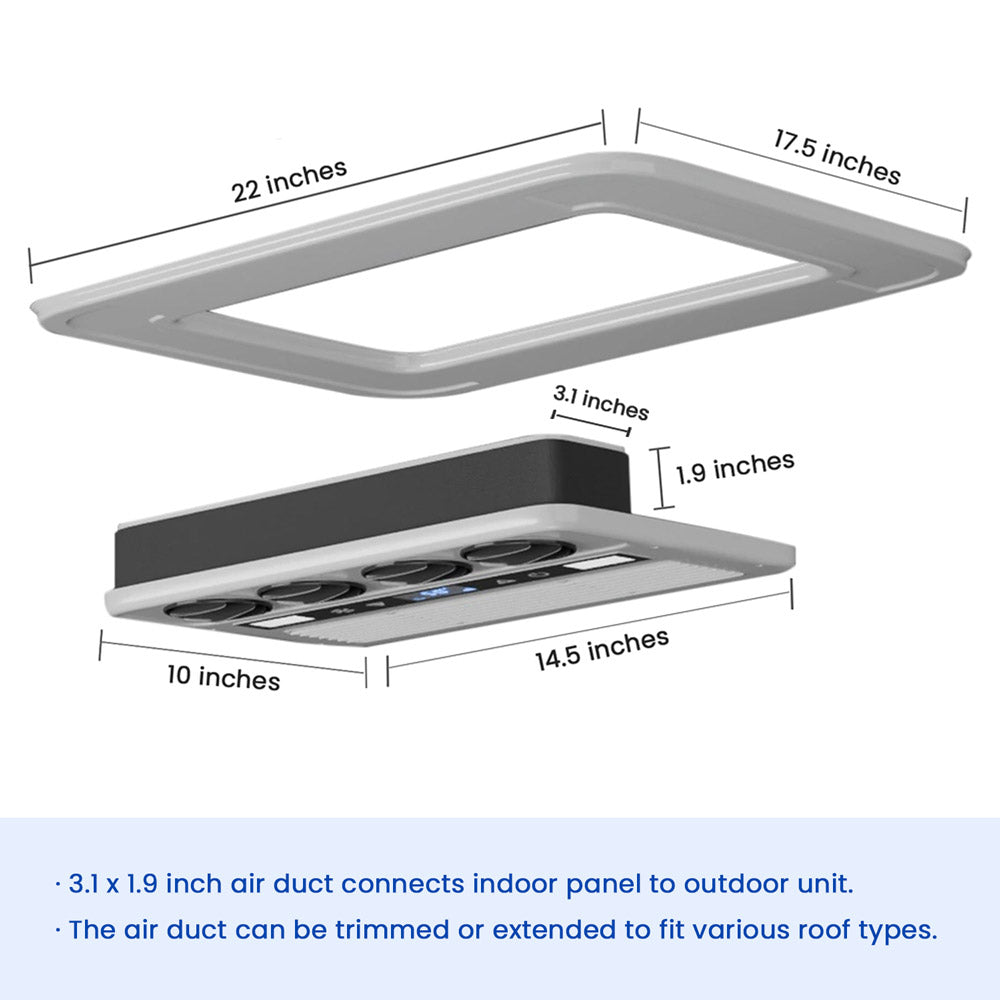
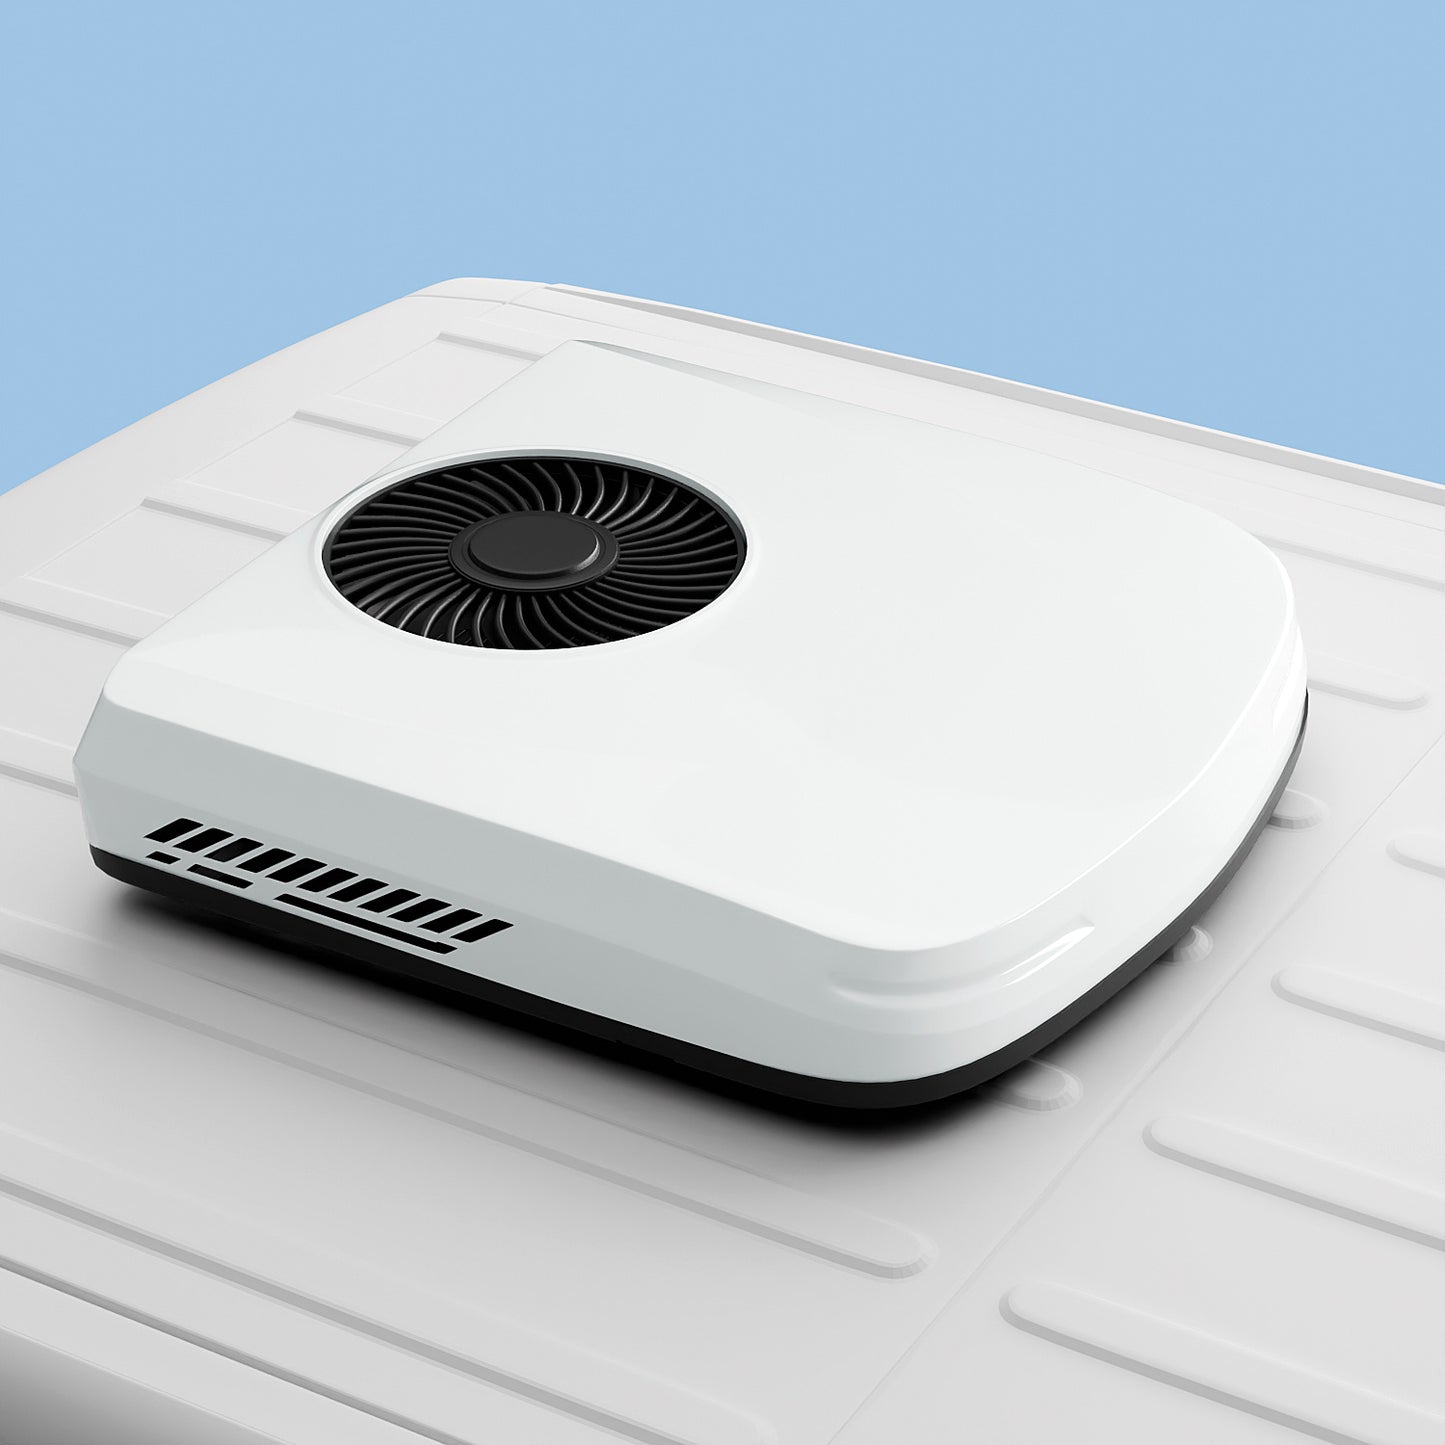
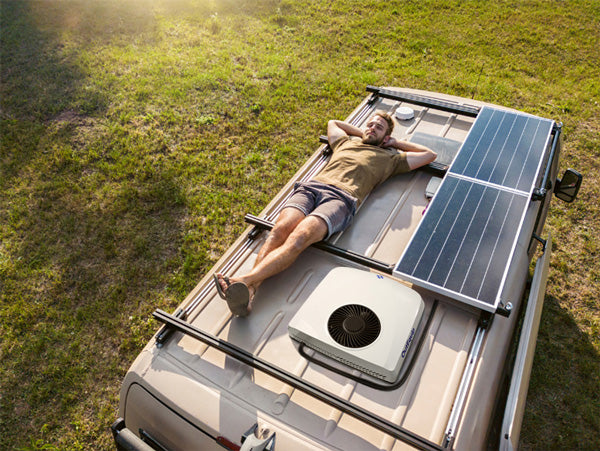
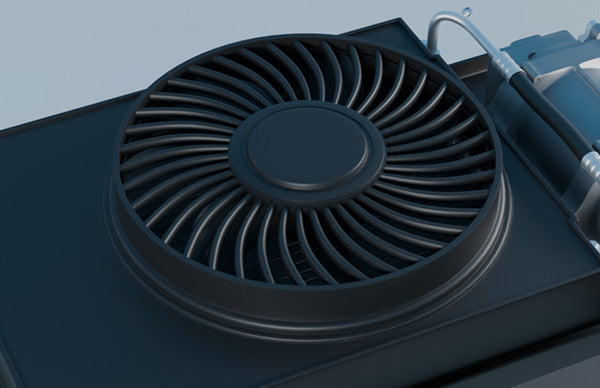
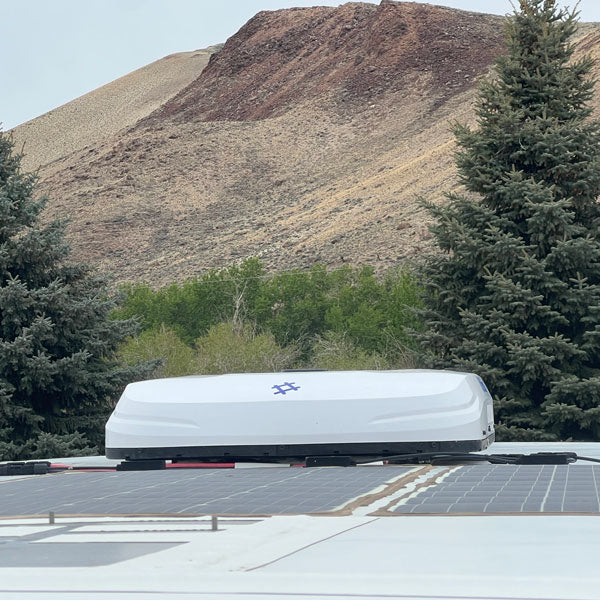
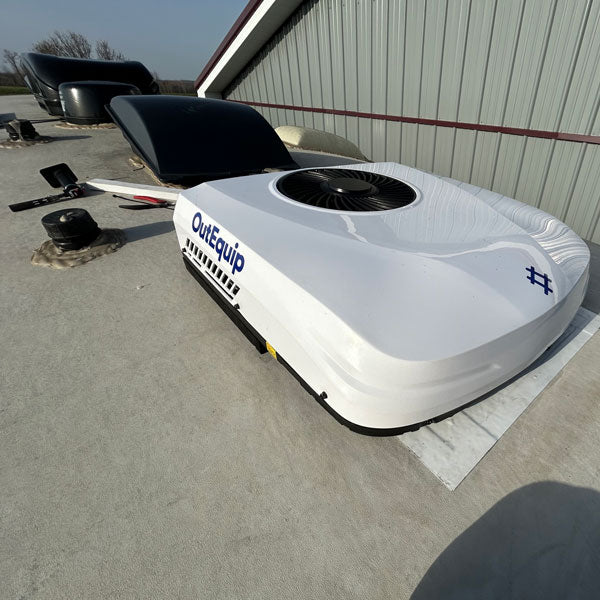
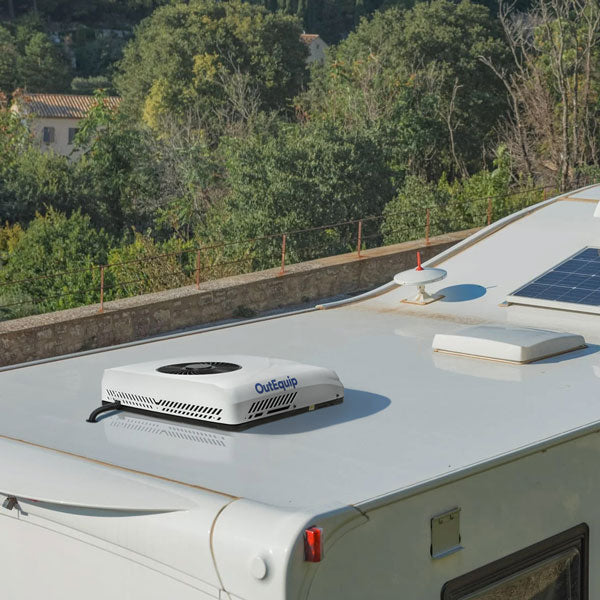
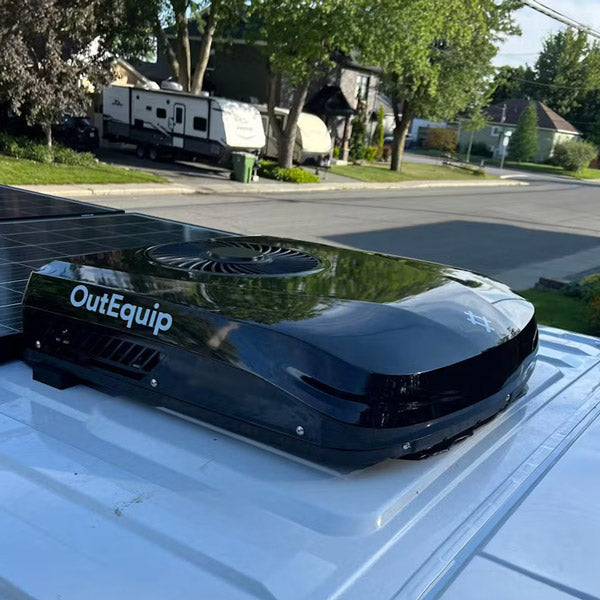
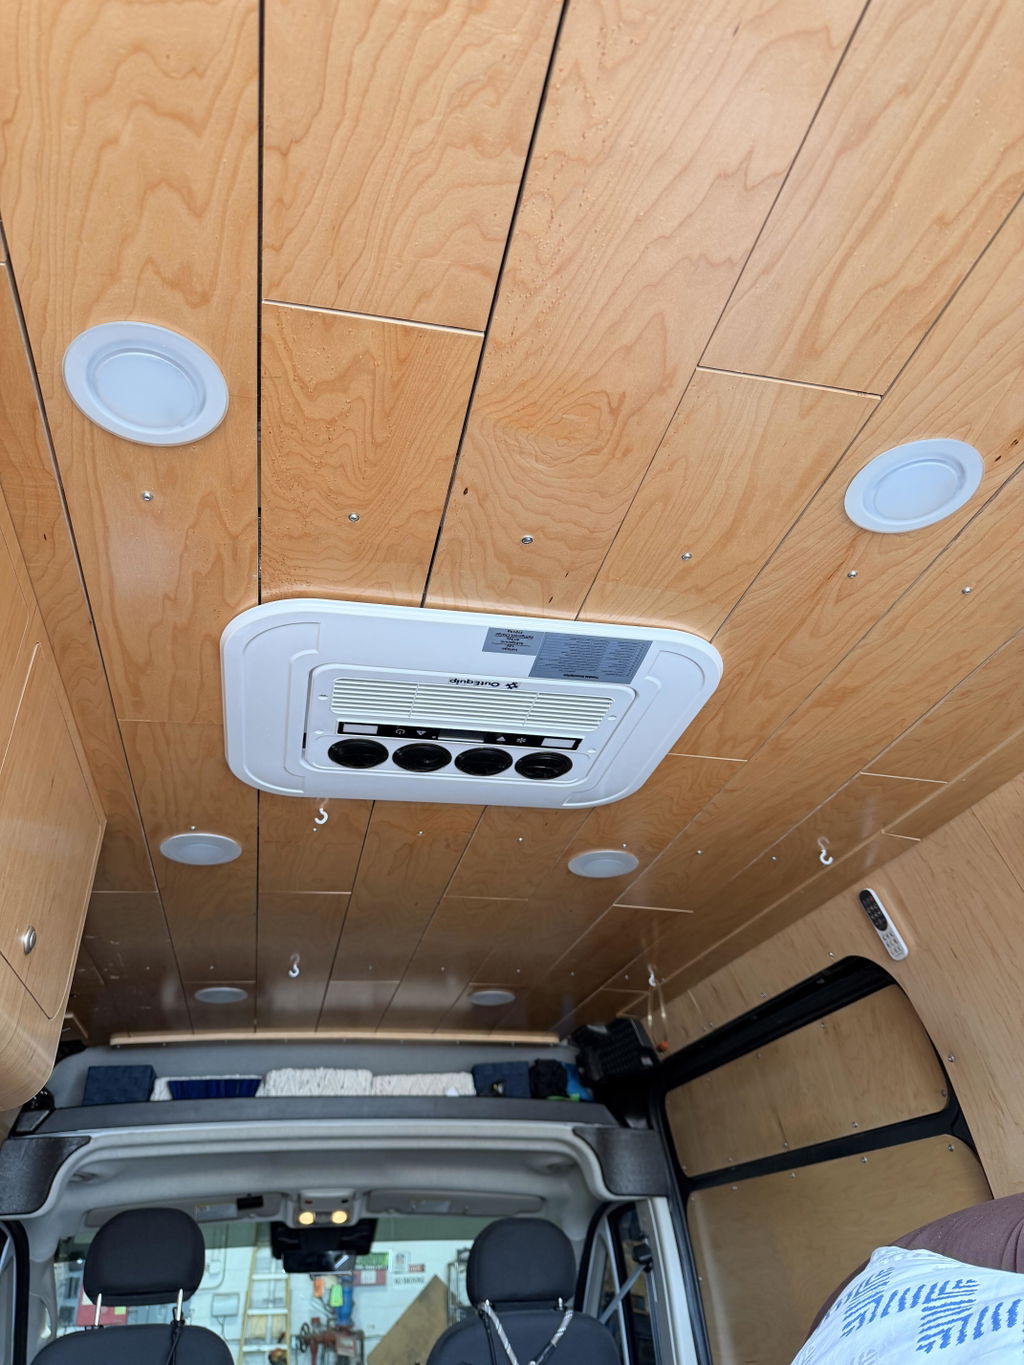
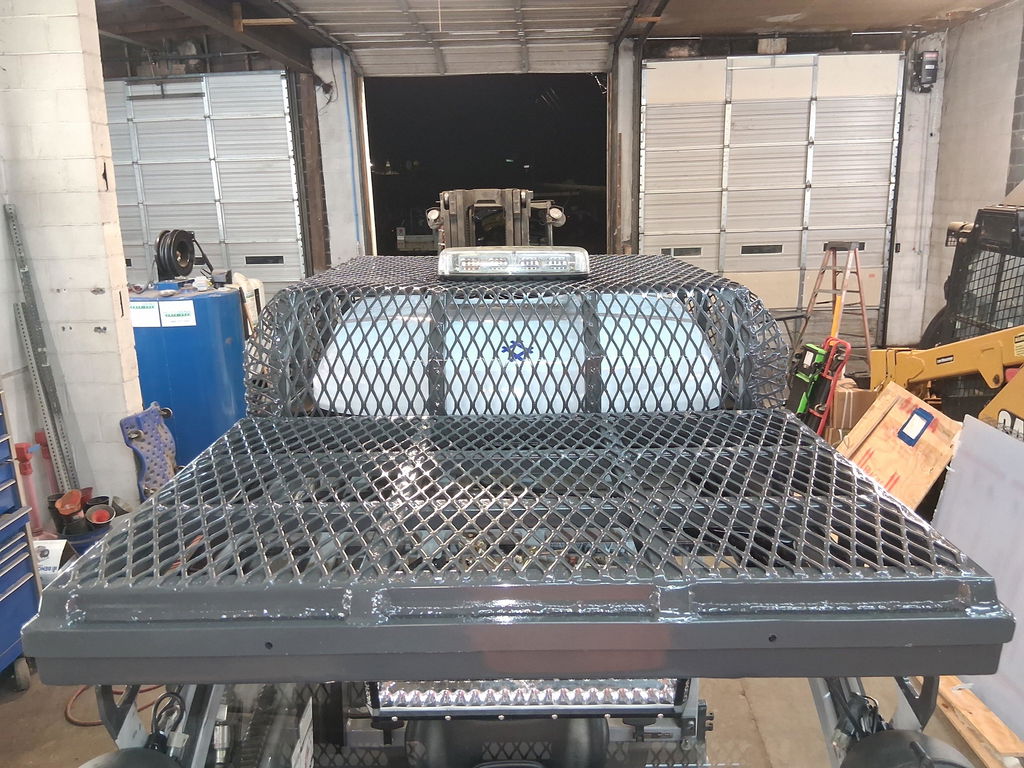
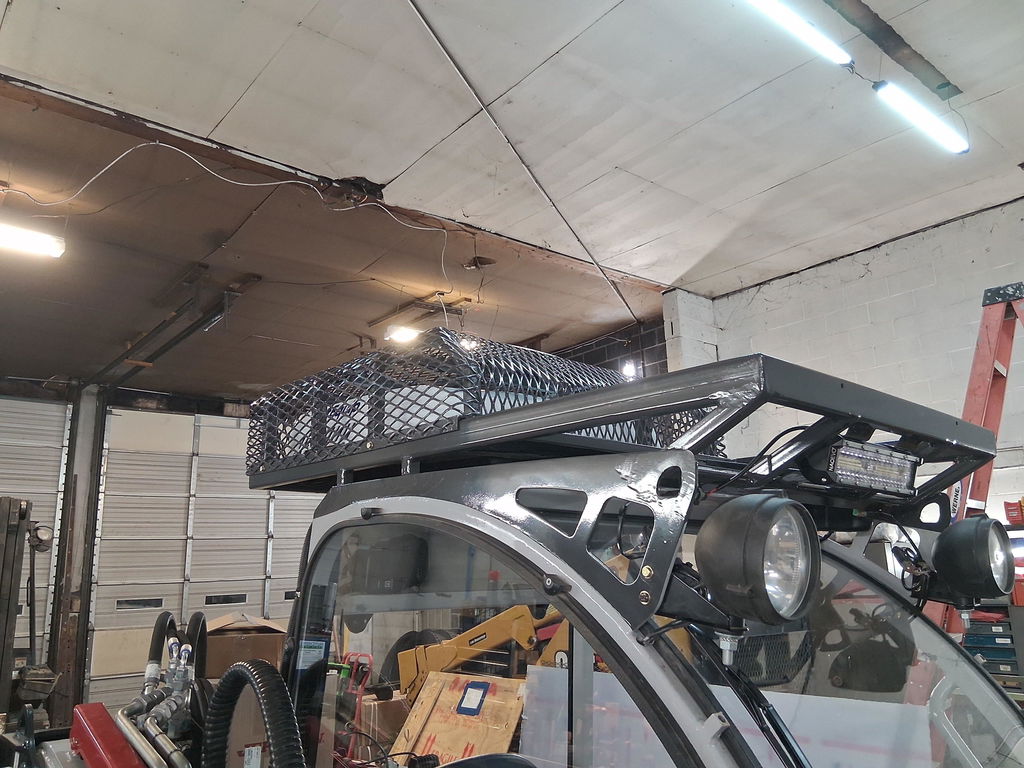
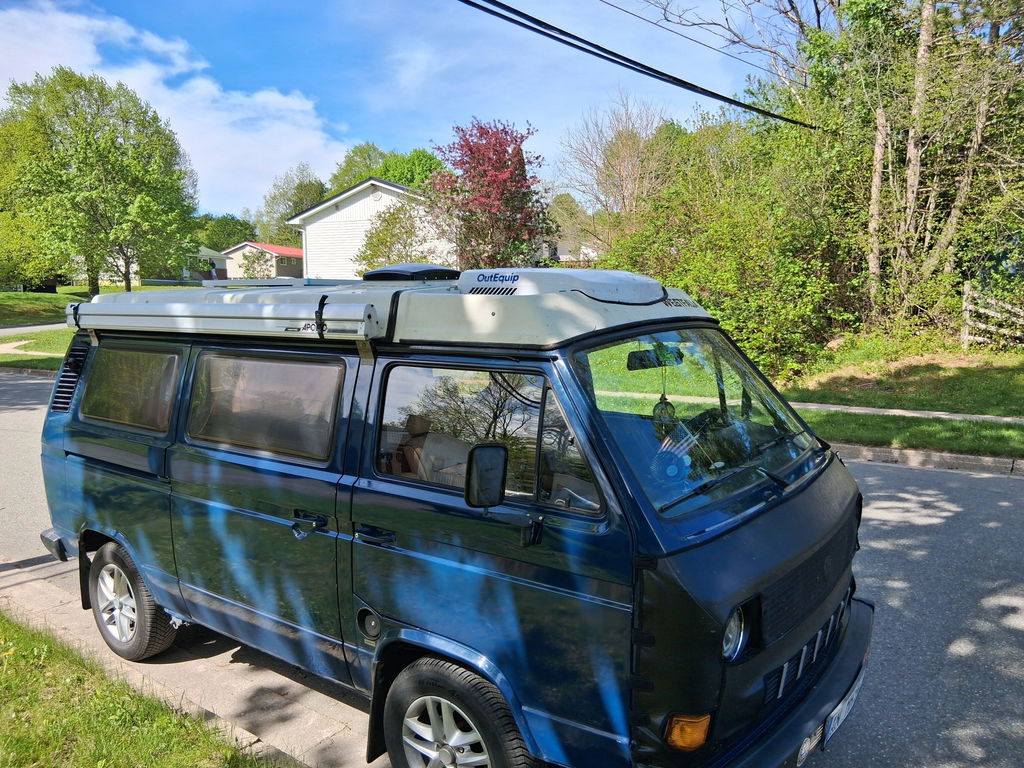
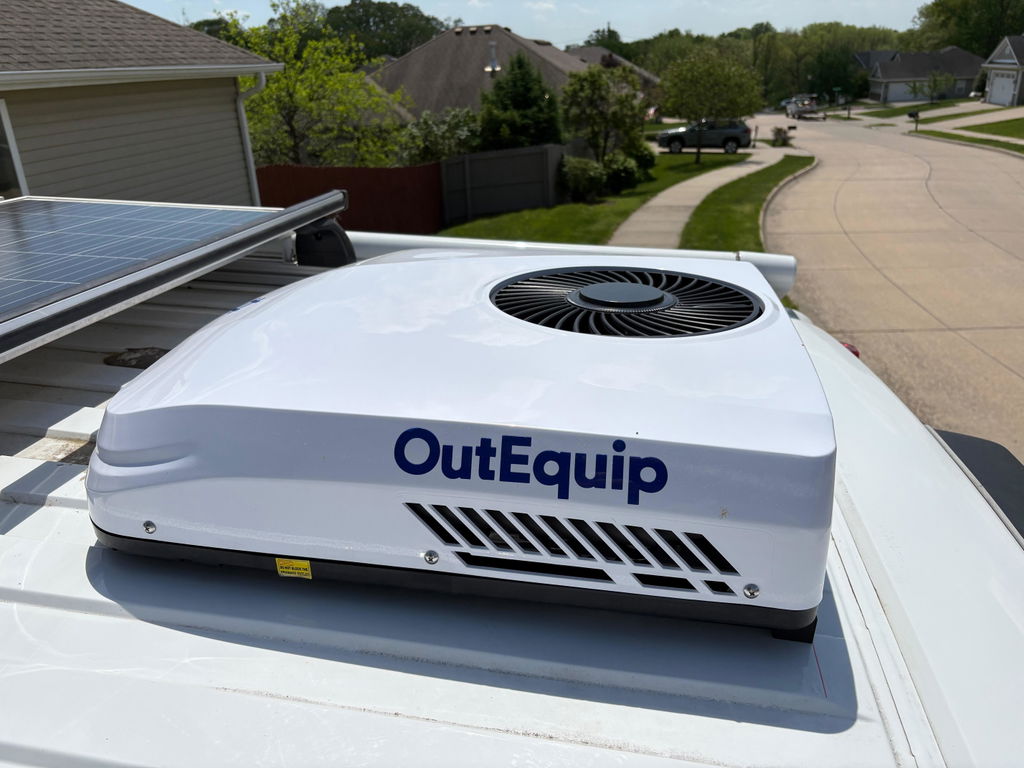
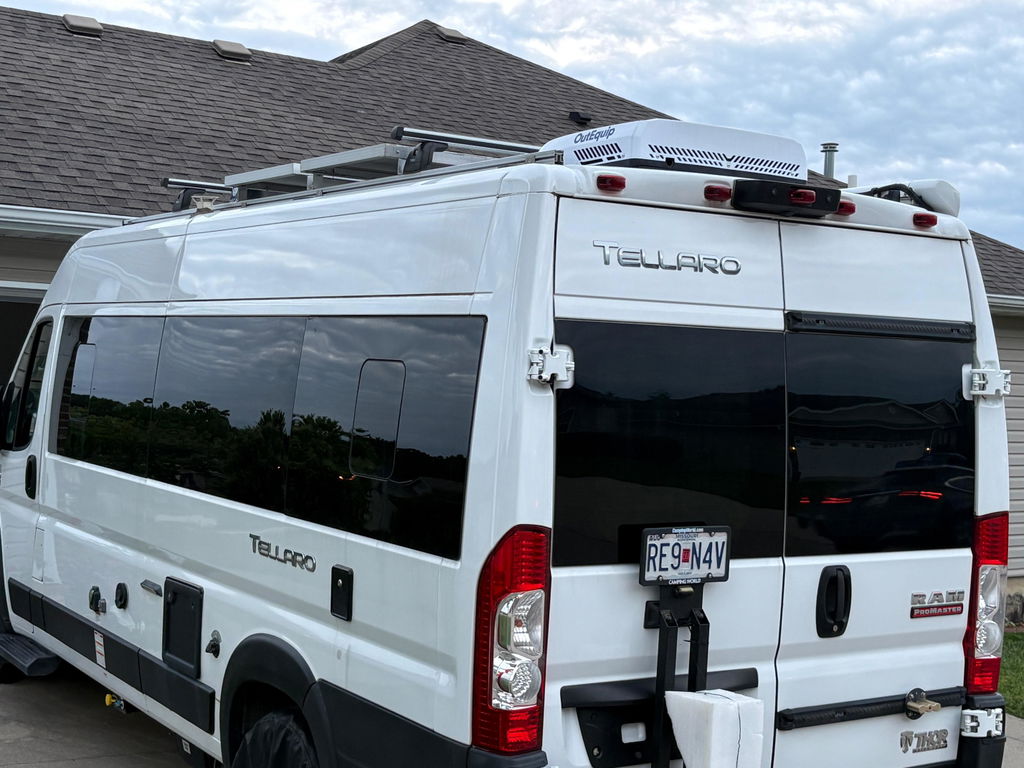
I really like the low profile of the roof top component. Unlike the boxy style of other AC units, the OutEquipPro is streamlined and looks like it belongs on the Vanagon.
I am impressed with everything about the OutEquipPro 12V air conditioner. But what really swung the deal for me was the quick, professional and courteous responses I got from OutEquipPro. I prefer to buy products from companies either in Canada or from our good friends in the United States and I know if I ever have issues, concerns or questions, the folks from OutEquipPro will be there for me.
If you have an older VW camper or any other campervan, I would highly recommend the OutEquipPro 12V AC system. My Vanagon is one of the coolest rigs on the road, but it is now a lot cooler thanks to OutEquipPro!
Wade Wilson -Fredericton, New Brunswick, Canada