


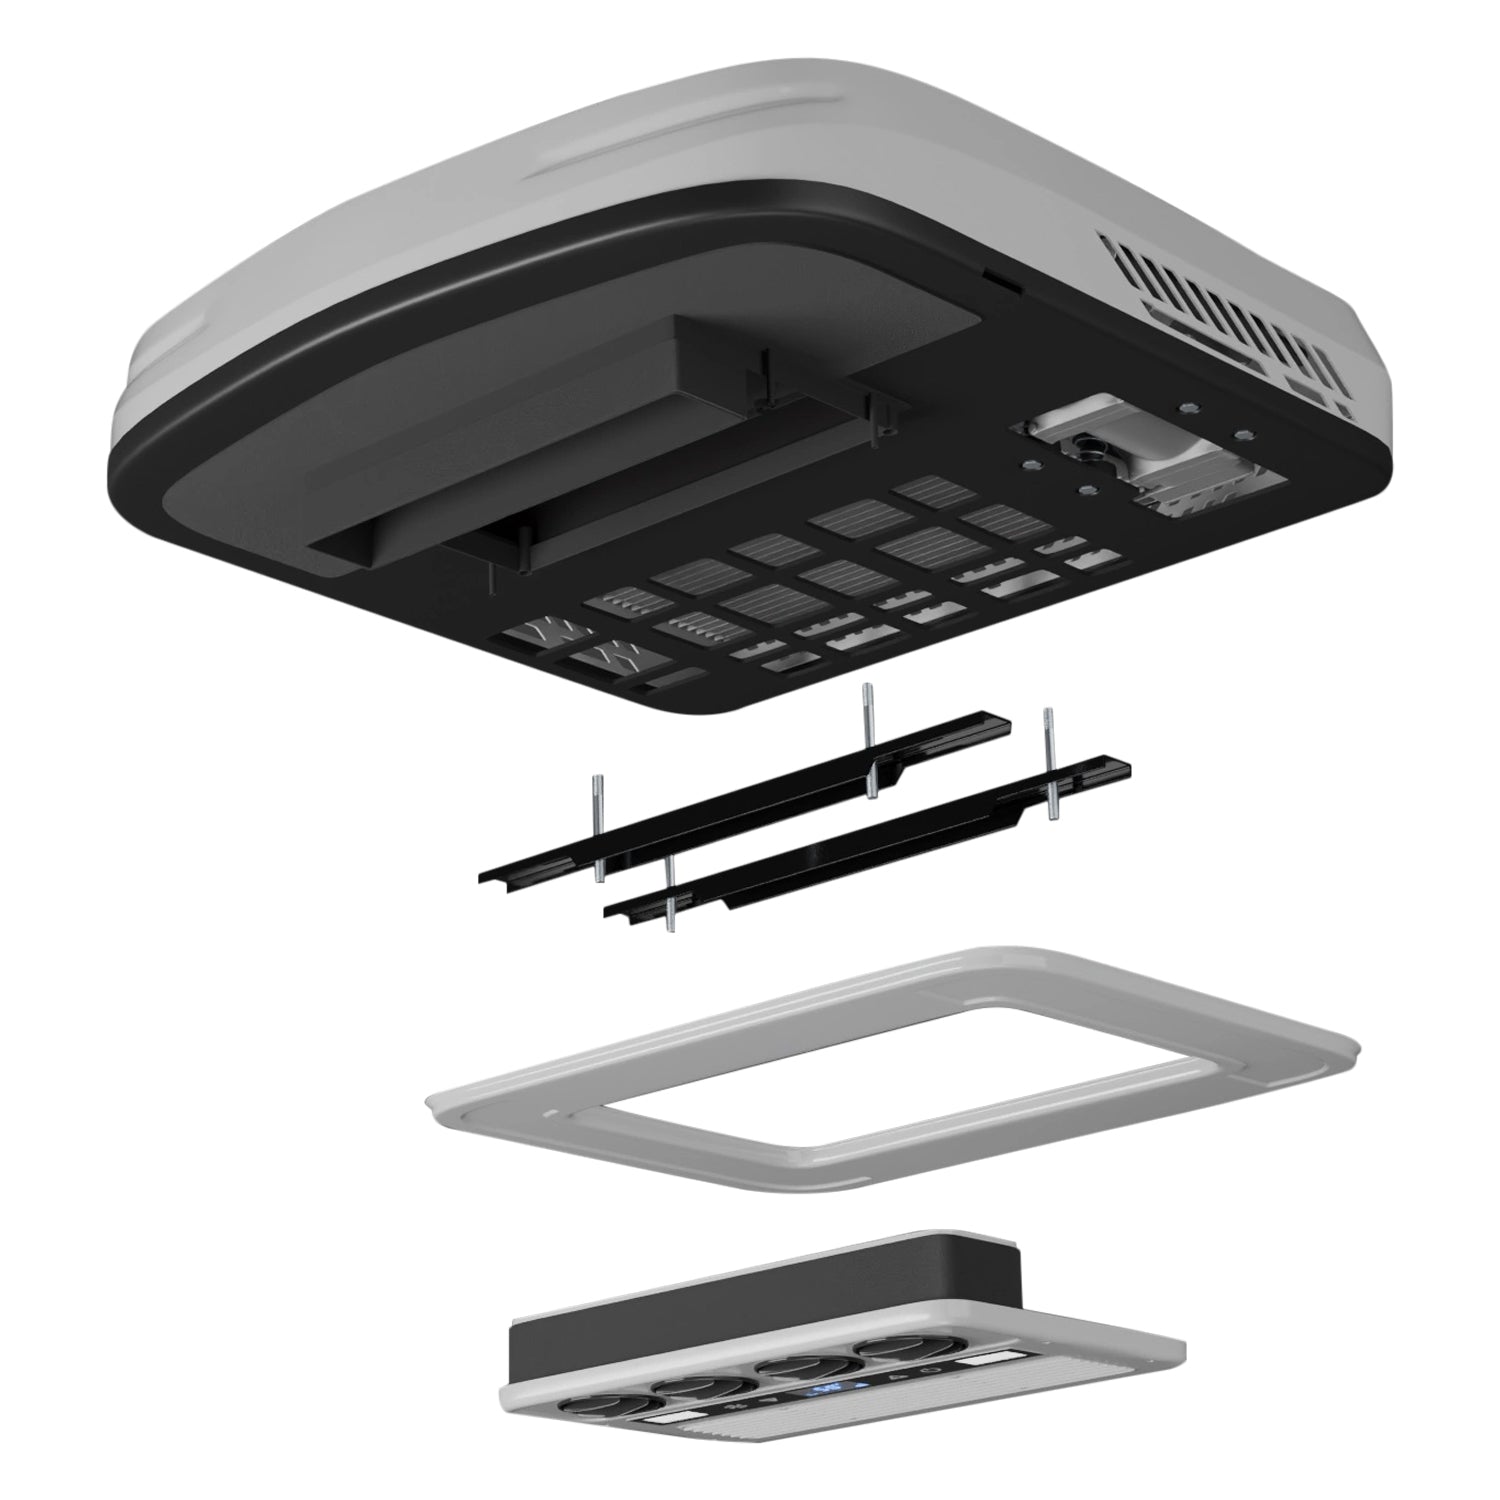


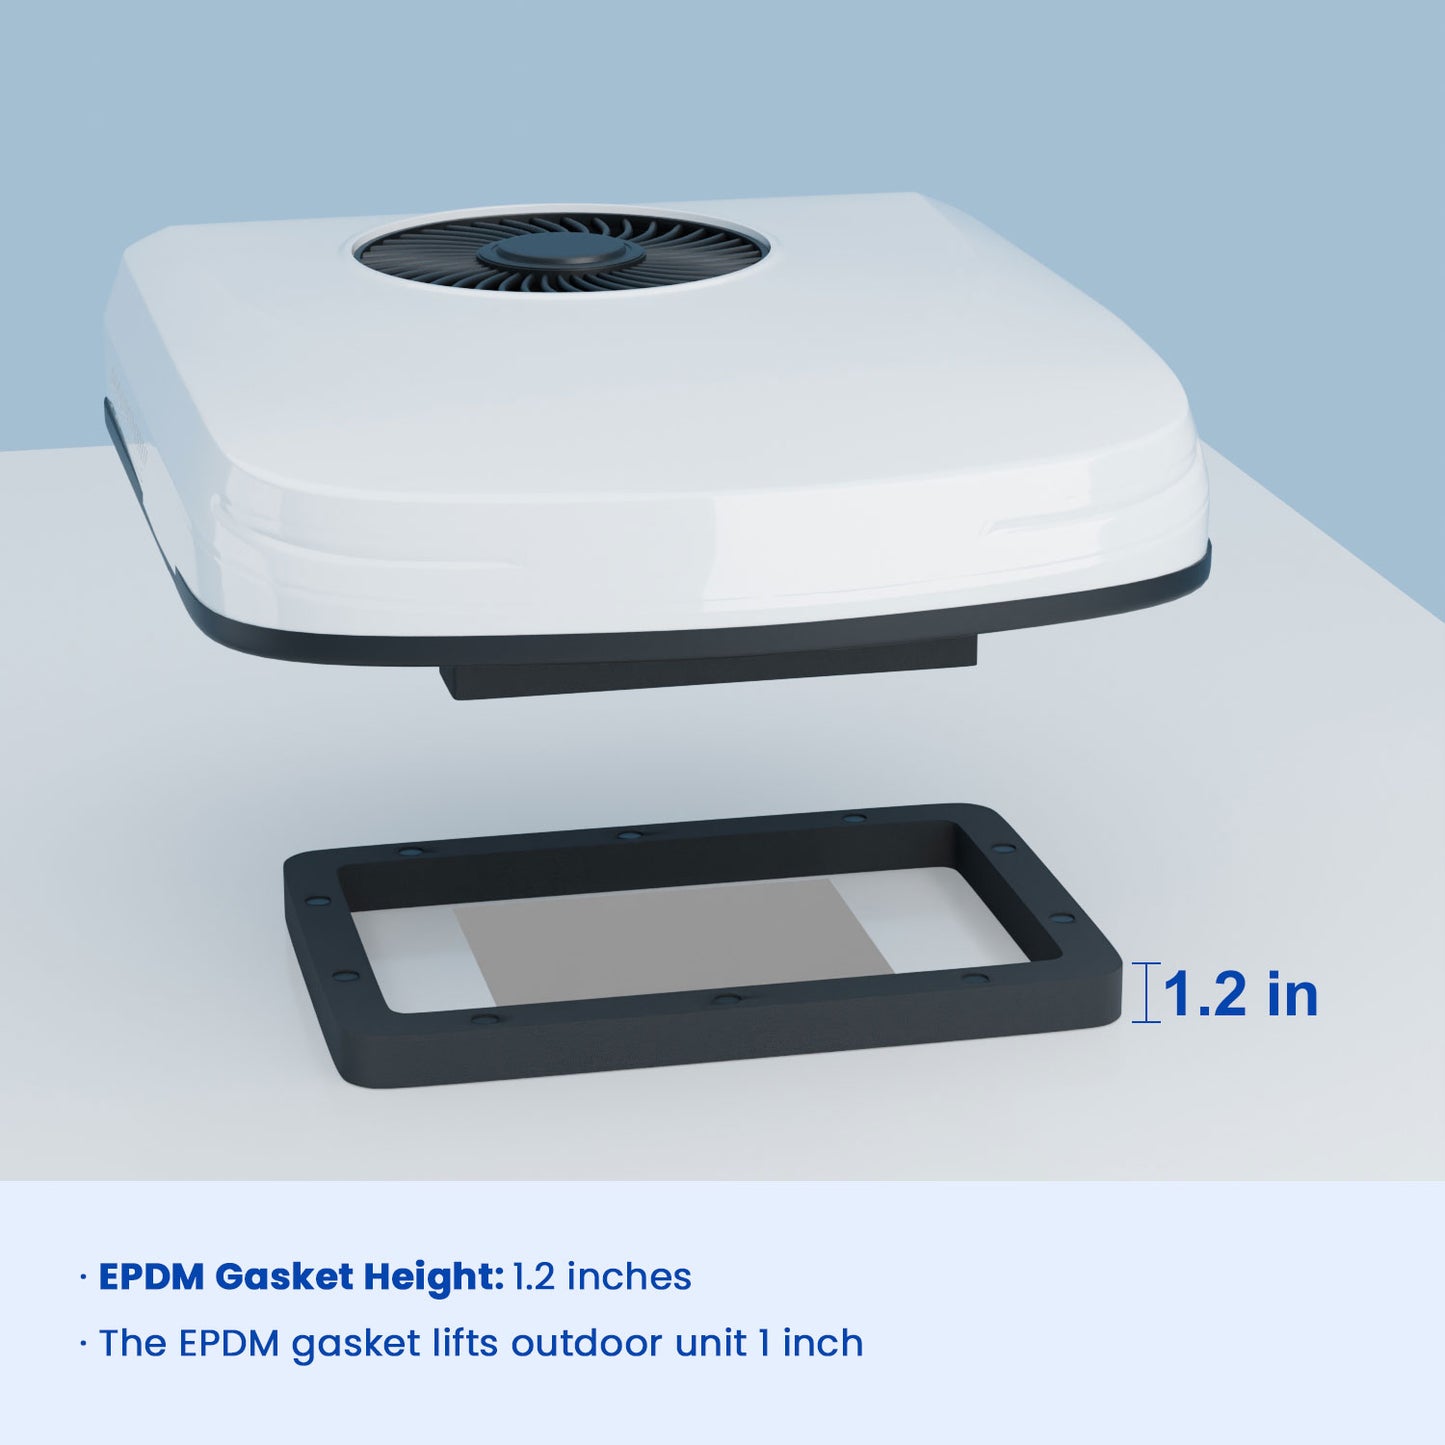


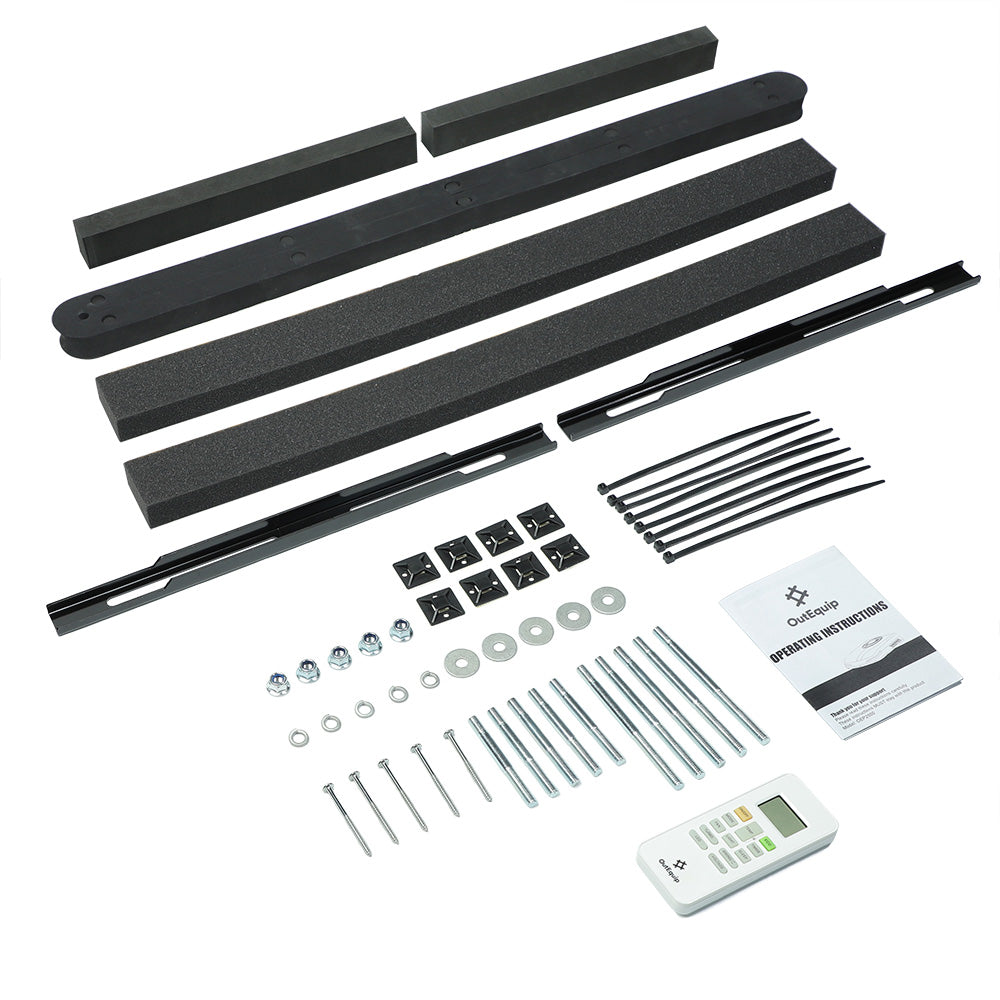

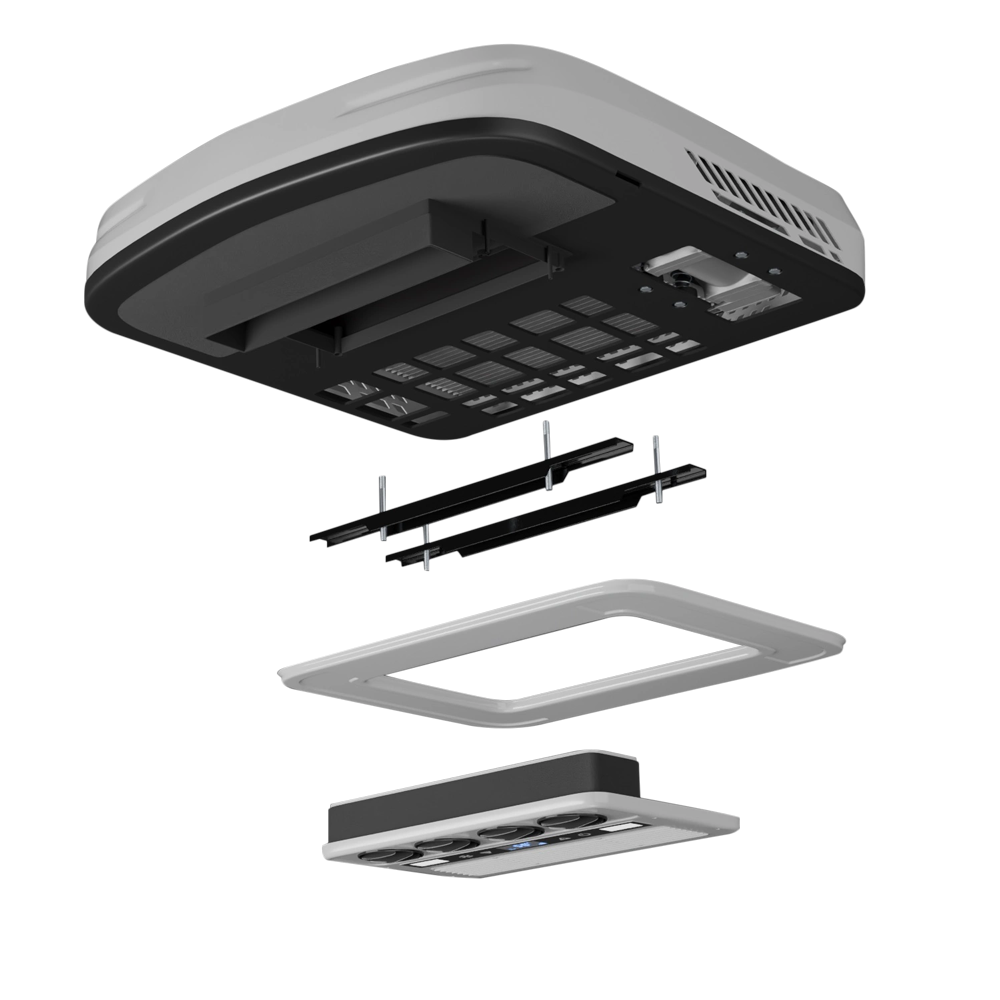
1. Mount external unit: Clean roof, apply gasket around the roof opening.
2. Secure with brackets: Attach rods to unit base, align and tighten brackets to roof.
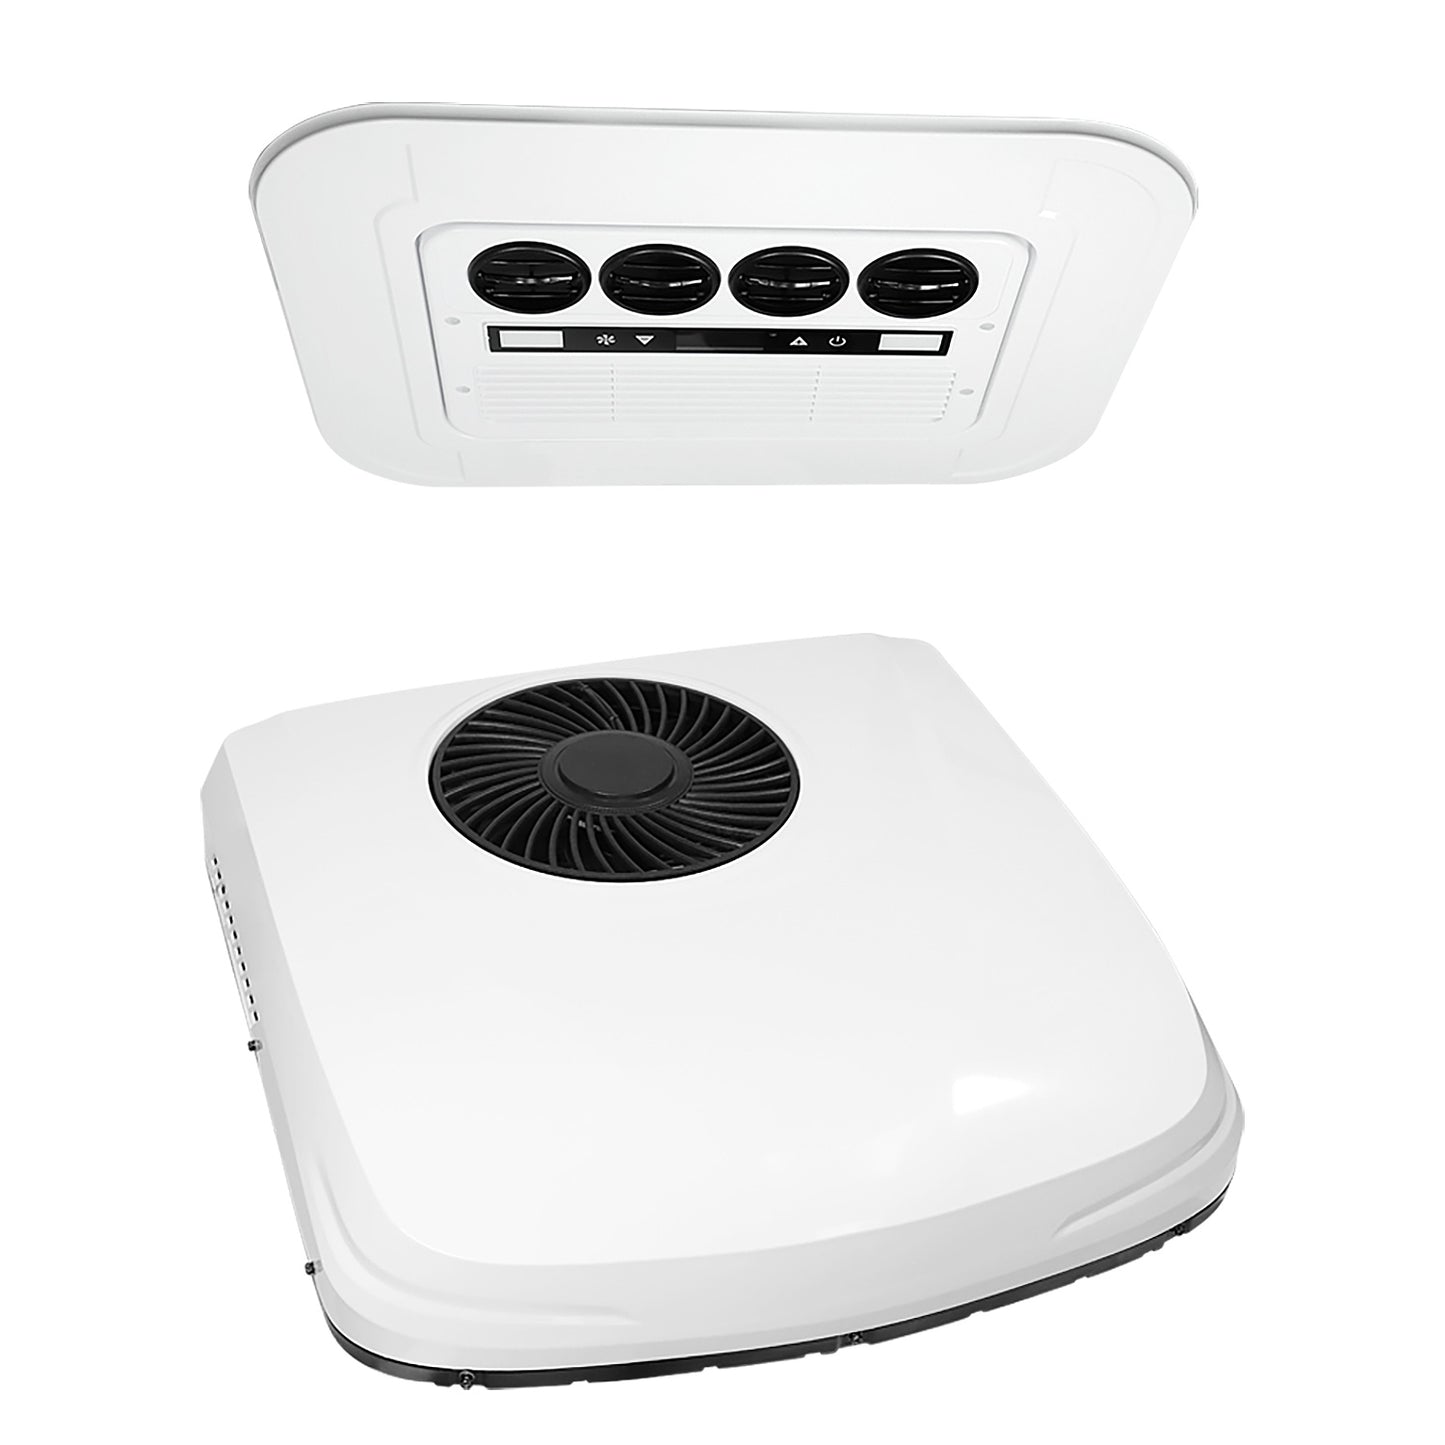
3. Install indoor panel: Align with external unit rods, secure tightly.

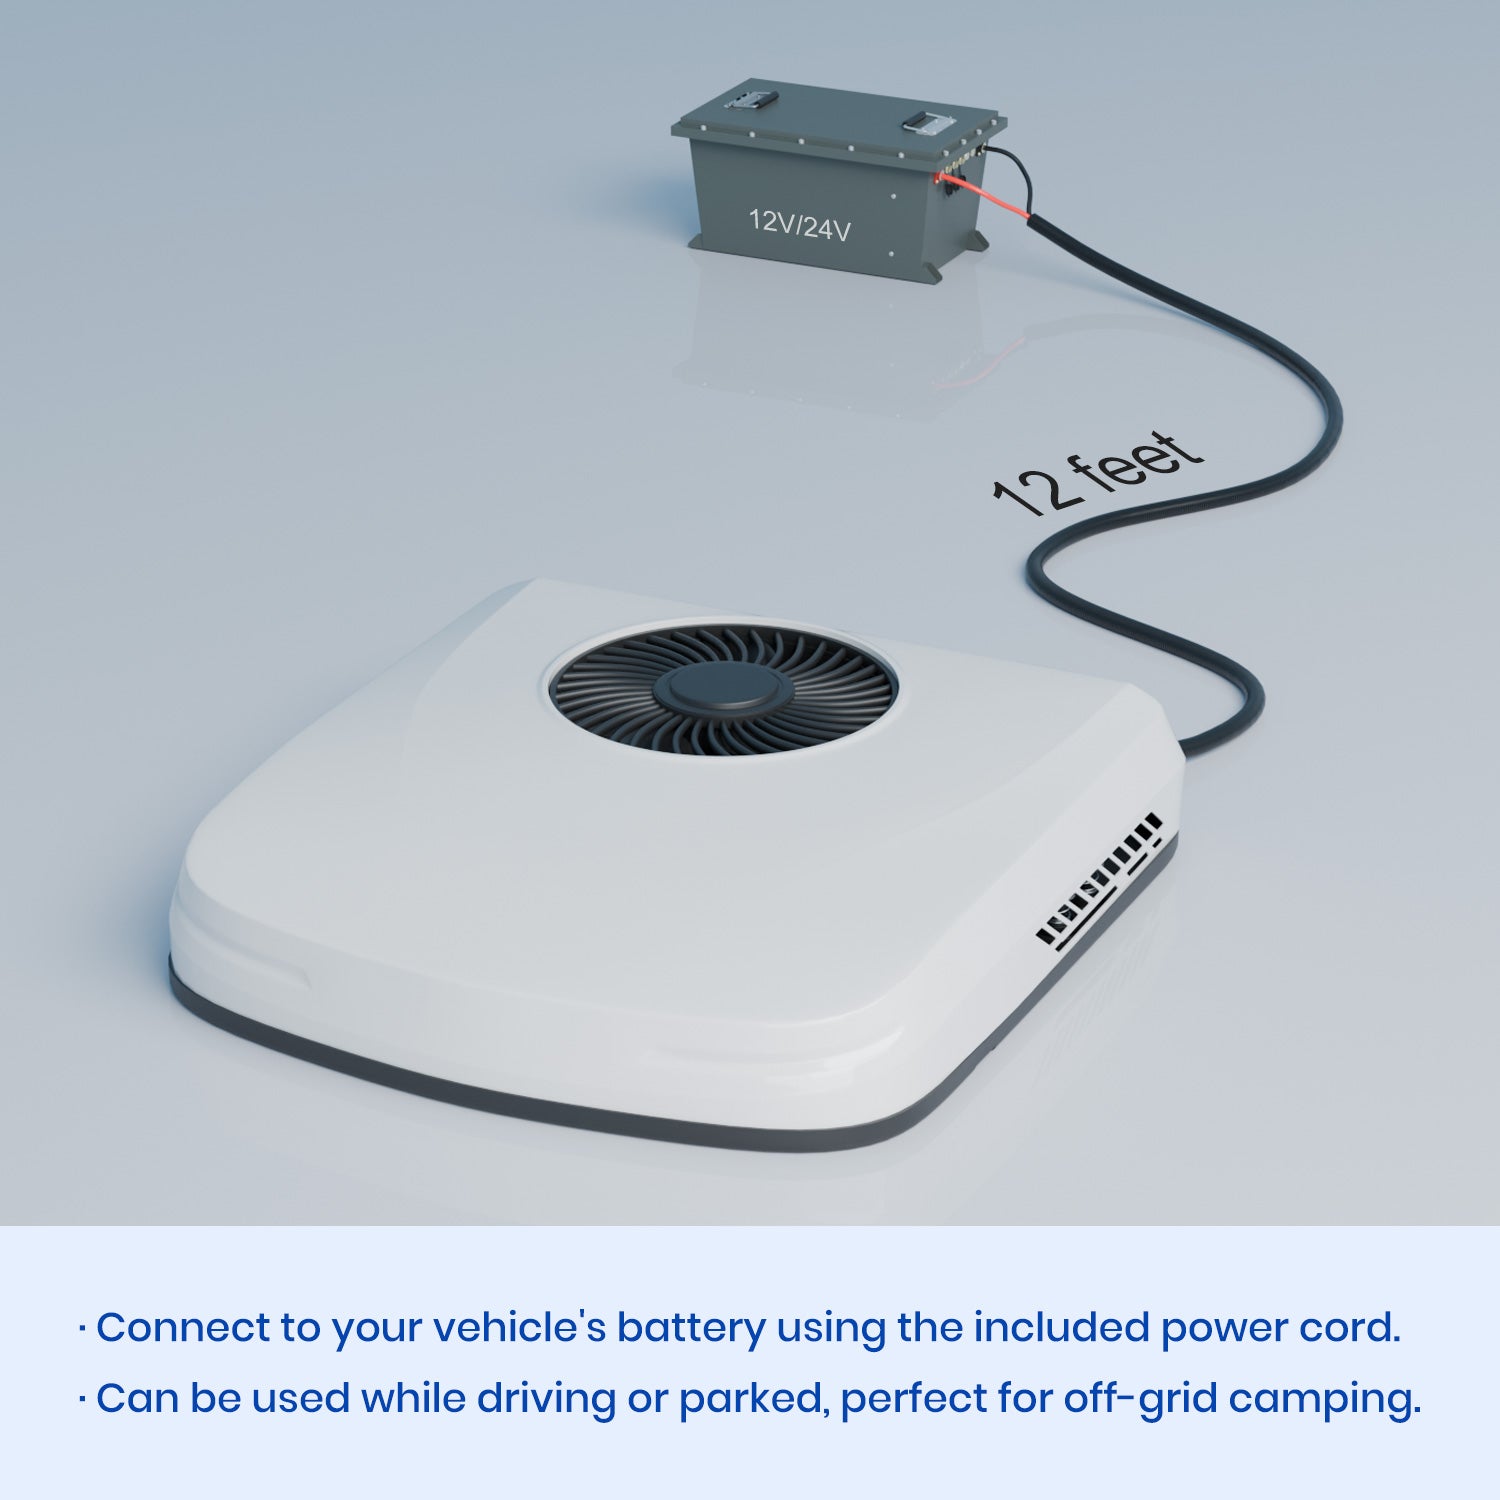
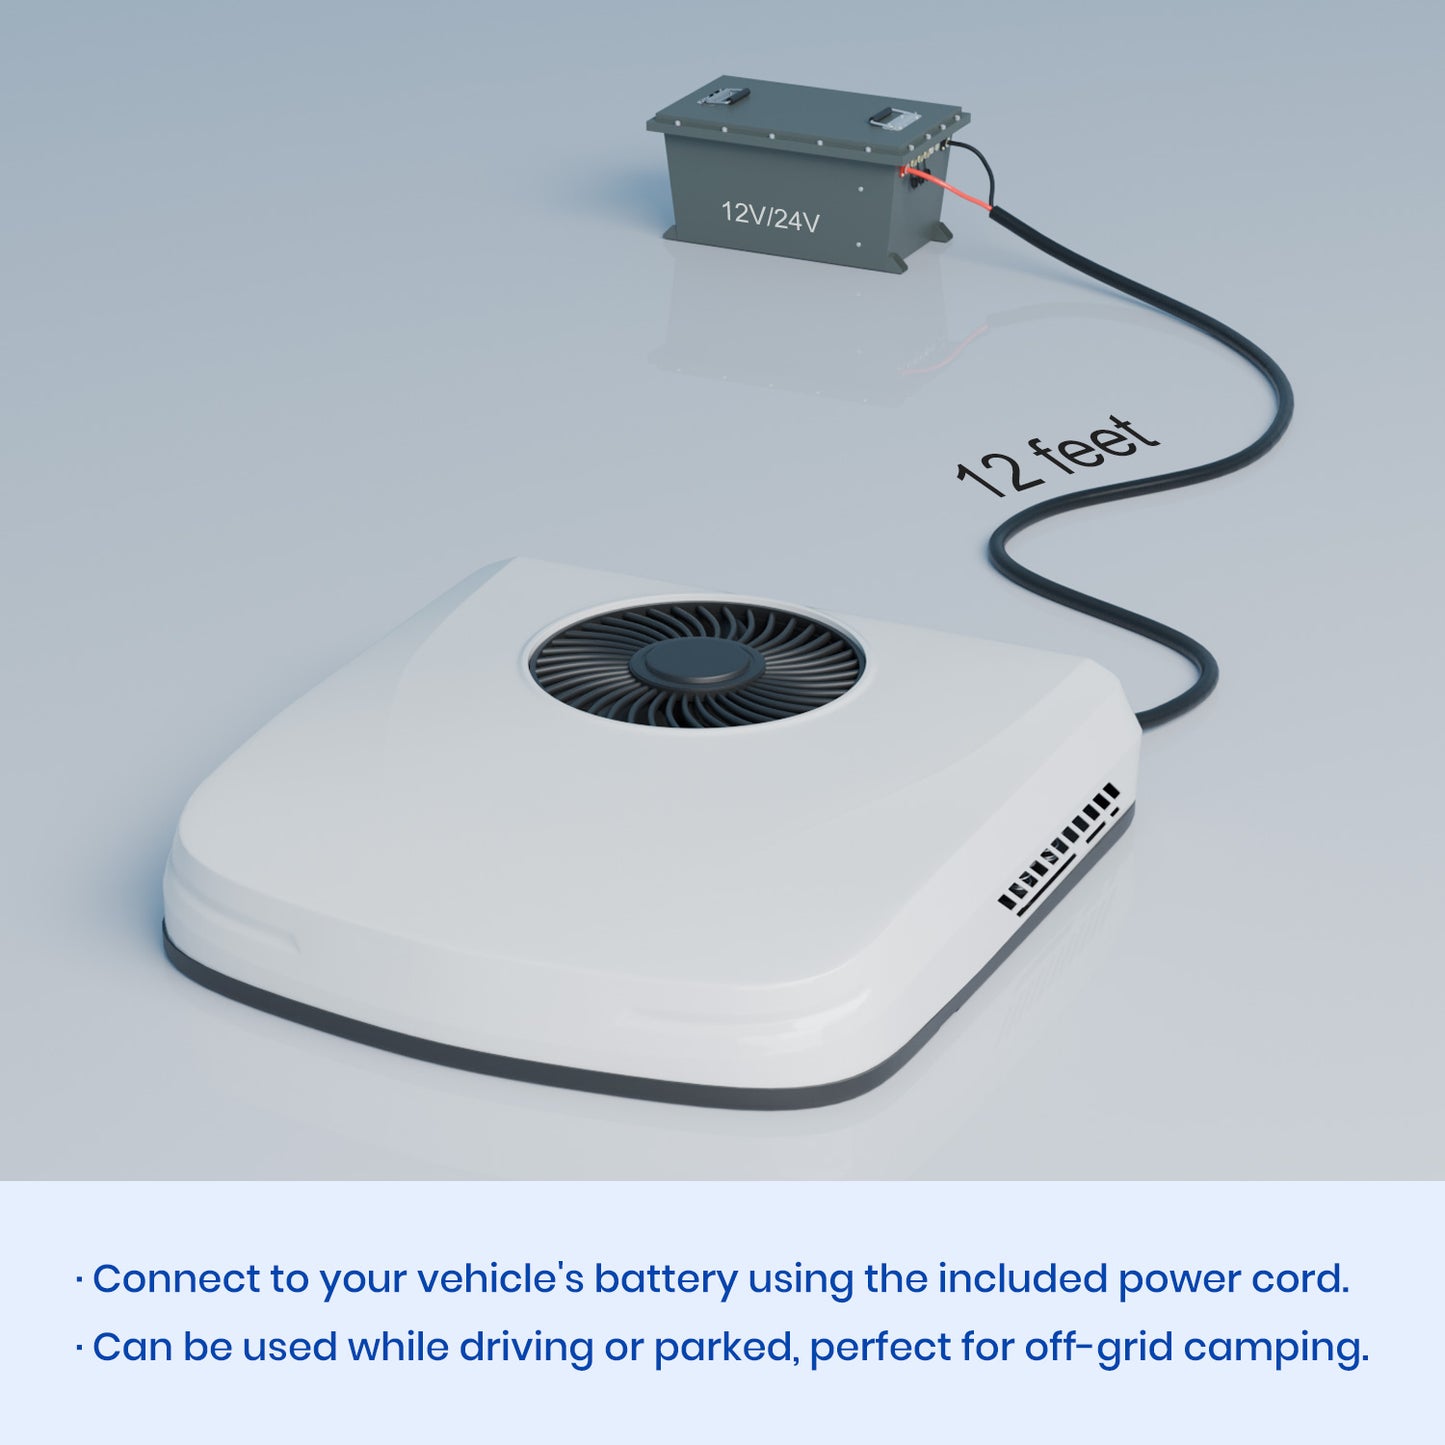
12V/24V Powered

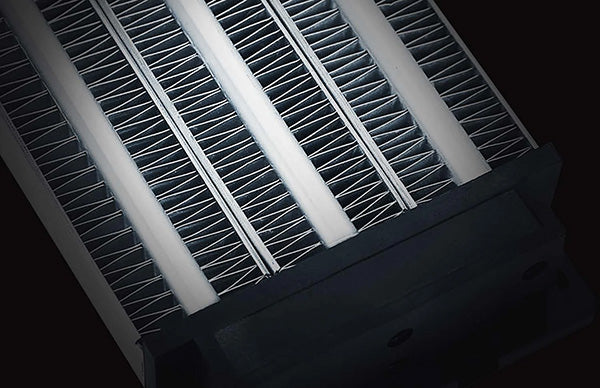
Heating & Cooling

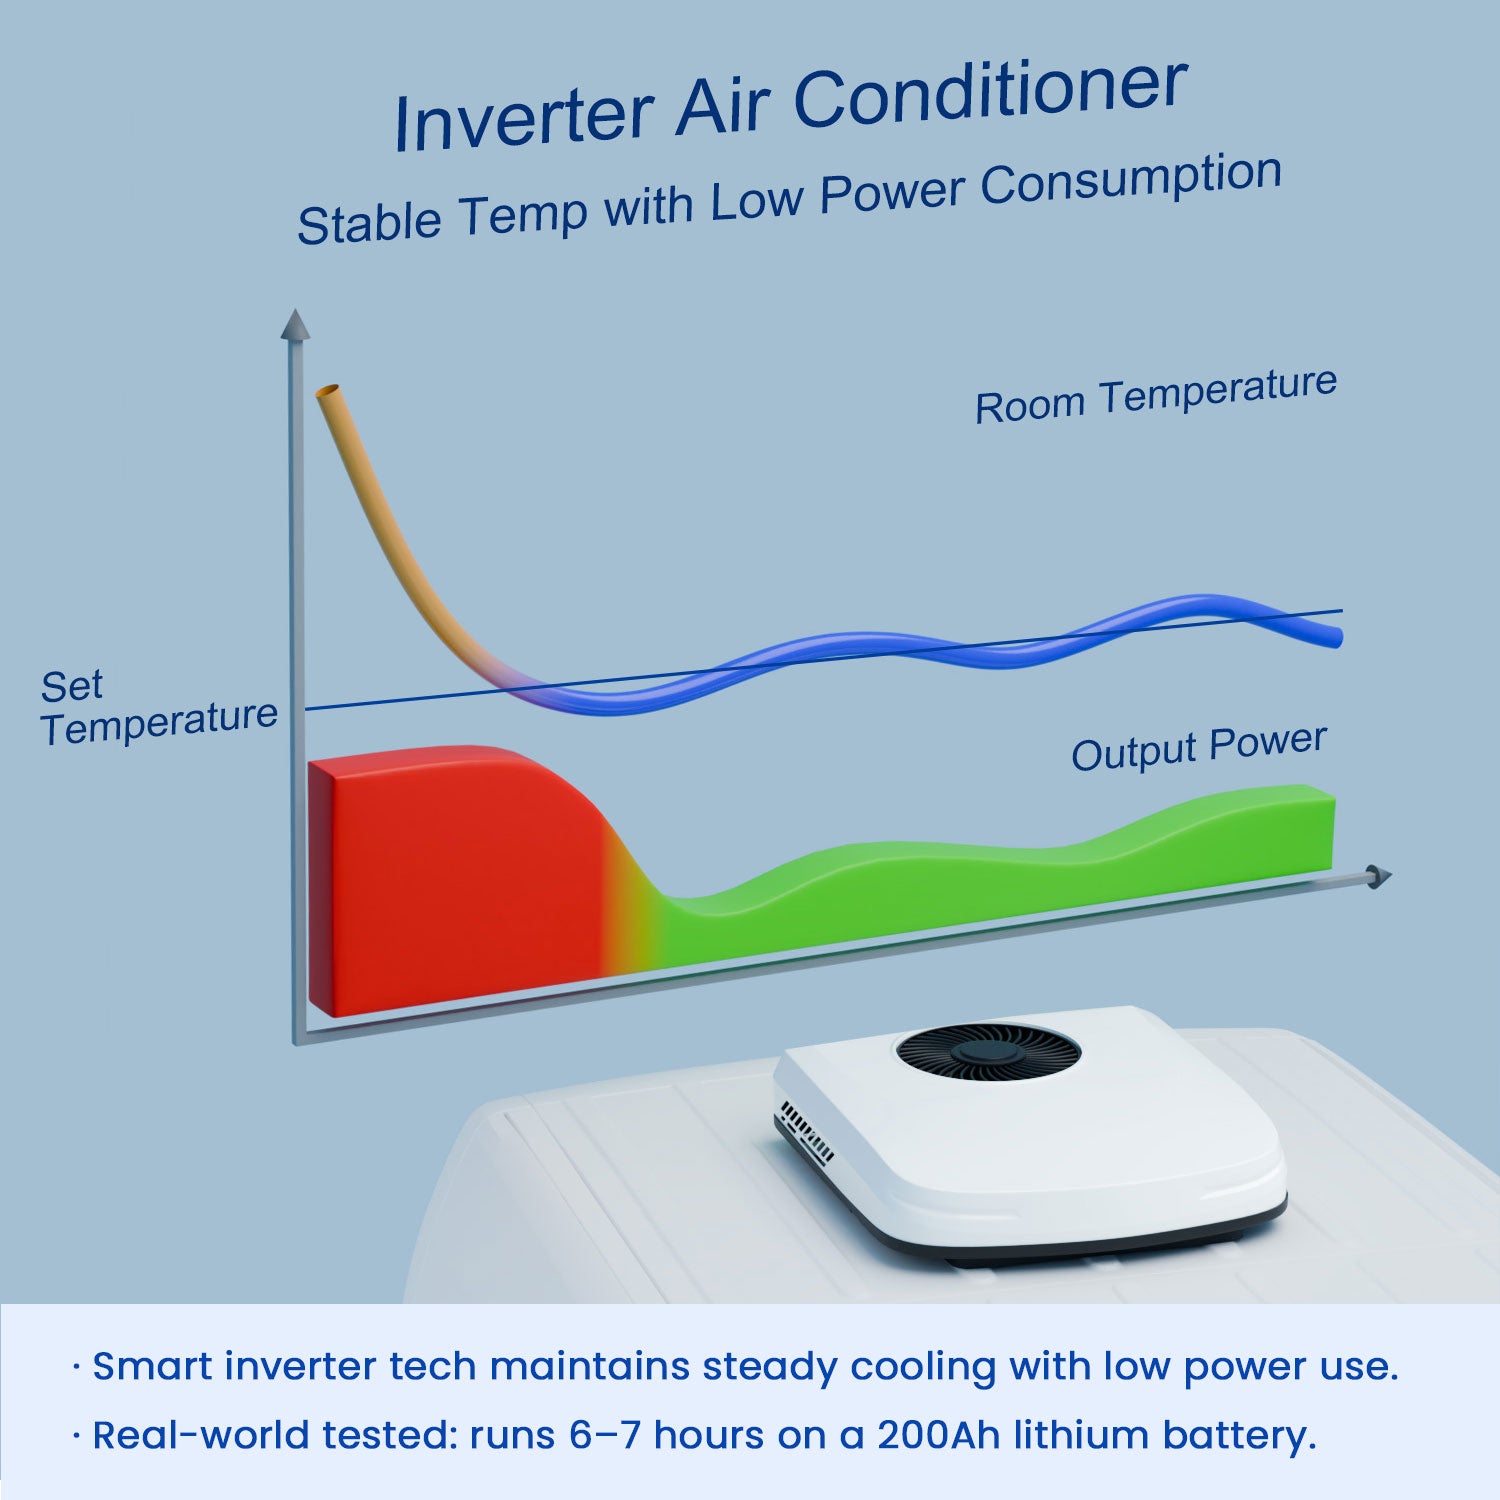
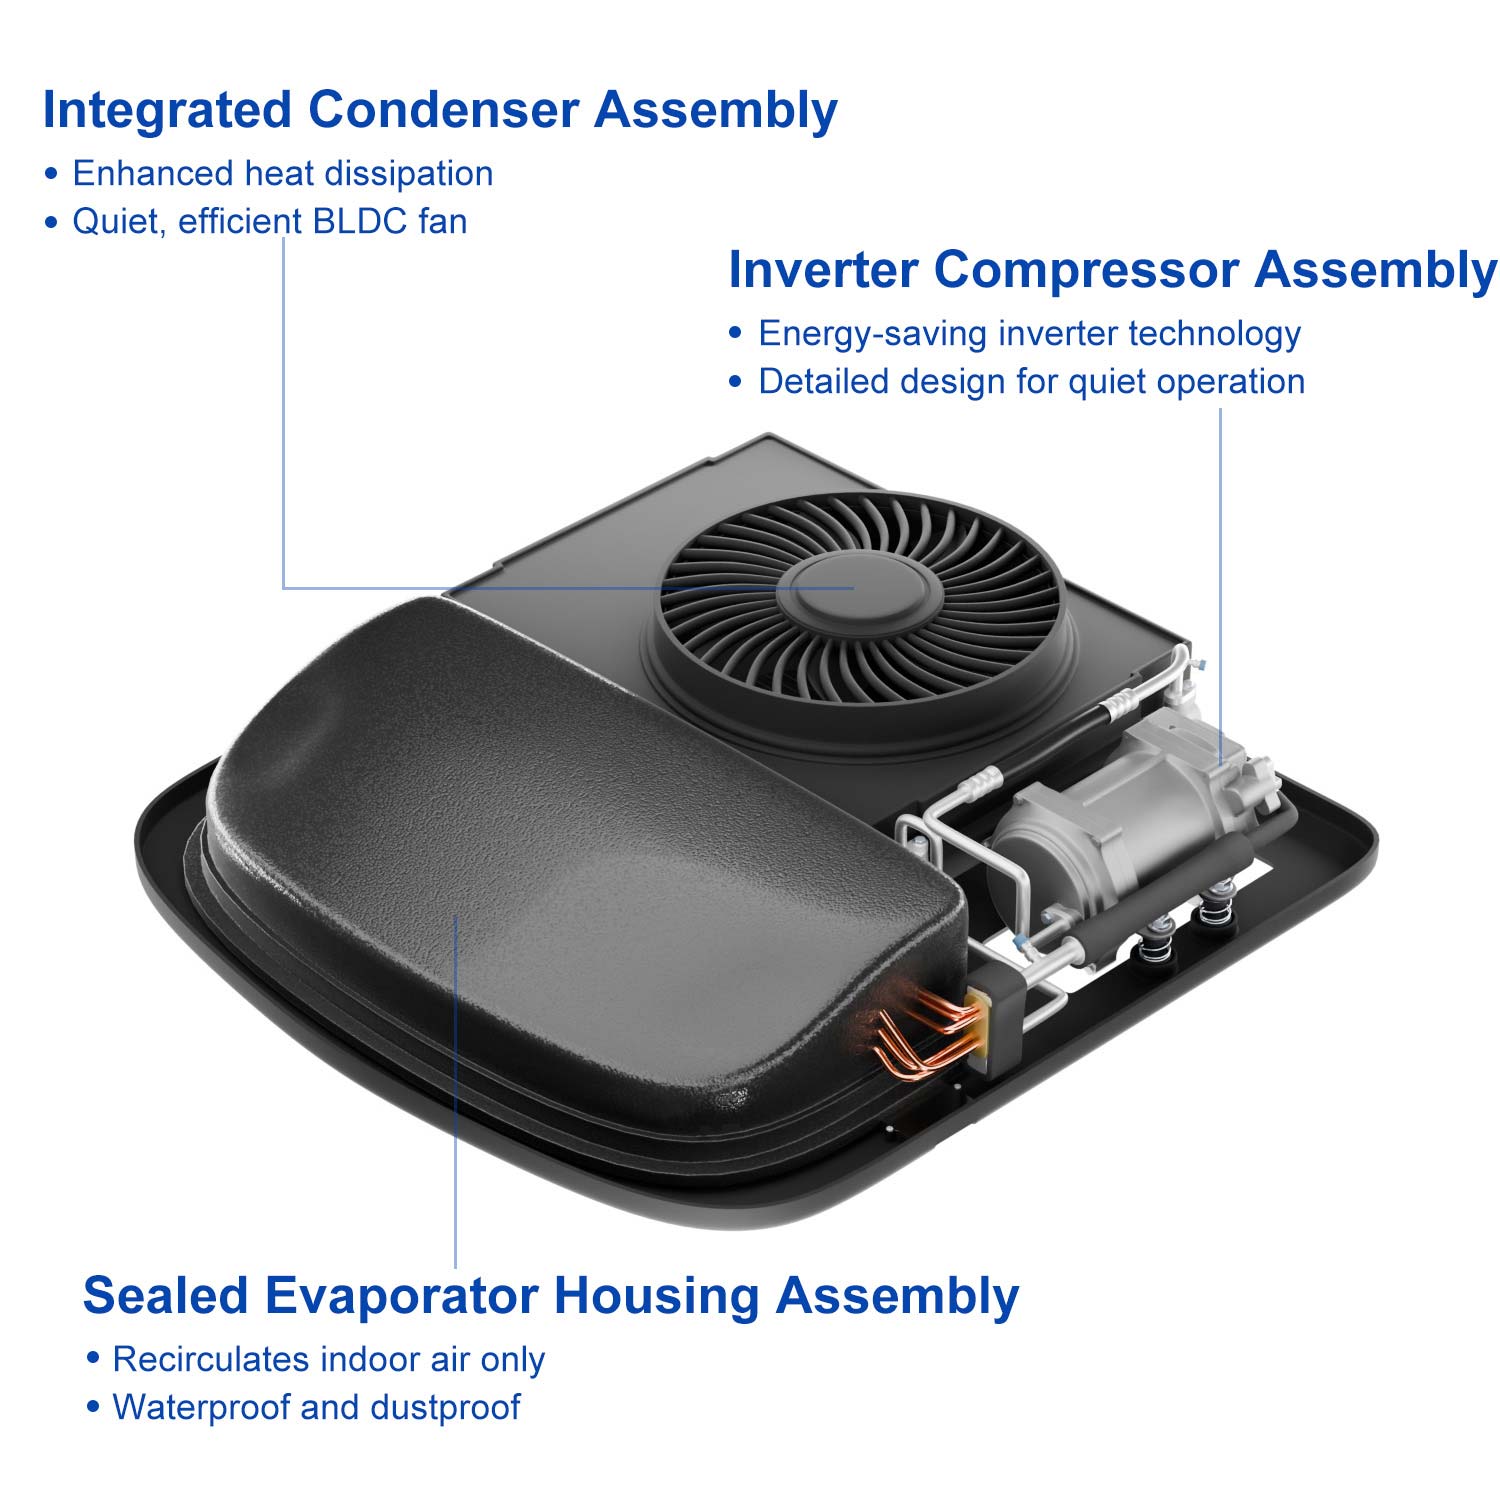
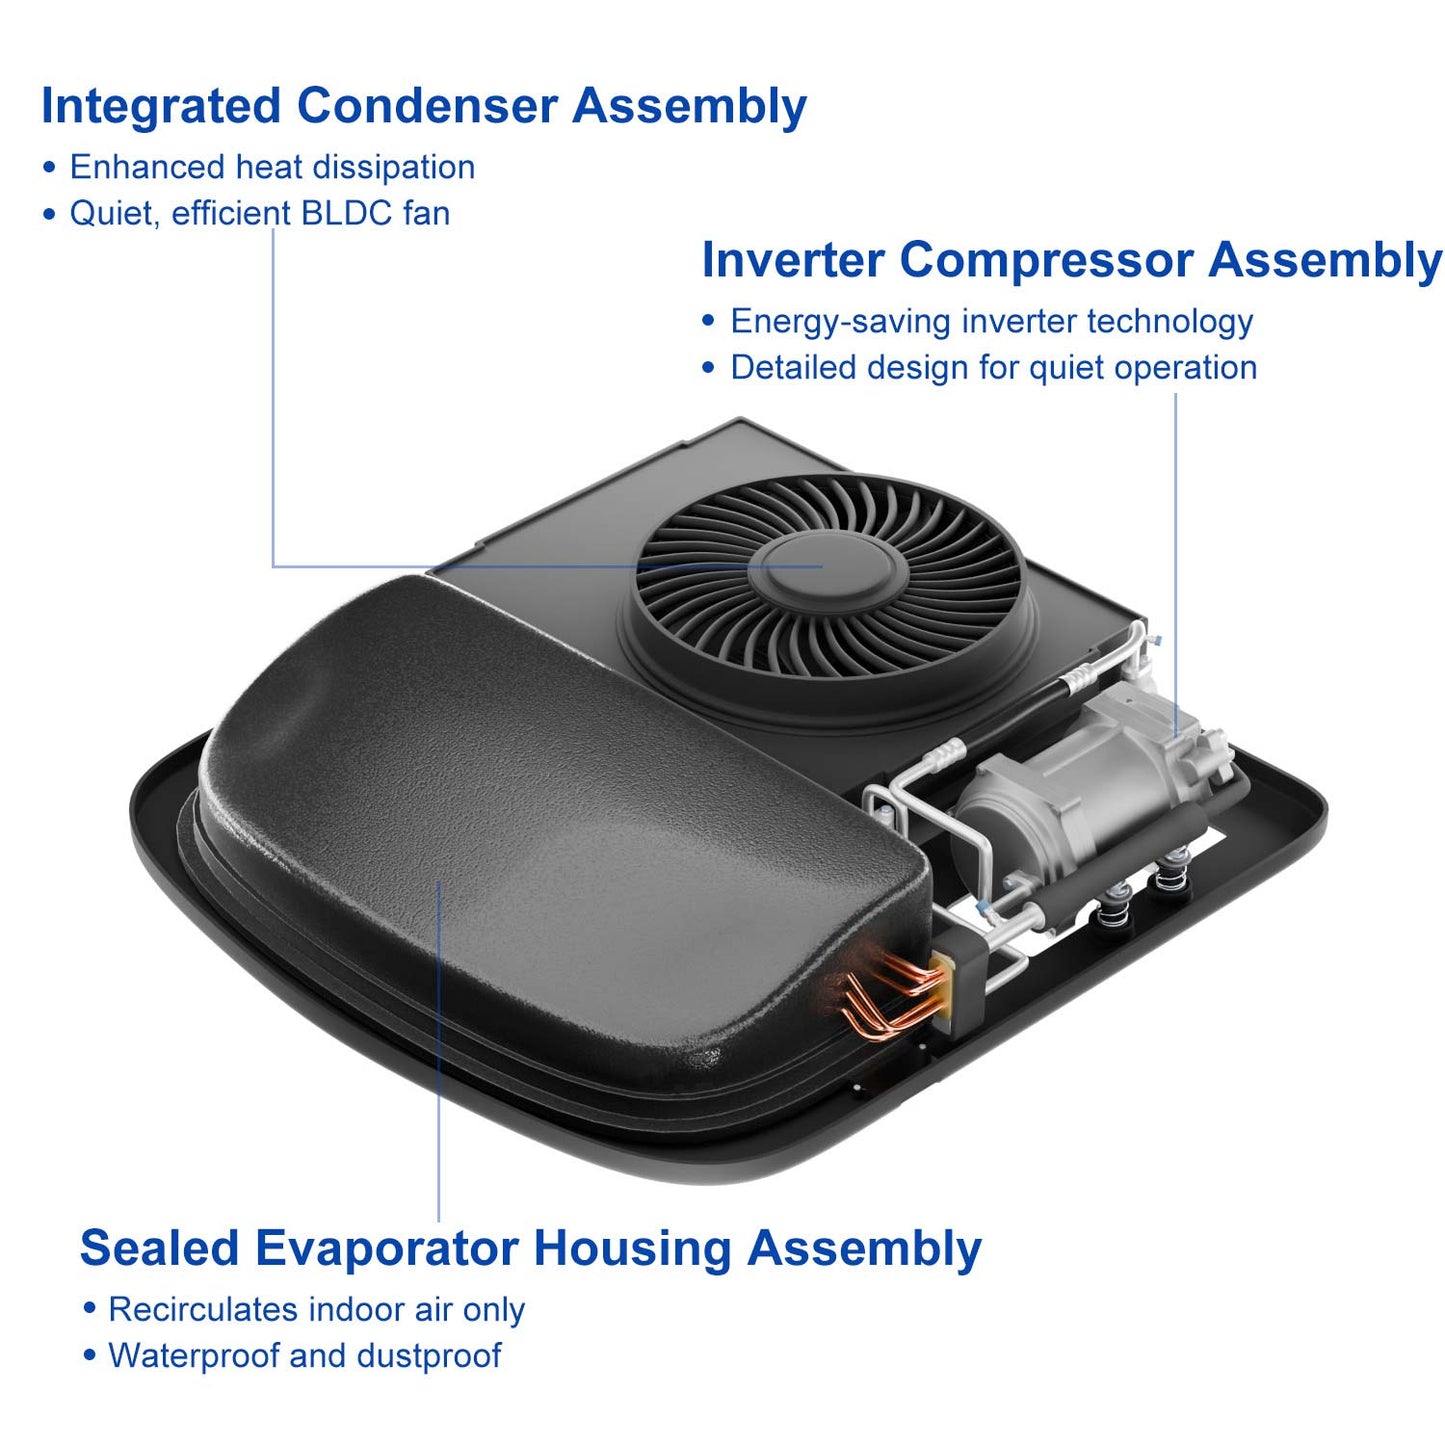
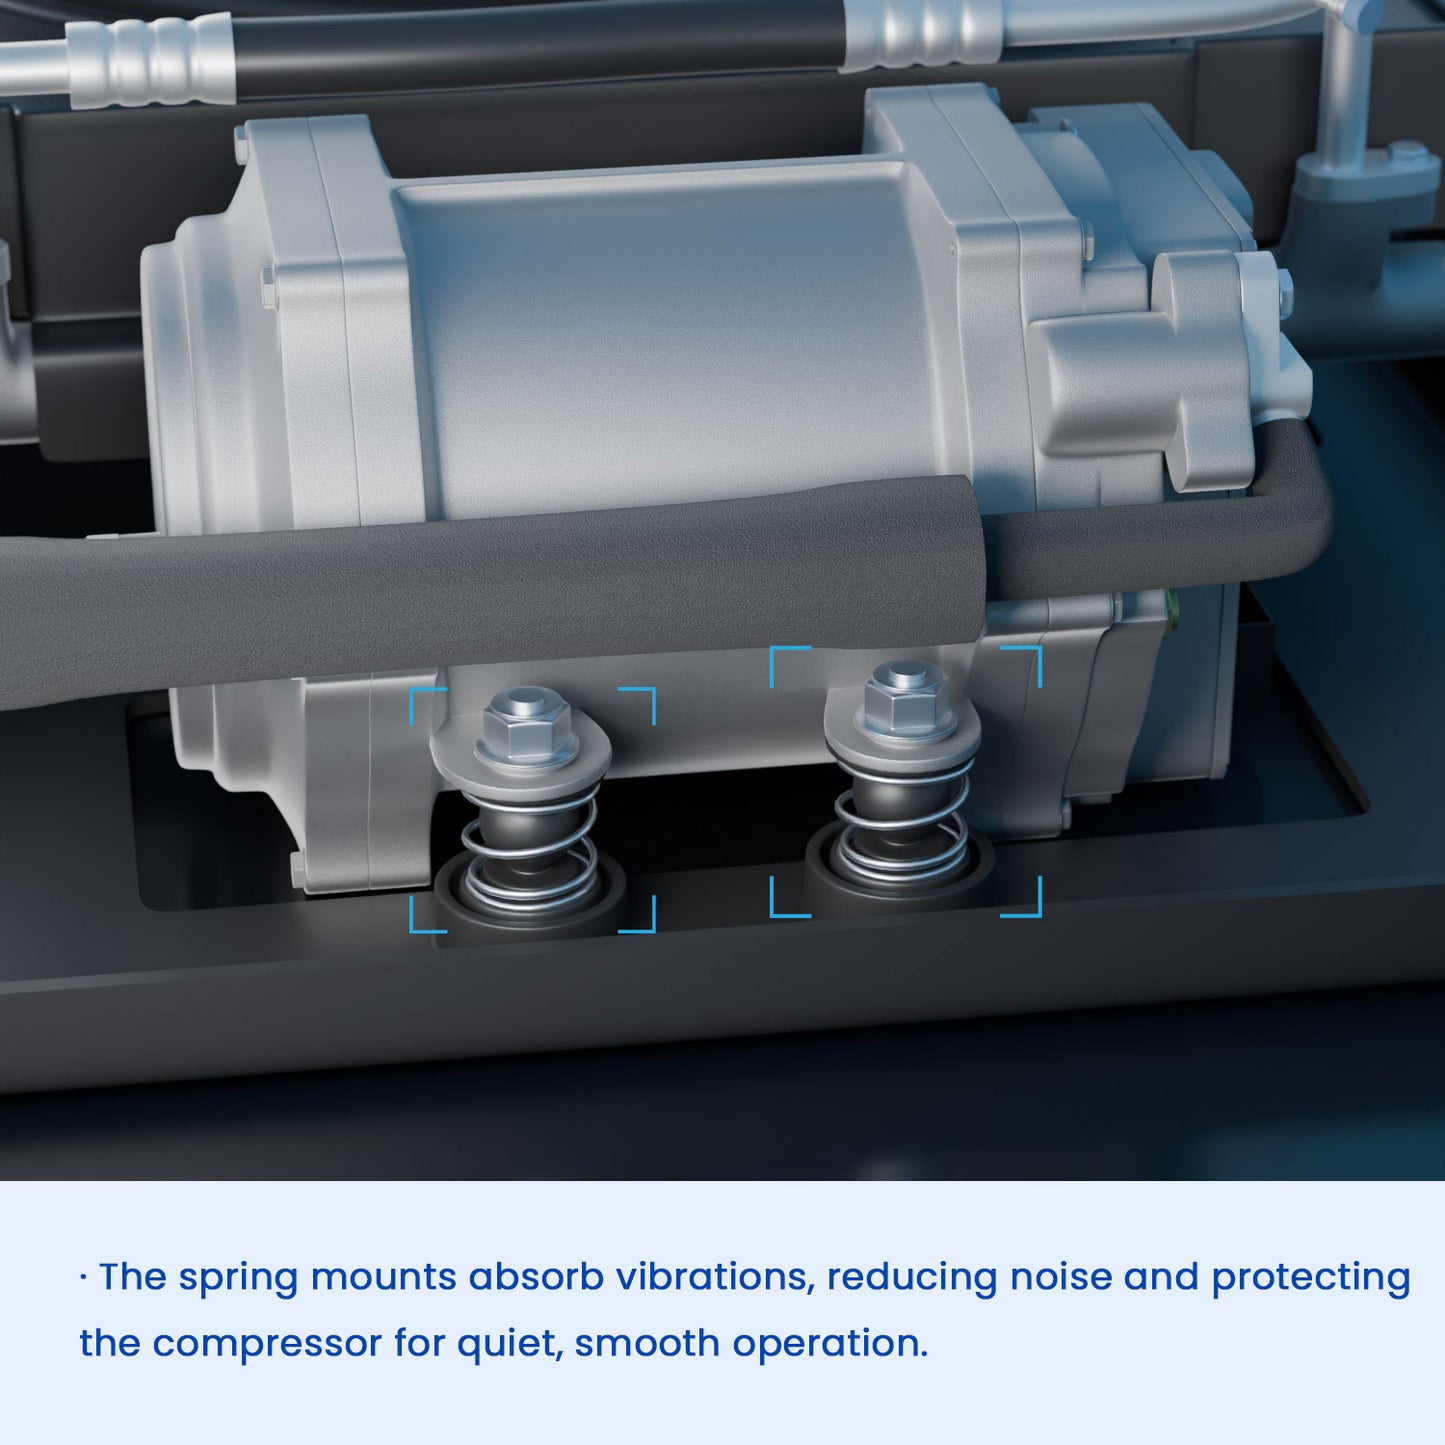
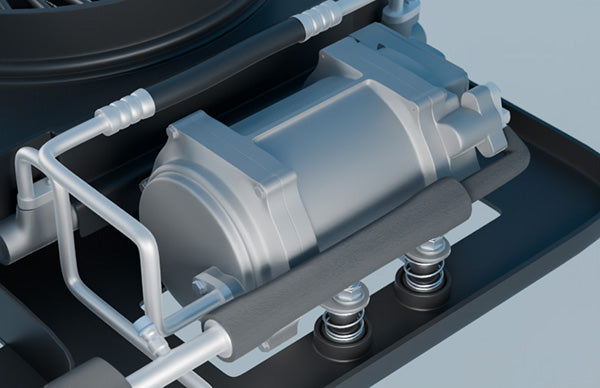
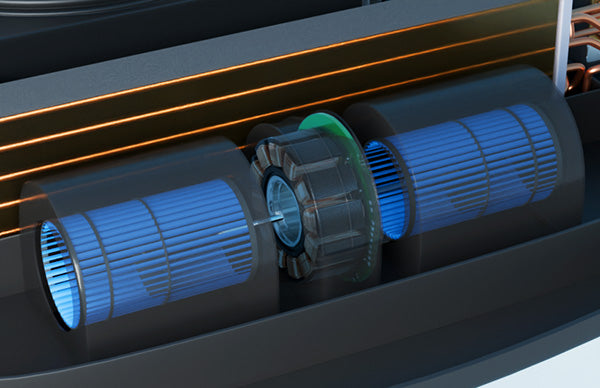
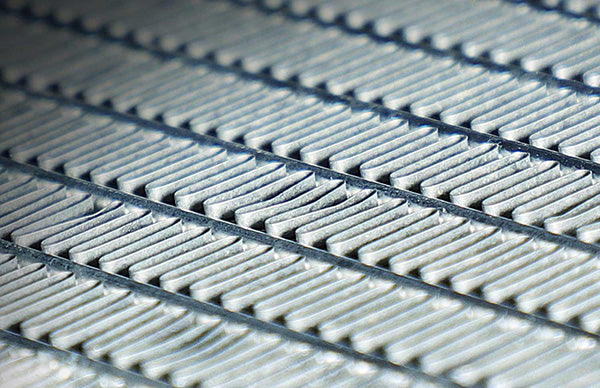
Inverter Technology

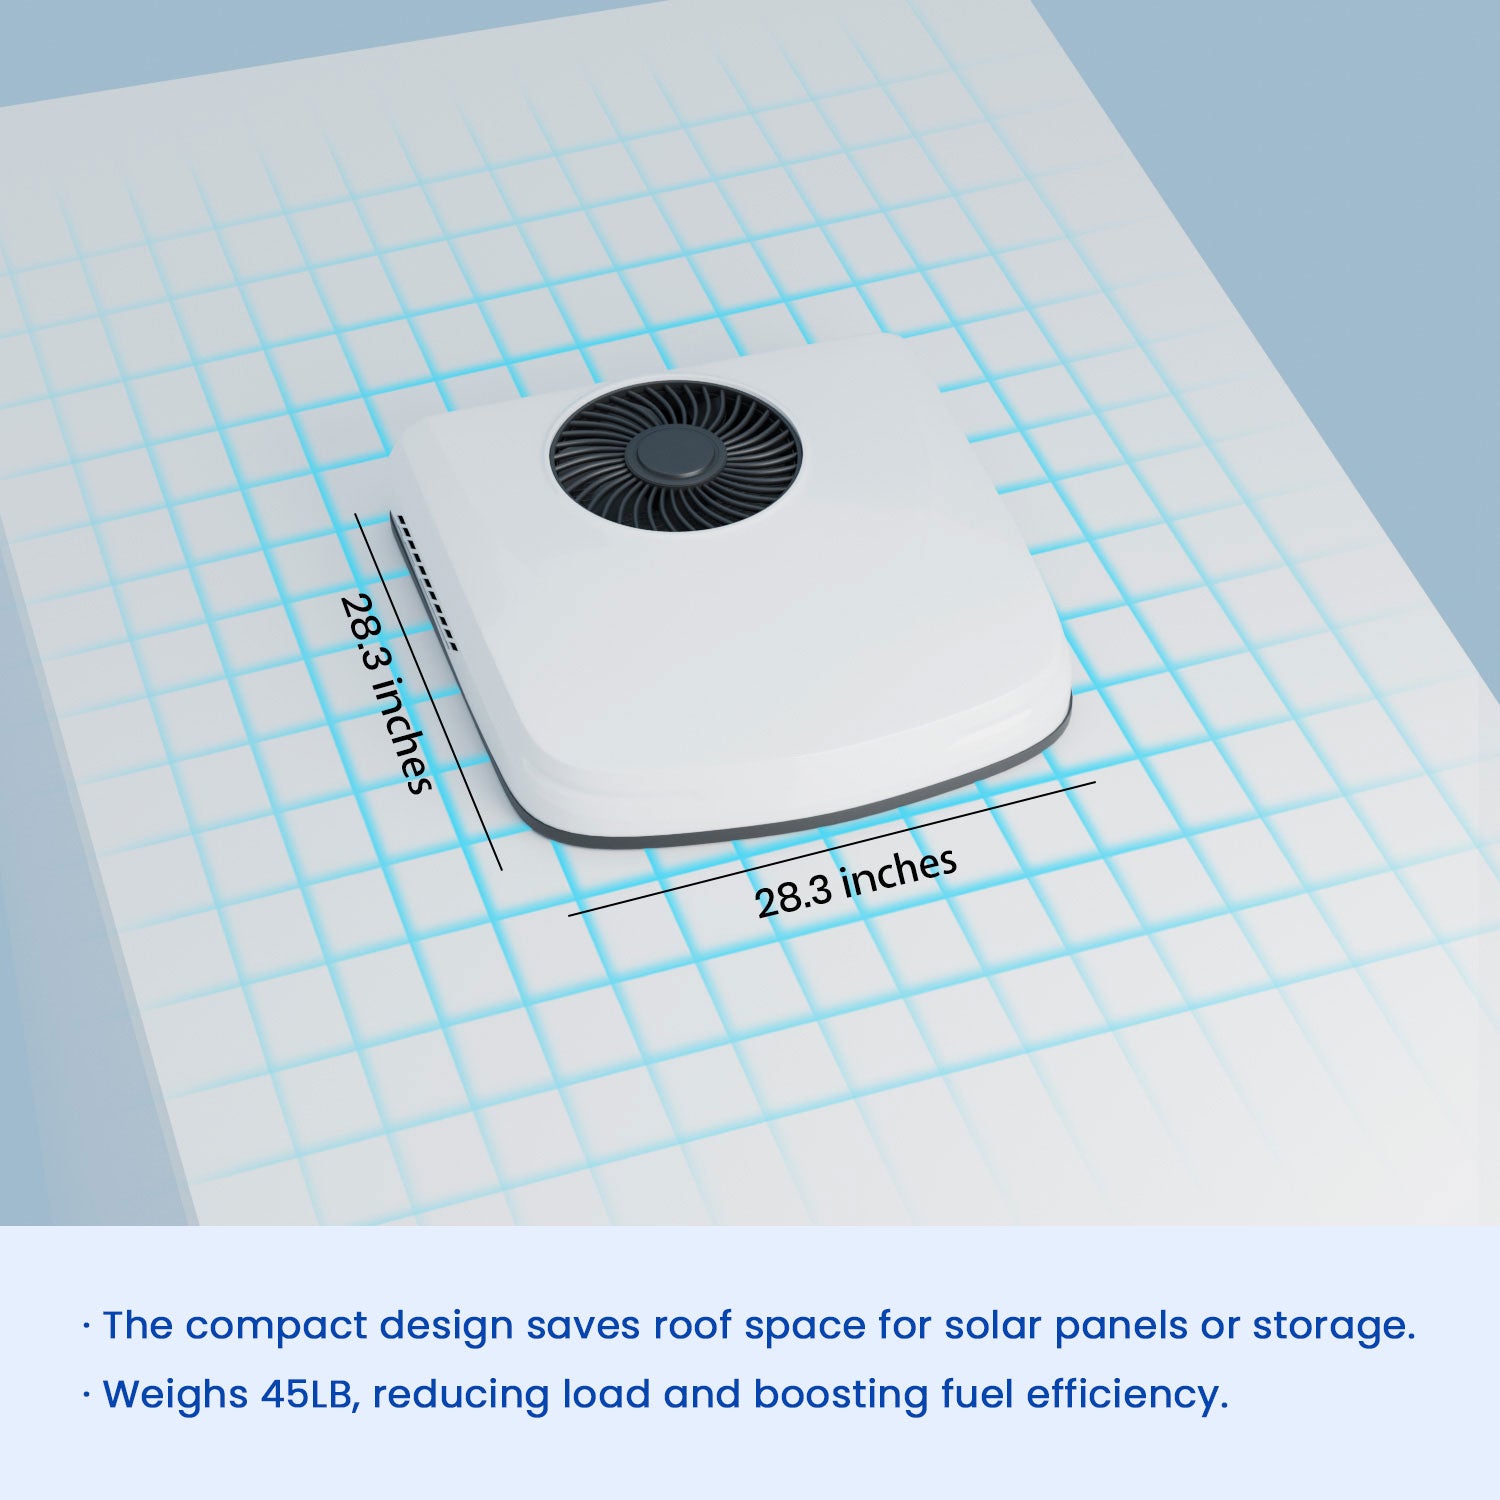
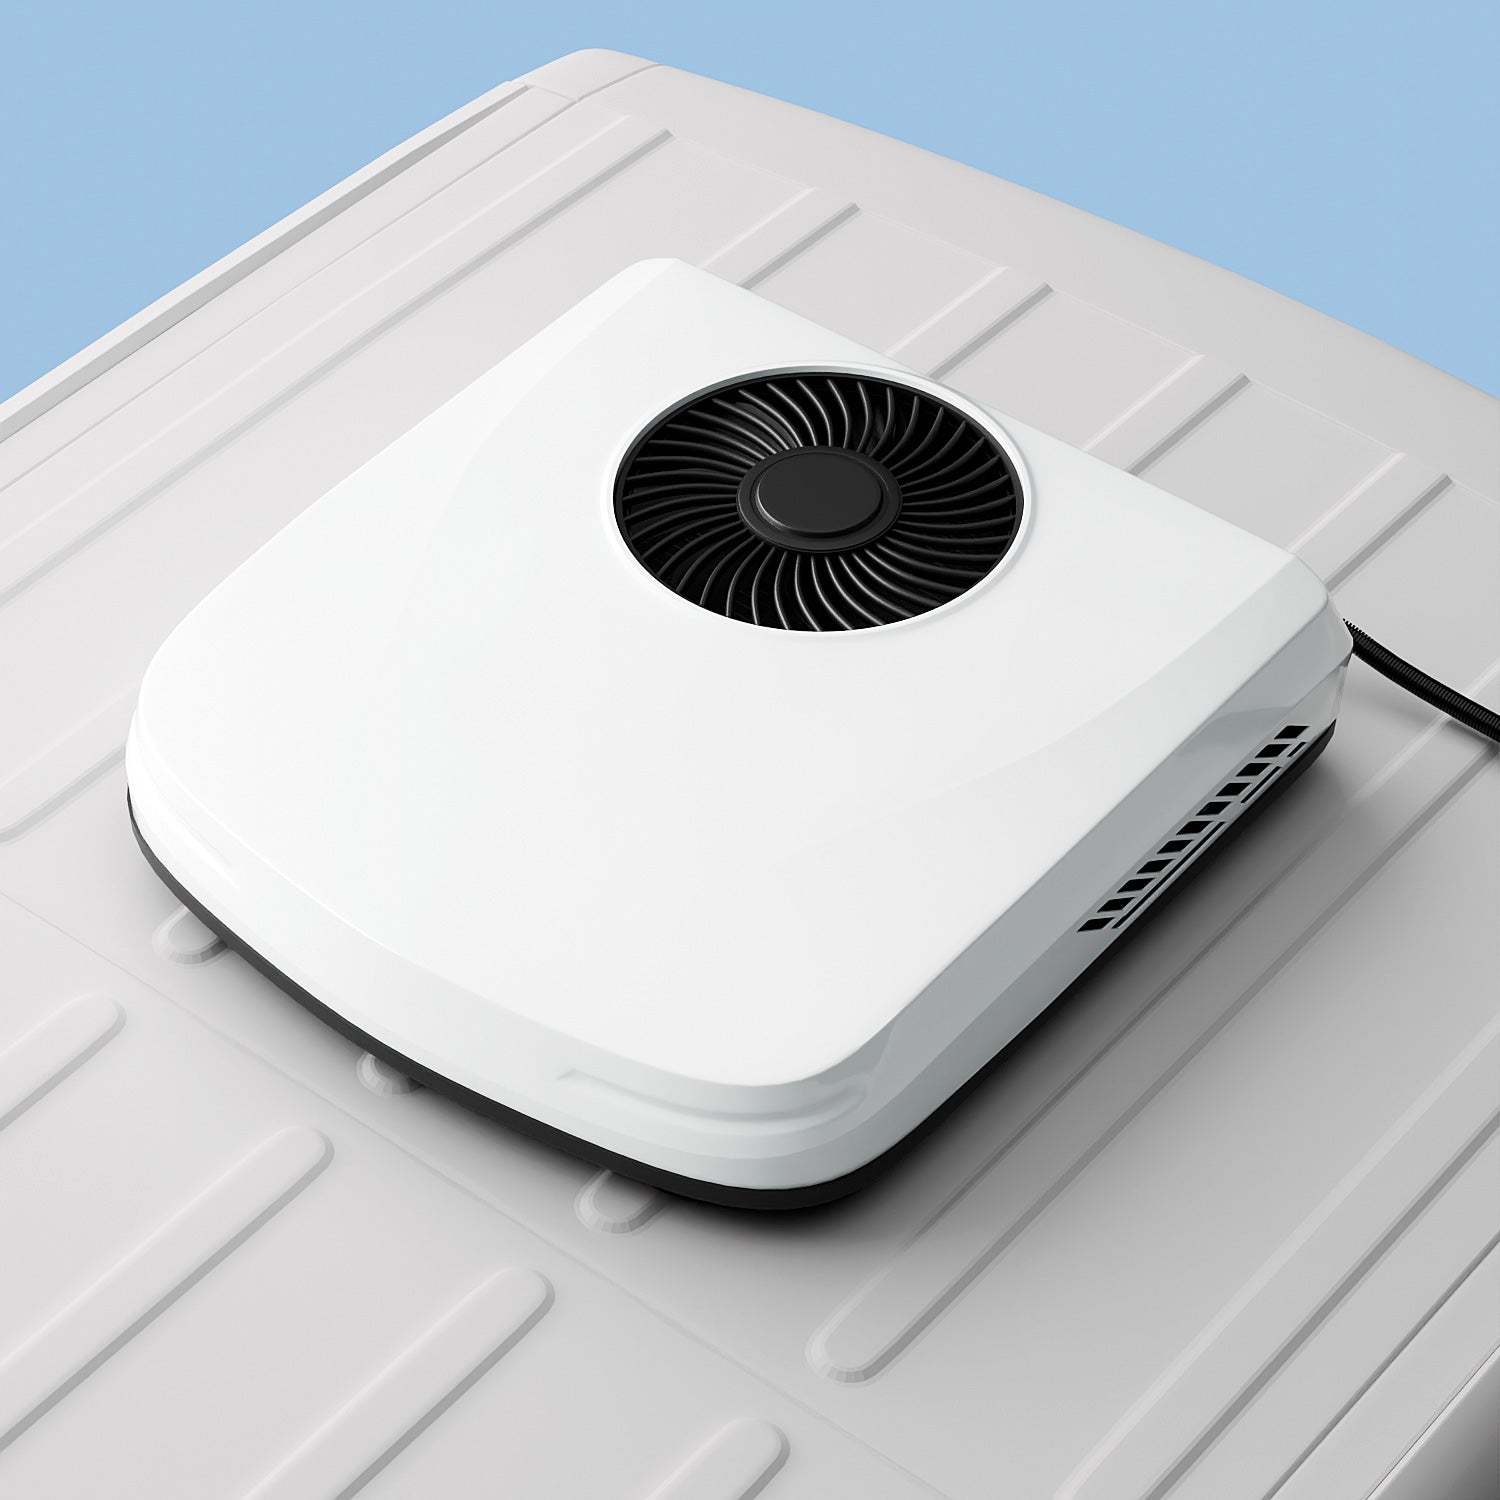
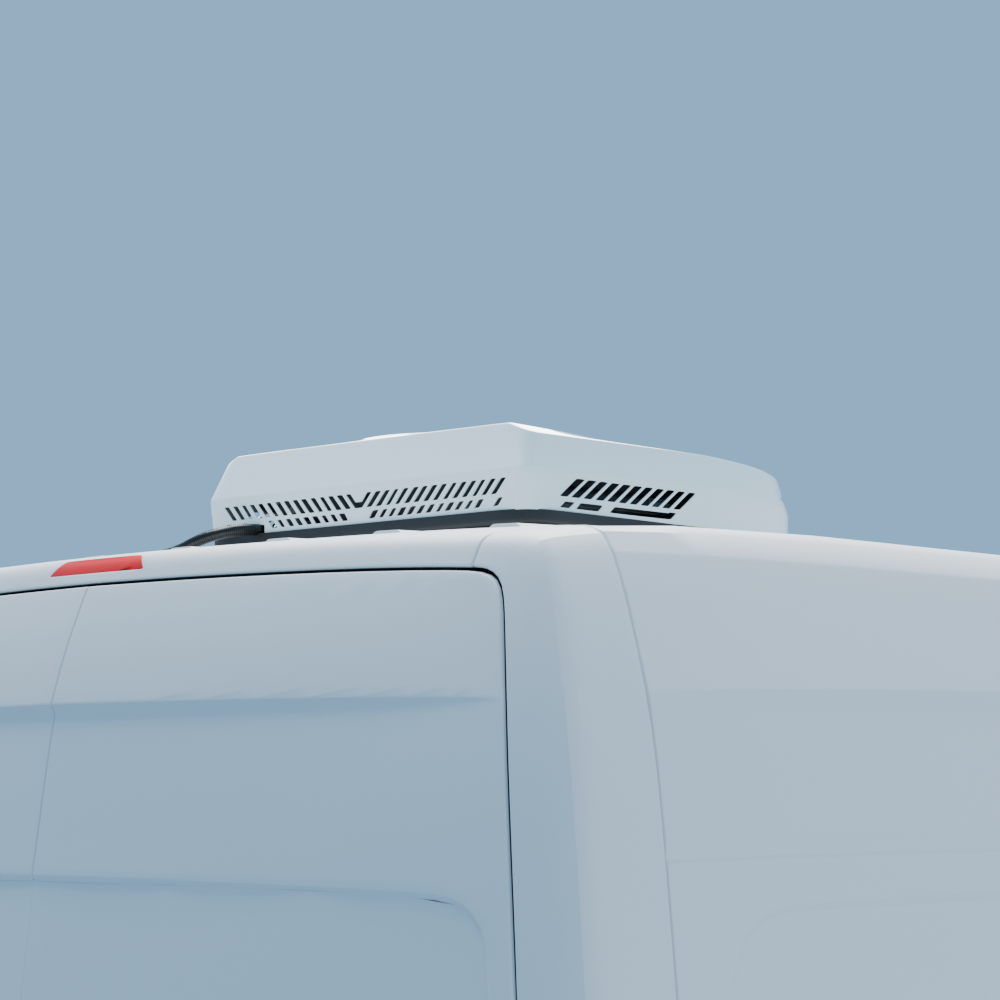
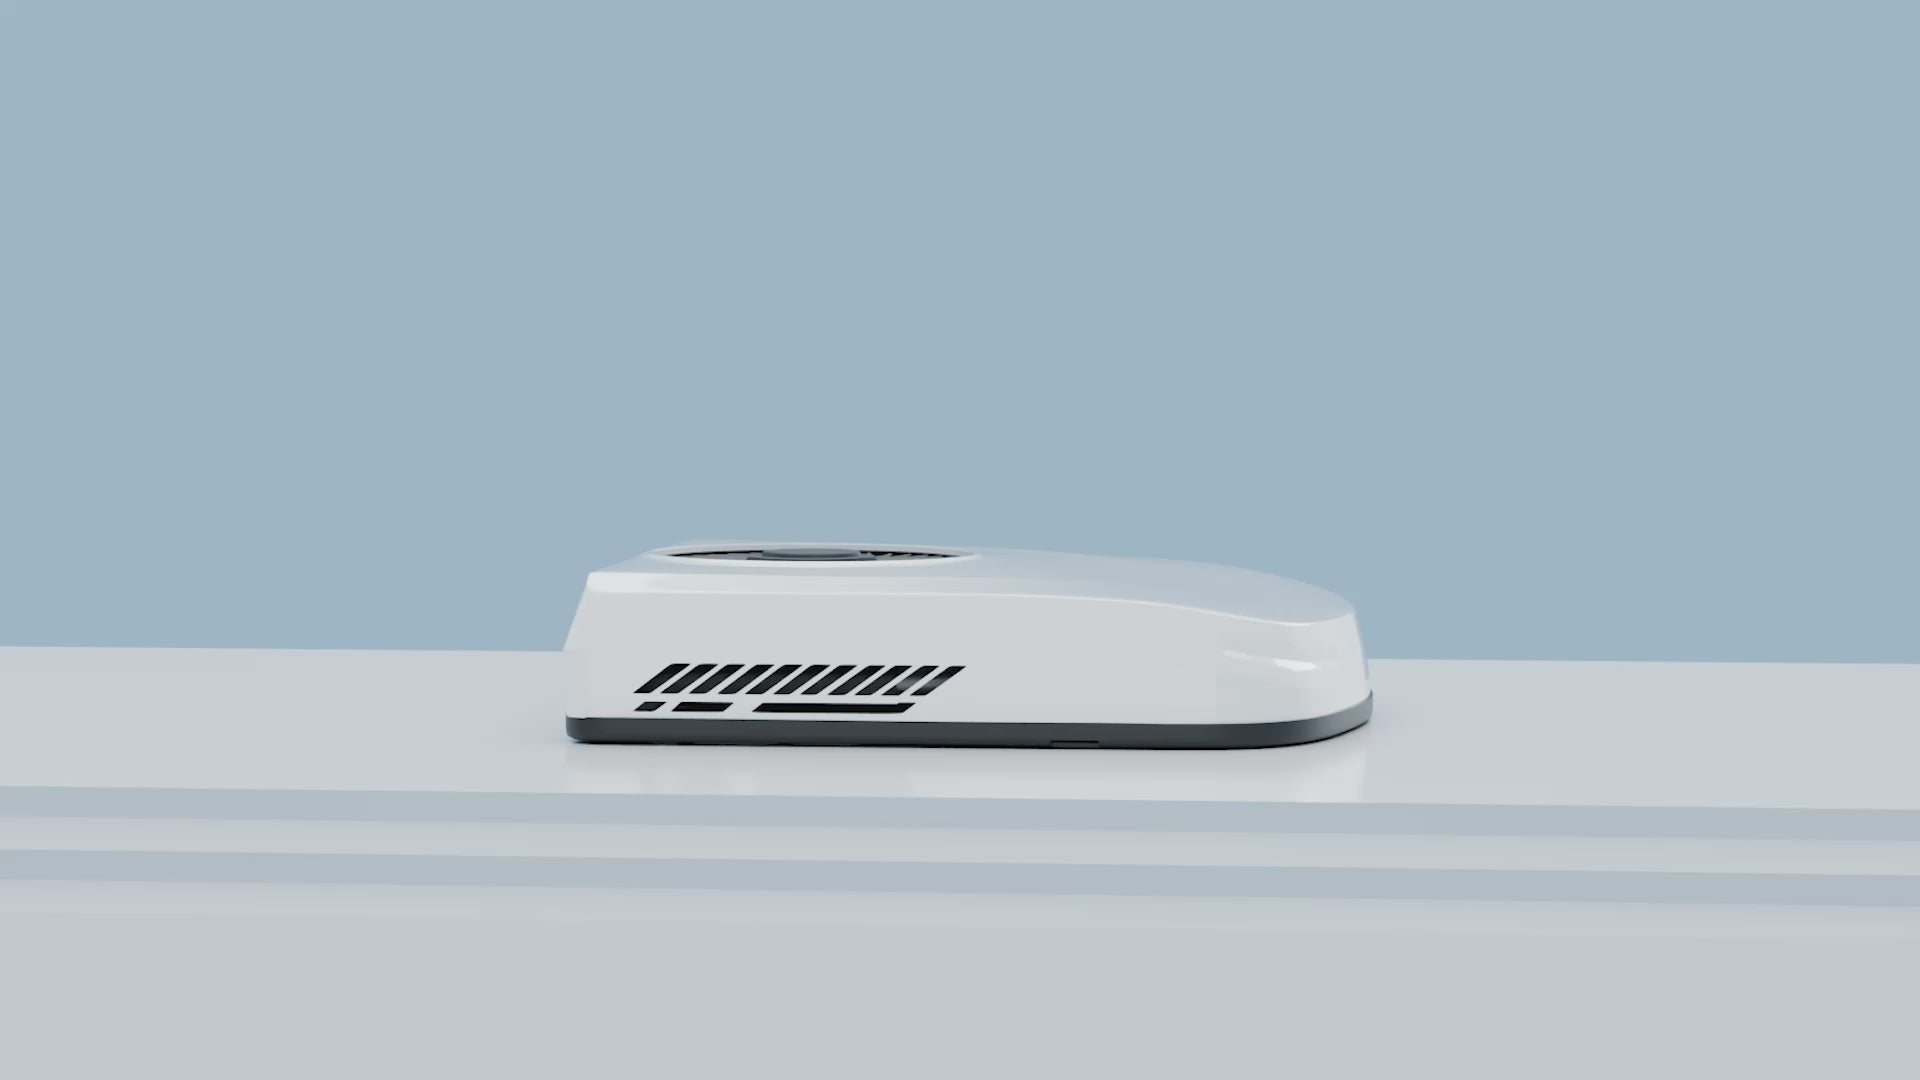
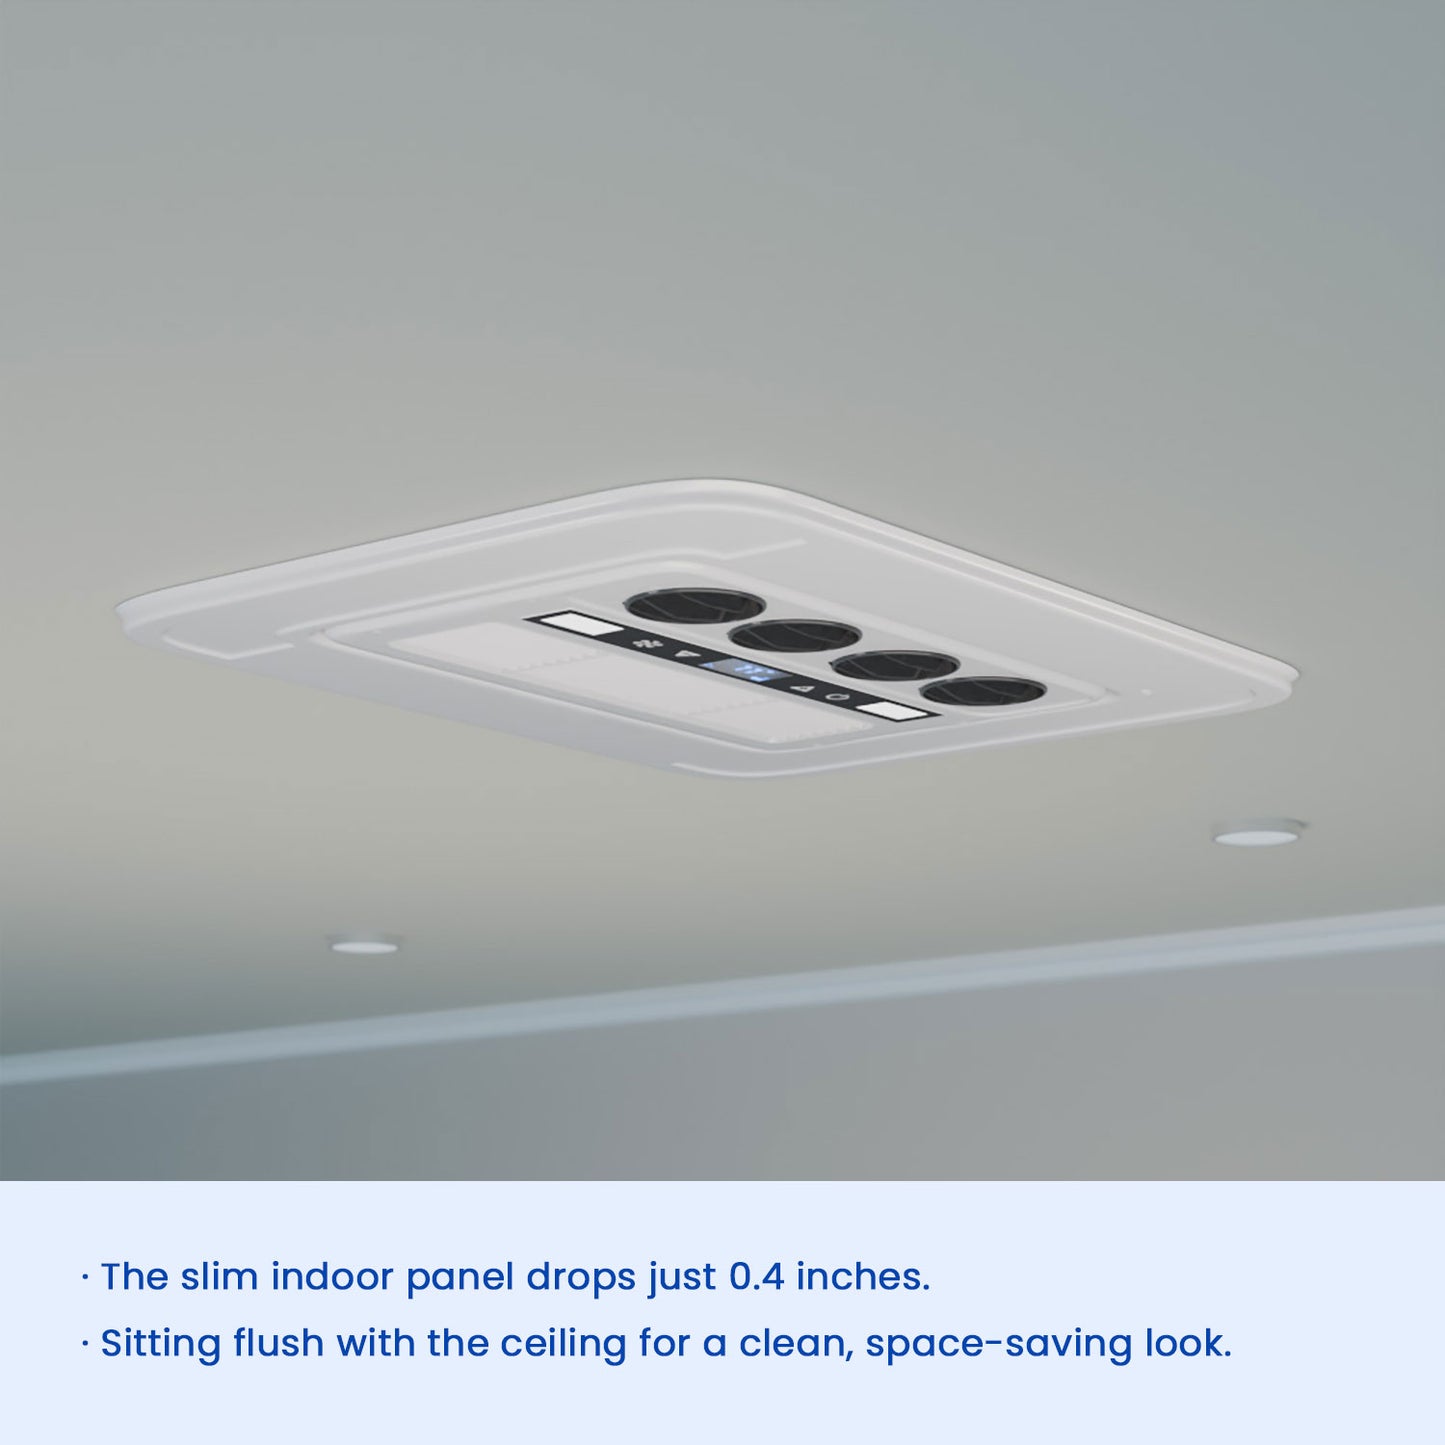
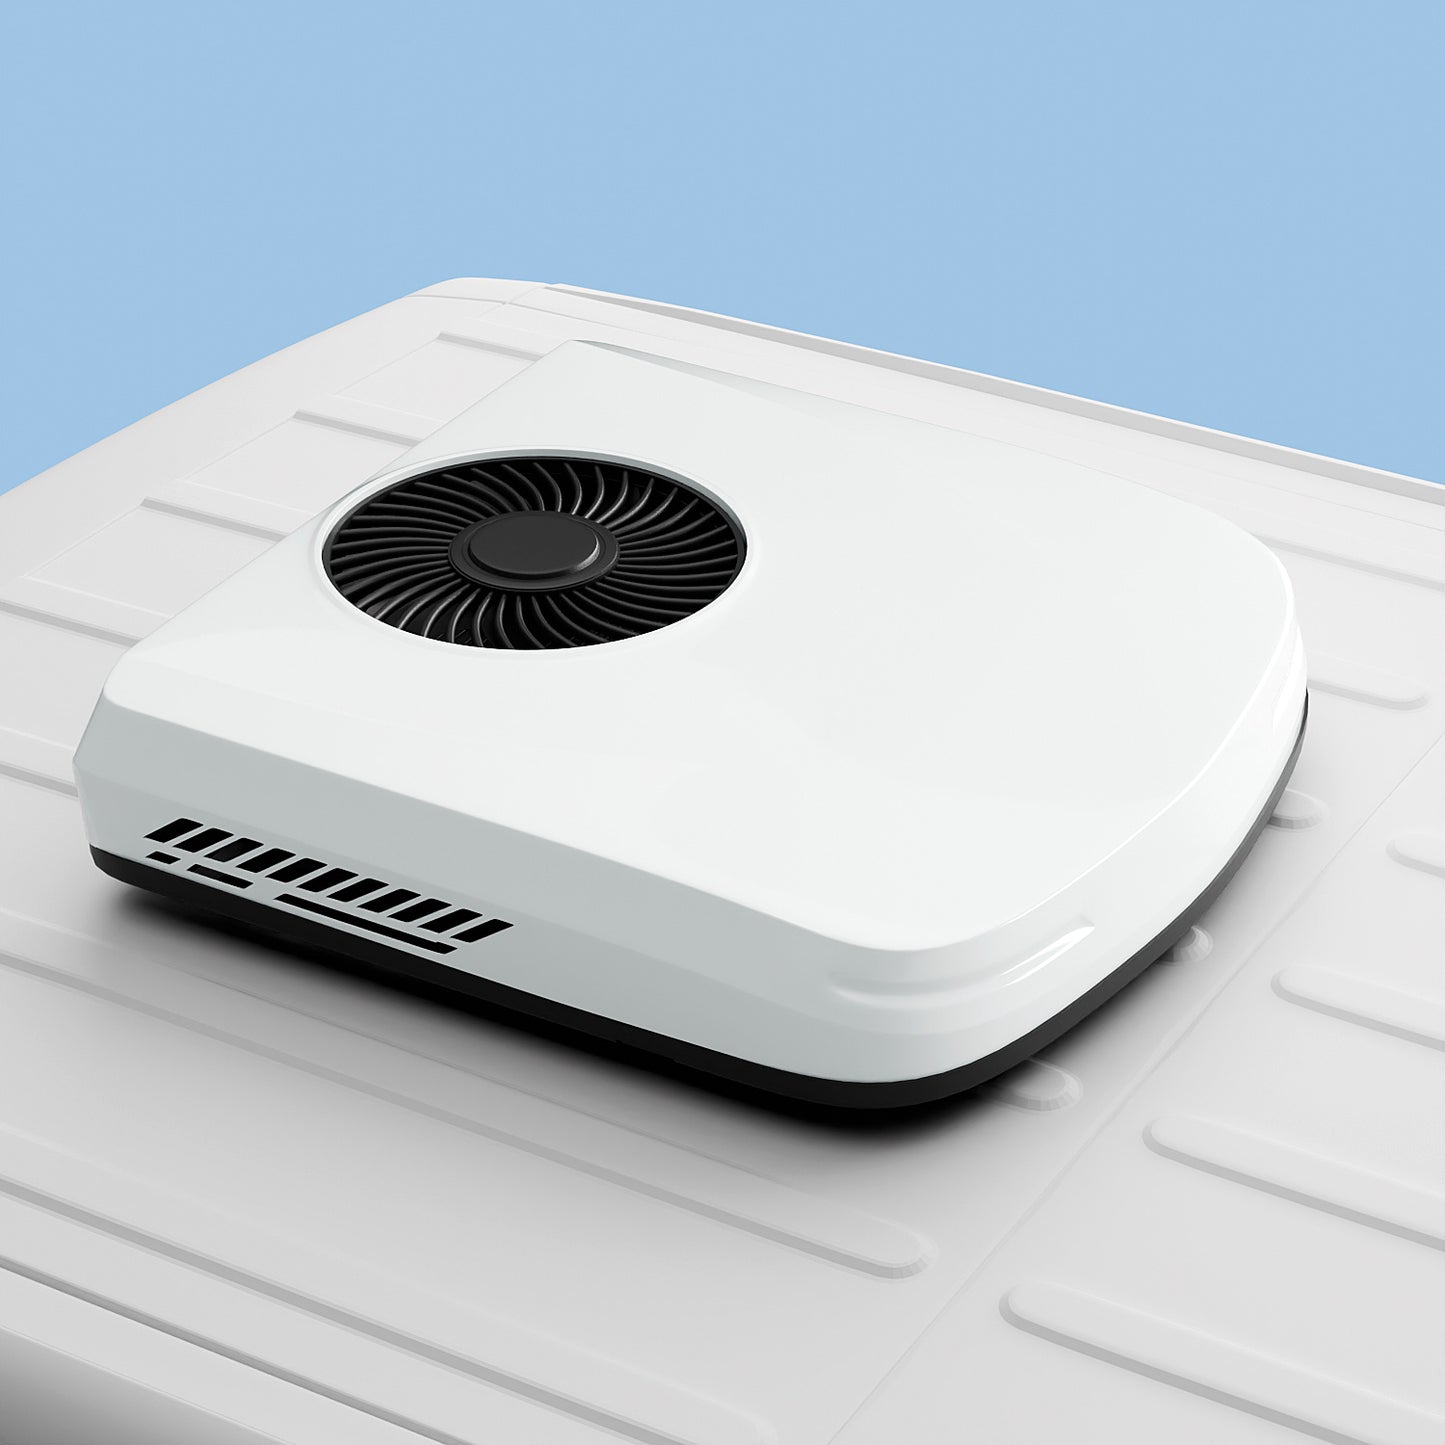
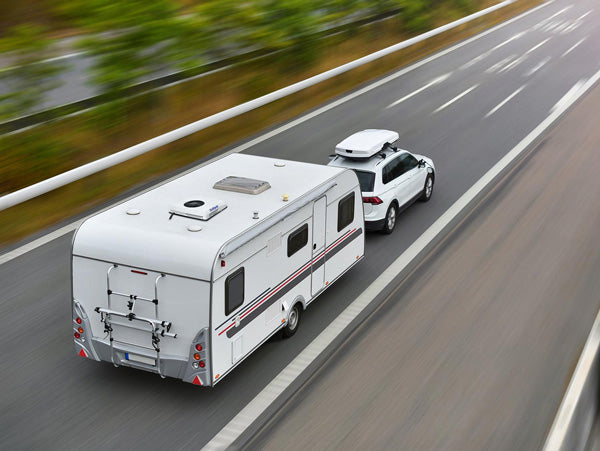
Lightweight Lowprofile

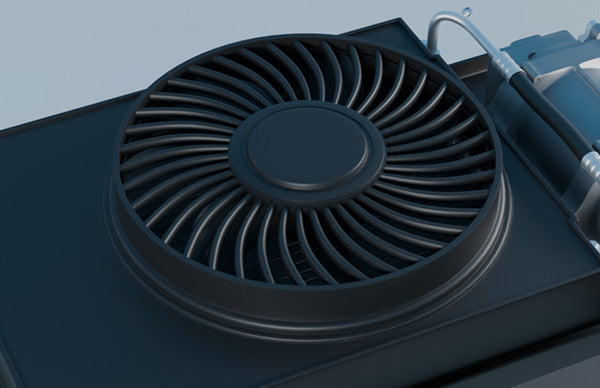
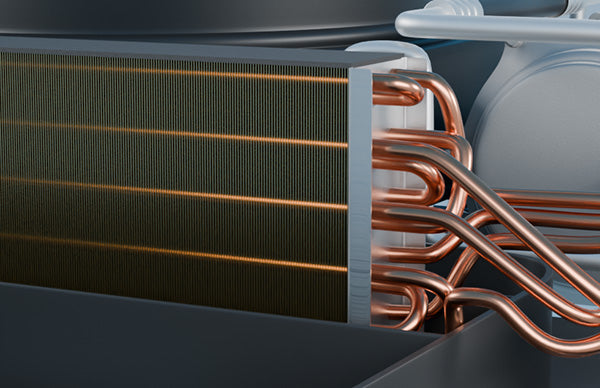
Powerful Capacity

Battery Protection


1. Mount external unit: Clean roof, apply gasket around the roof opening.
2. Secure with brackets: Attach rods to unit base, align and tighten brackets to roof.
3. Install indoor panel: Align with external unit rods, secure tightly.
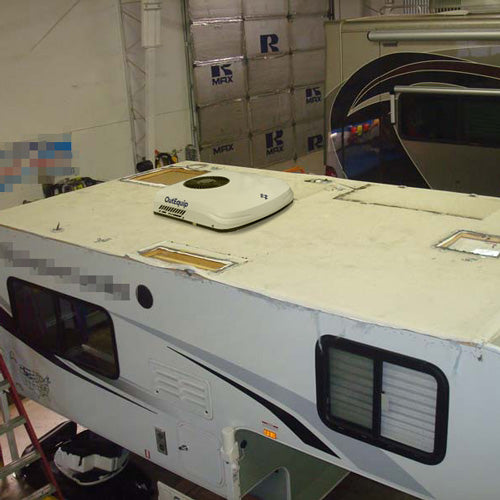
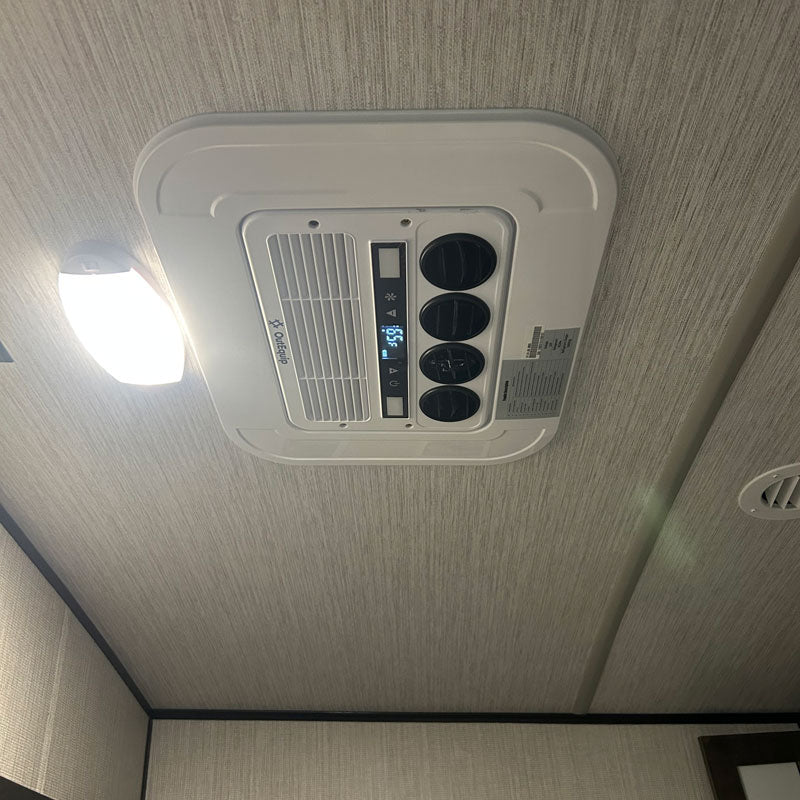
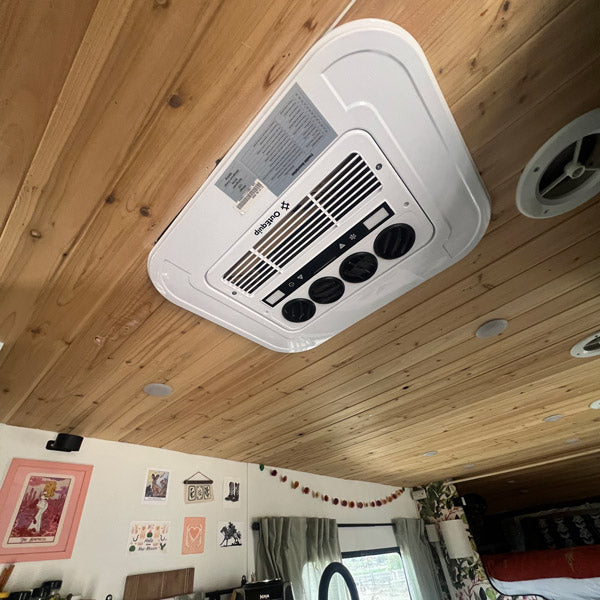
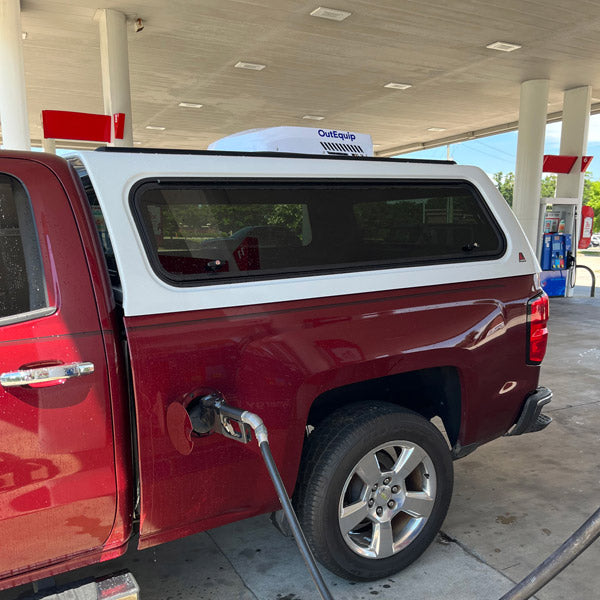
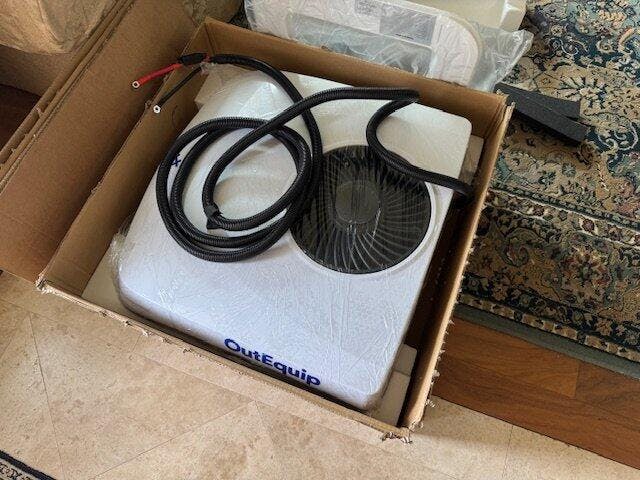
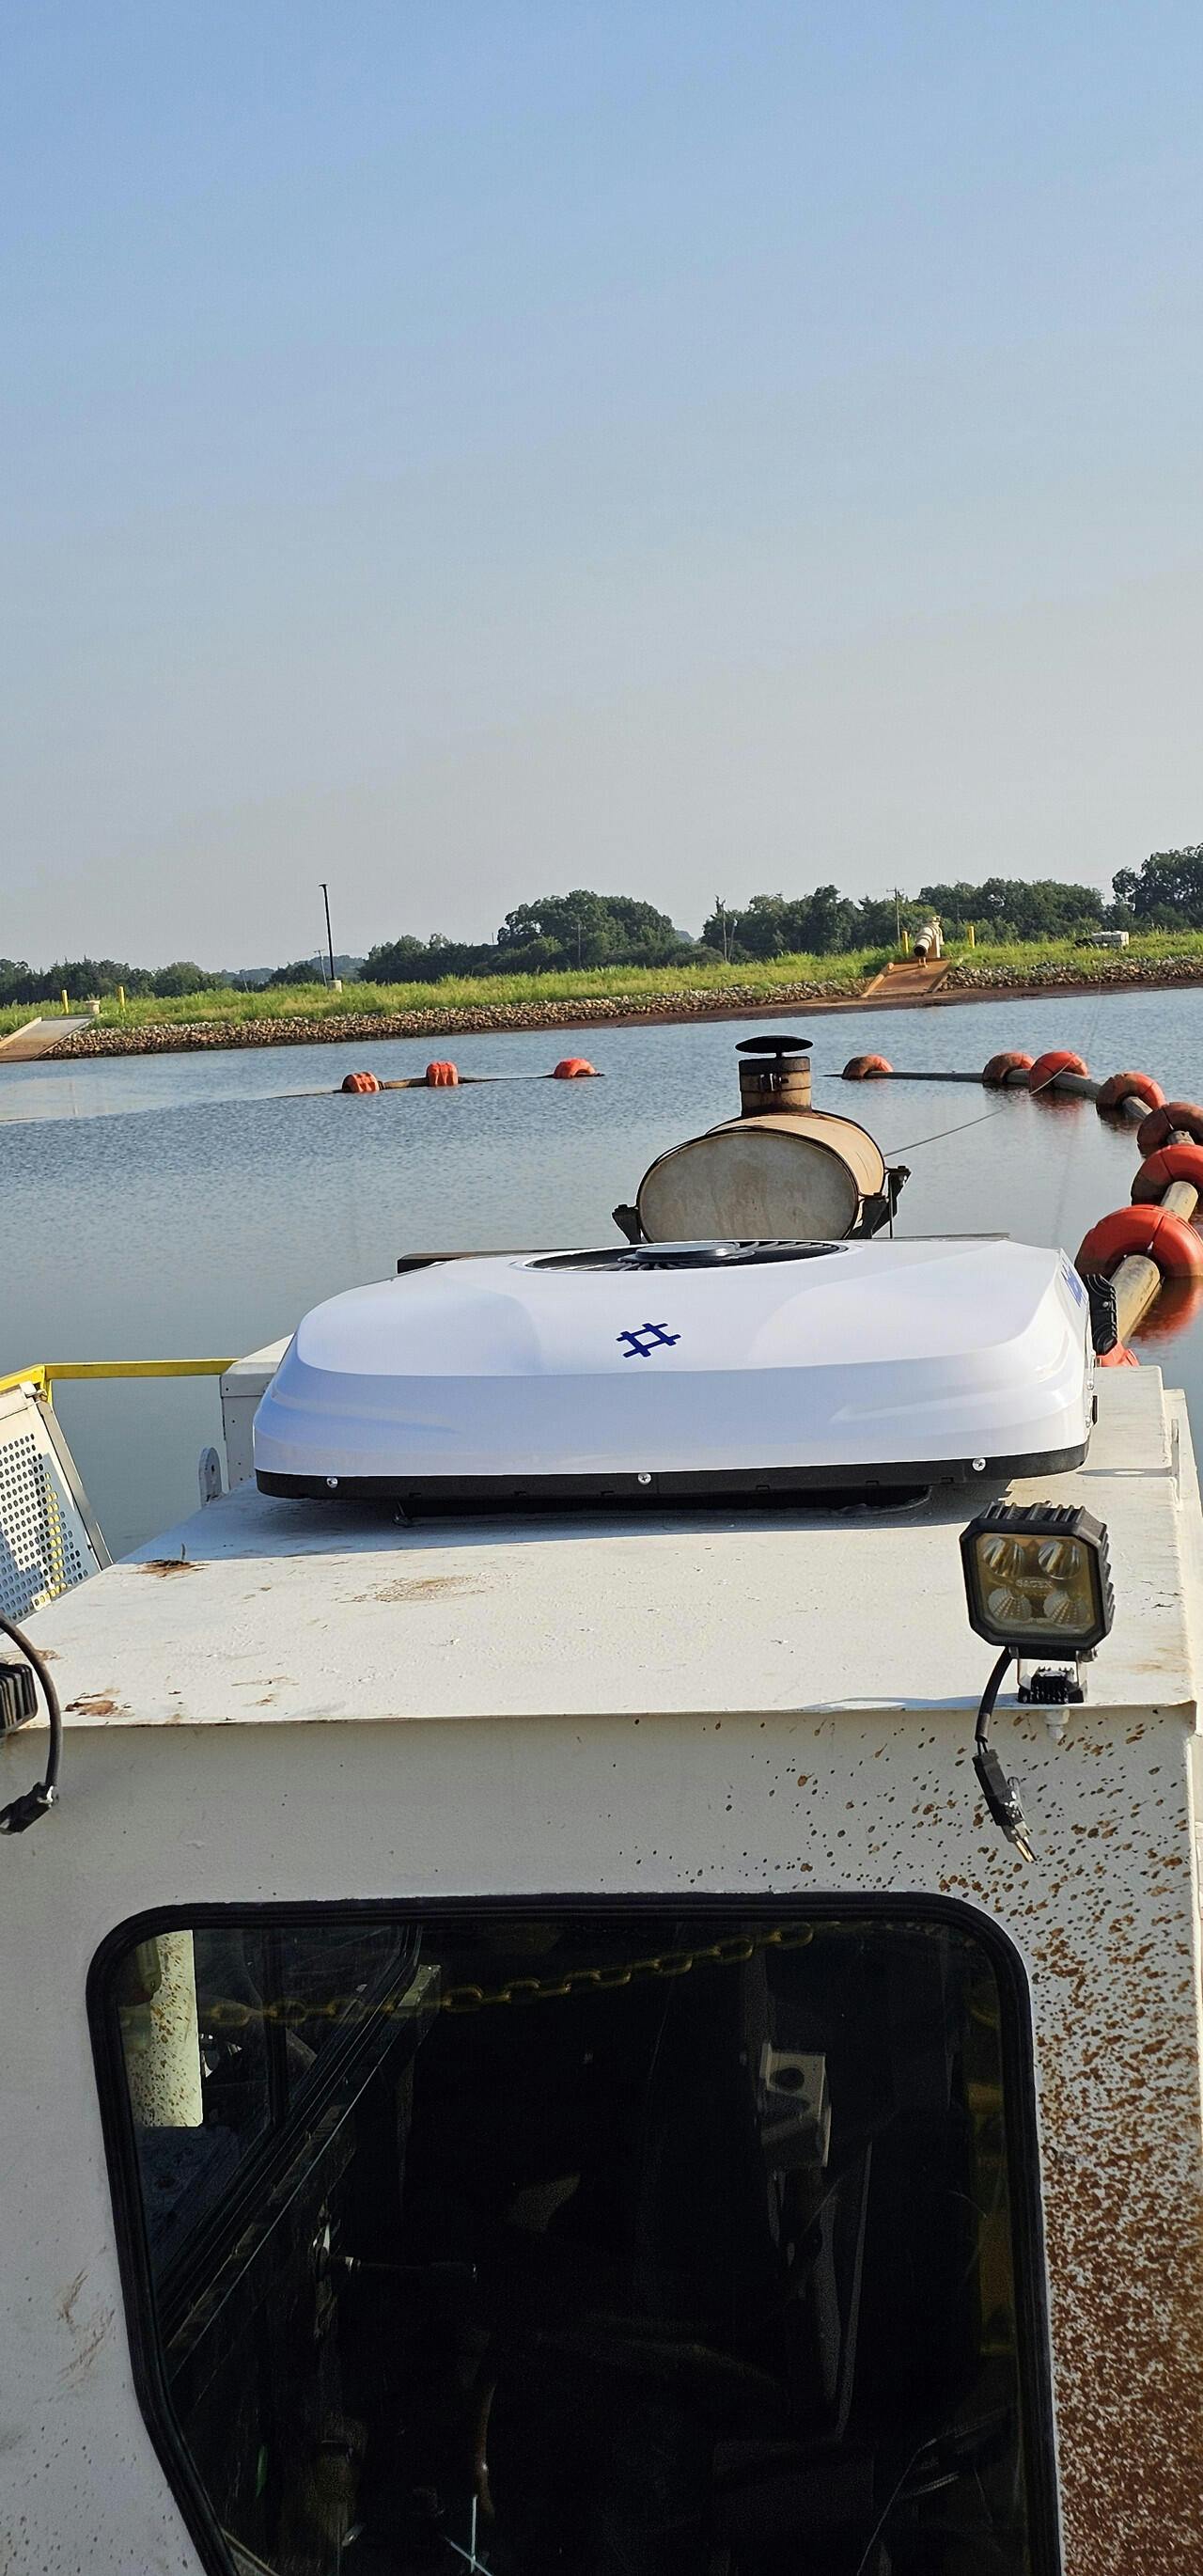
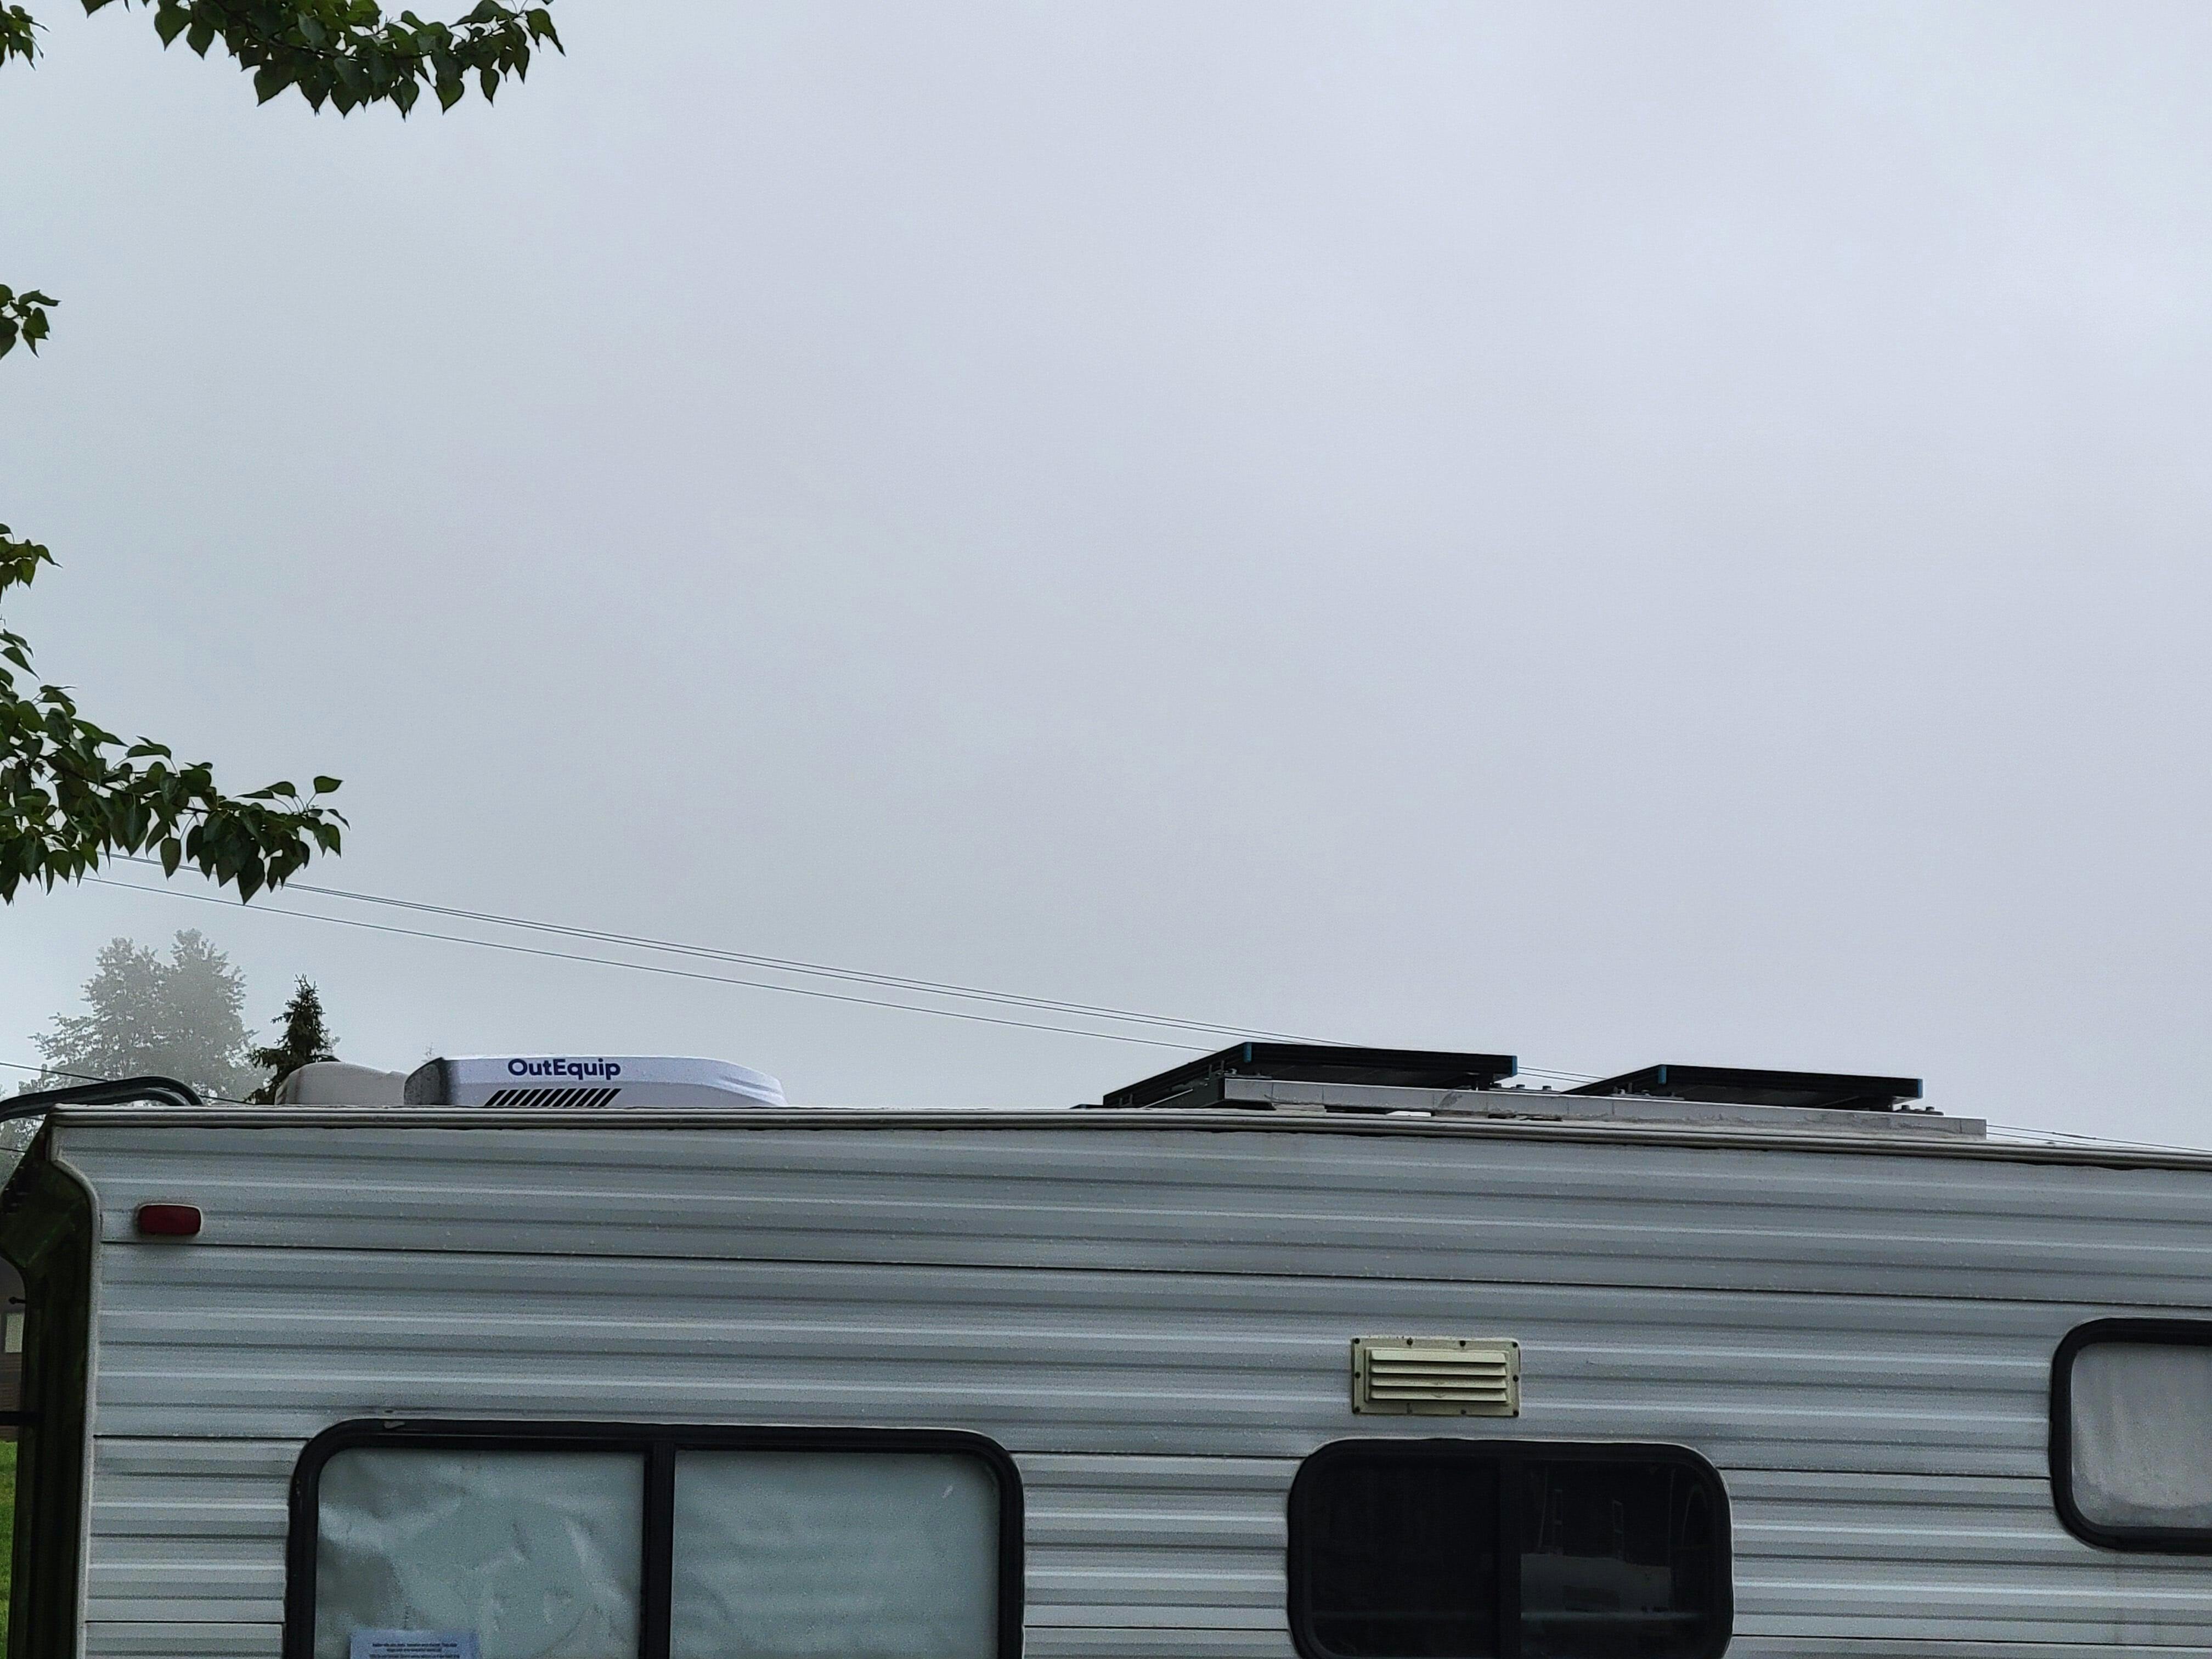
OutEquipPro is the best! They were extremely helpful, supportive, and answered all my questions during the process. I am attaching the photos of the installation and how it appears. In my experience, it was very similar to mounting a ceiling fan in an RV or a camper. The unit seems very robust, and I am delighted with the quality of the construction. Now I just need some extremely warm days!
Nice unit , works awesome
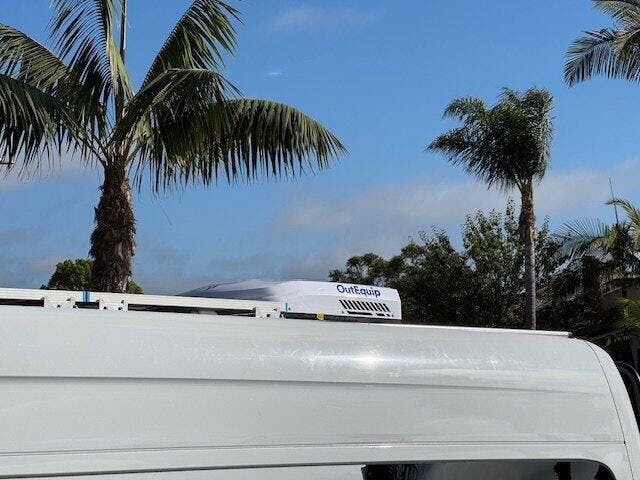
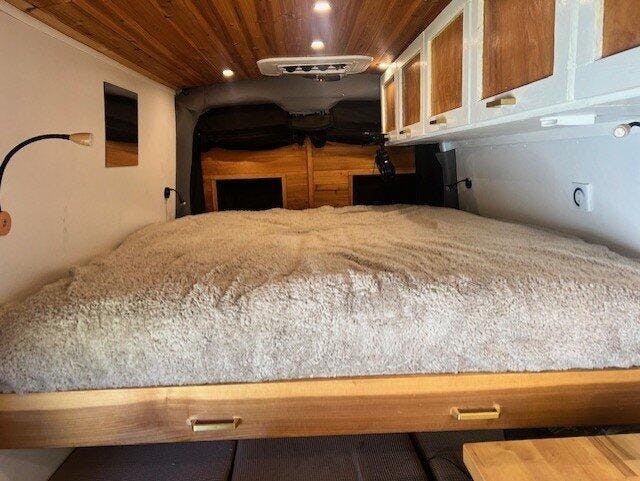
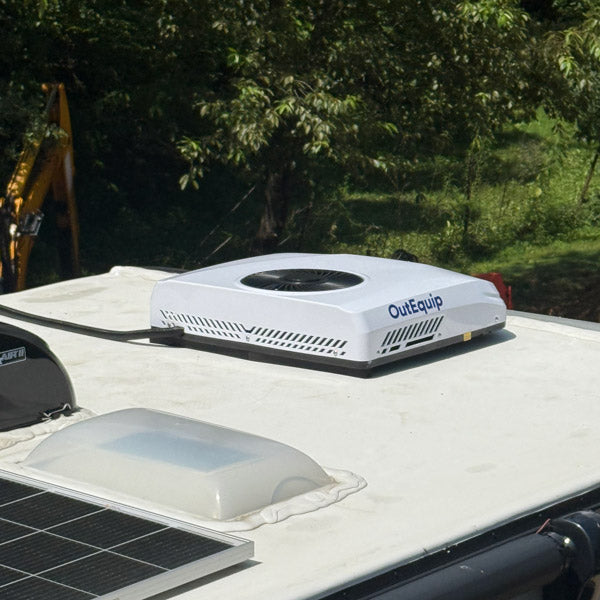
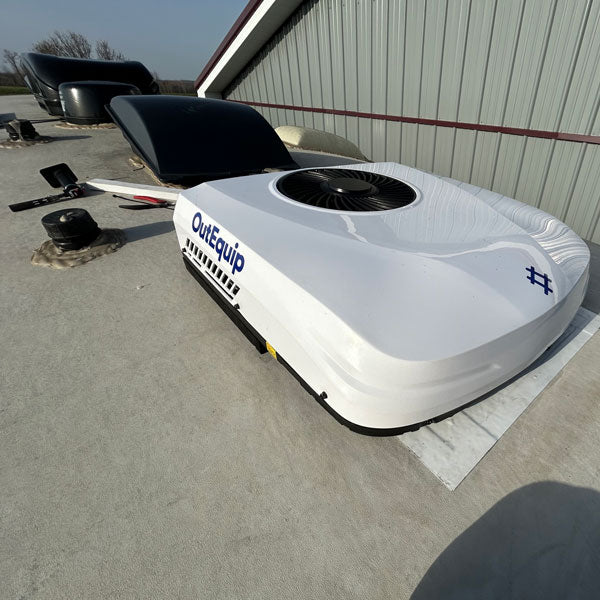
We removed the Maxx fan from our 2016 Sprinter 170” and replaced it without OutEquip 24v ac. Below is the finished installation that is free of leaks and energy efficient.
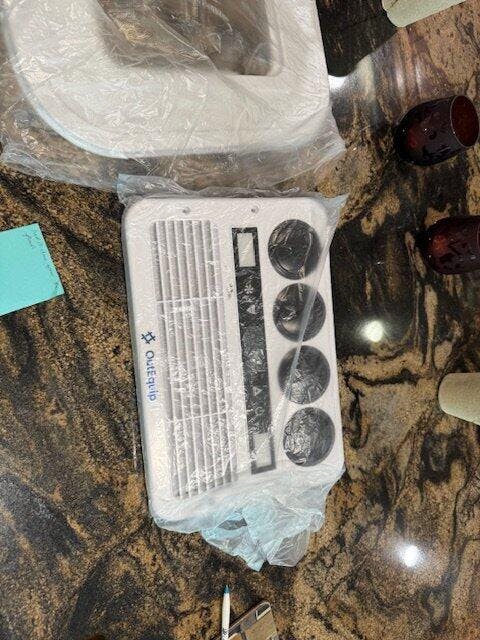
This is how the interior looked before installing the flange.
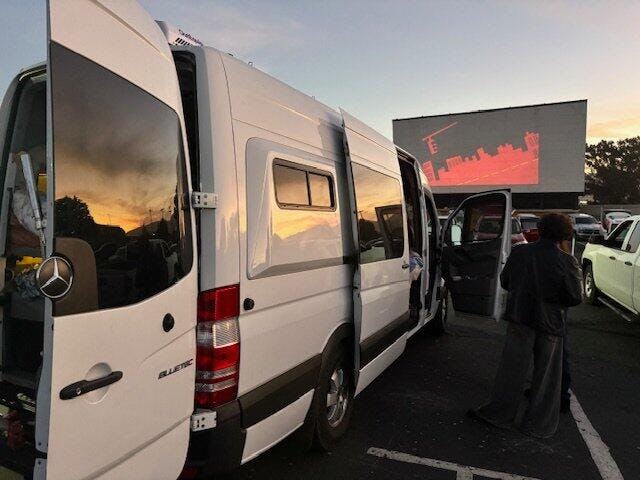
Enjoying a drive-in movie on our first trip with the AC.
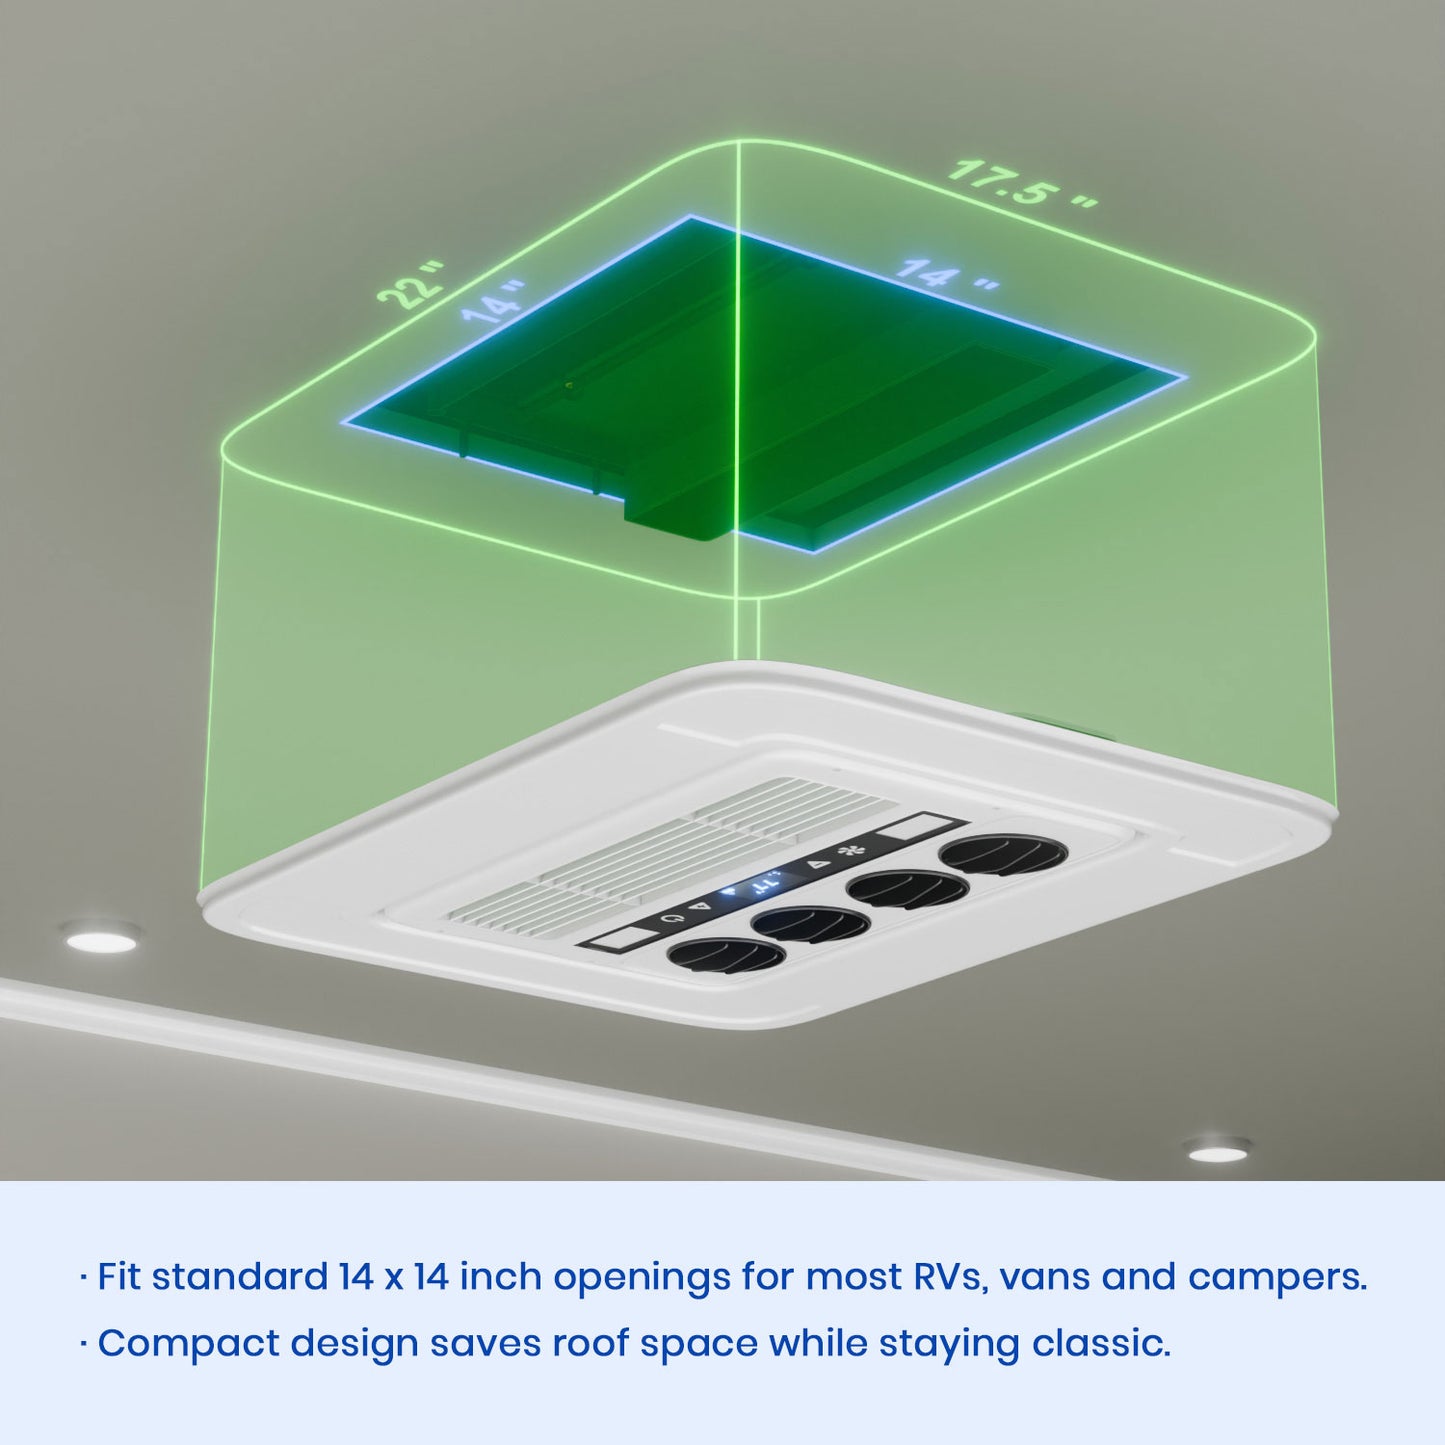
My existing hole 14“ x 14“ with custom spacer.
Purchased 14 x 14 foam off Amazon
Put this plastic whiteboard underneath to add Support.
Whiteboard in its final location.
Used a C clamp to hold the pieces in place and screwed it together.
My solar system. With cover removed from AC attempting to run wire internally. Chose instead to run wire through Gromit with new hole.
Inside of van with stock headliner and yellow tape to improve color temperature on lights.
70 amp breaker installed upstream of stock fuse.
Happy with our new AC and grateful to OutEquip for tech-support.
Cheers, Charlie
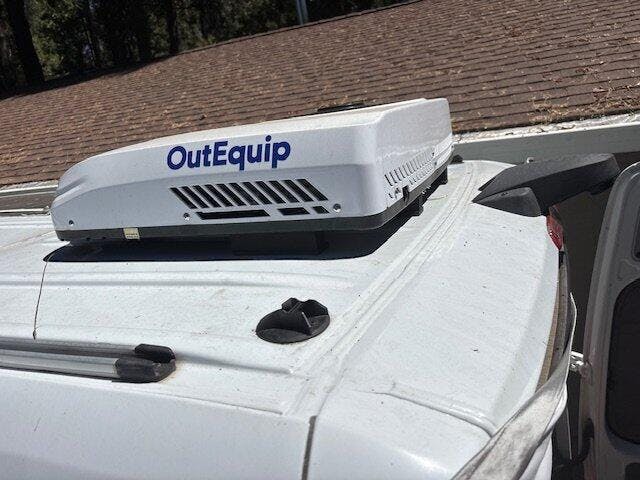
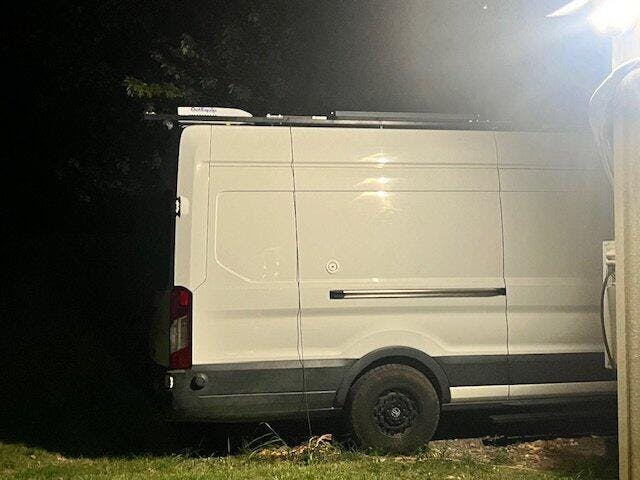
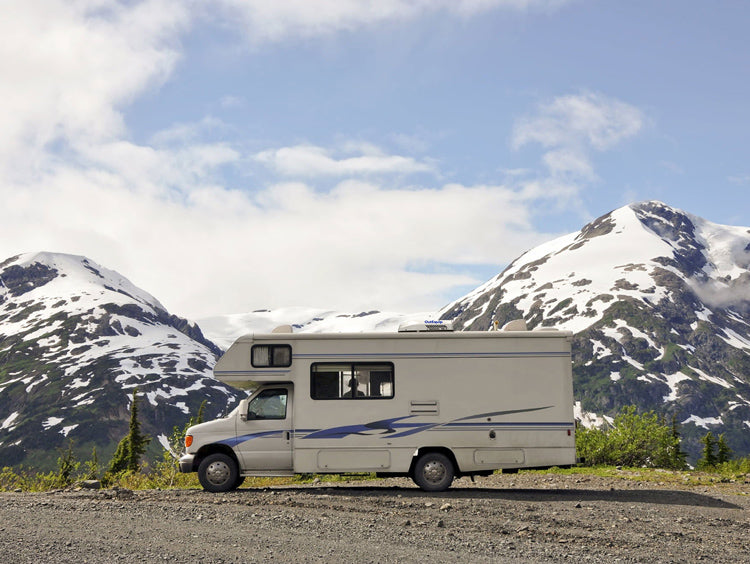
I purchased your OutEquipPro 12Volt DC 10,000 BTU air conditioner to replace my rear Max Air fan on my 2019 Ford Transit 250 in preparation for our trip to Alaska at the end of July.
Installation:
I was excited to receive the package and upon its arrival I took everything out of the box and examined the pieces and read the brief instructions provided. After taking out the Max Air I was left with a 14x14 hole which I surrounded with the gasket provided. I placed the gasket as close to the opening edges and trimmed the excess that was left over and then sealed along the inner and outer edges with a self-leveling agent. Once that had dried, I placed the air conditioning unit into the opening and moved the whole unit about three inches back from the front edge to ensure that the drain holes would not feed into the opening. I installed the shorter of the two sets of all-thread provided and then installed the two roof brackets provided and tightened those. I then placed the foam provided into the empty space I created when moving the unit towards the back of the opening to provide insulation and then attached the air diffuser and control wiring to the main frame. The system seated and after a water test on the outside roof with a power washer I was satisfied that no leaks existed. I then drilled a 1 ¼ " hole in my roof and ran the power wires to my BMS (Battery Management System) and secured the two wires appropriately. I turned the system on and it immediately produced cold air. It took me about 2 hours total to remove the Max Air and install the OutEquipPro unit.
Operational Test:
My original electrical system contained two 100-amp lithium batteries managed by a 3000-watt Victron charger/inverter which I upgraded to two 200-amp lithium batteries to provide a longer run time. The first test I conducted utilized my electrical system connected to a 30-amp shore power supply line. The temperature at 7pm was 102 degrees inside the van when I turned the unit on and set the temperature to 71 degrees with the fan set on turbo. Twelve hours later at 7am I checked the van interior and found the temperature to be at 72 degrees with 100% available battery power.
The next day I tried the same test without shore power, relying only on the 400-amp battery bank. The time and temperature were the same as the previous test, however I had changed the fan speed to its lowest setting. The next morning, I found the van again at 72 degrees with 92% available battery power. The power consumption was minimal and the results of both test exceeded my expectations.
Summary:
Price: The closest competitors recommended by van and RV buffs was twice the cost of the OutEquipPro.
Installation: The ease of installation was remarkable and the weight (45 pounds) allowed for a one-person project, including carrying the unit up the ladder to the roof of the van.
Power Consumption: The frugal use of power is incredible and its performance was remarkable, I never expected to get 12 full hours of continuous operational time and have the van that cool inside!
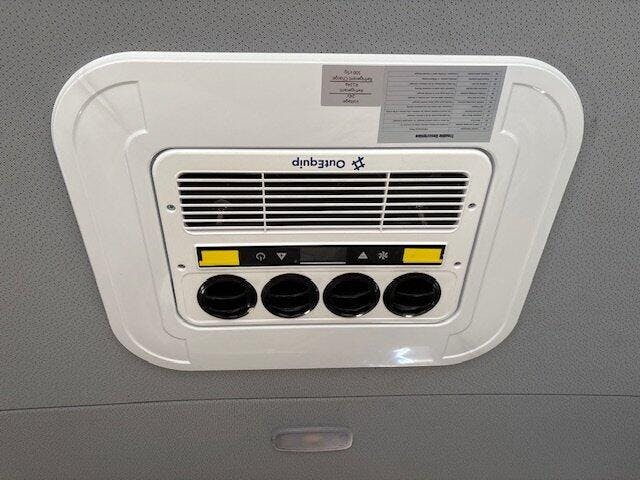
Operational: The operation of the unit is exemplary and the control system is very intuitive, the lights were an extra bonus.
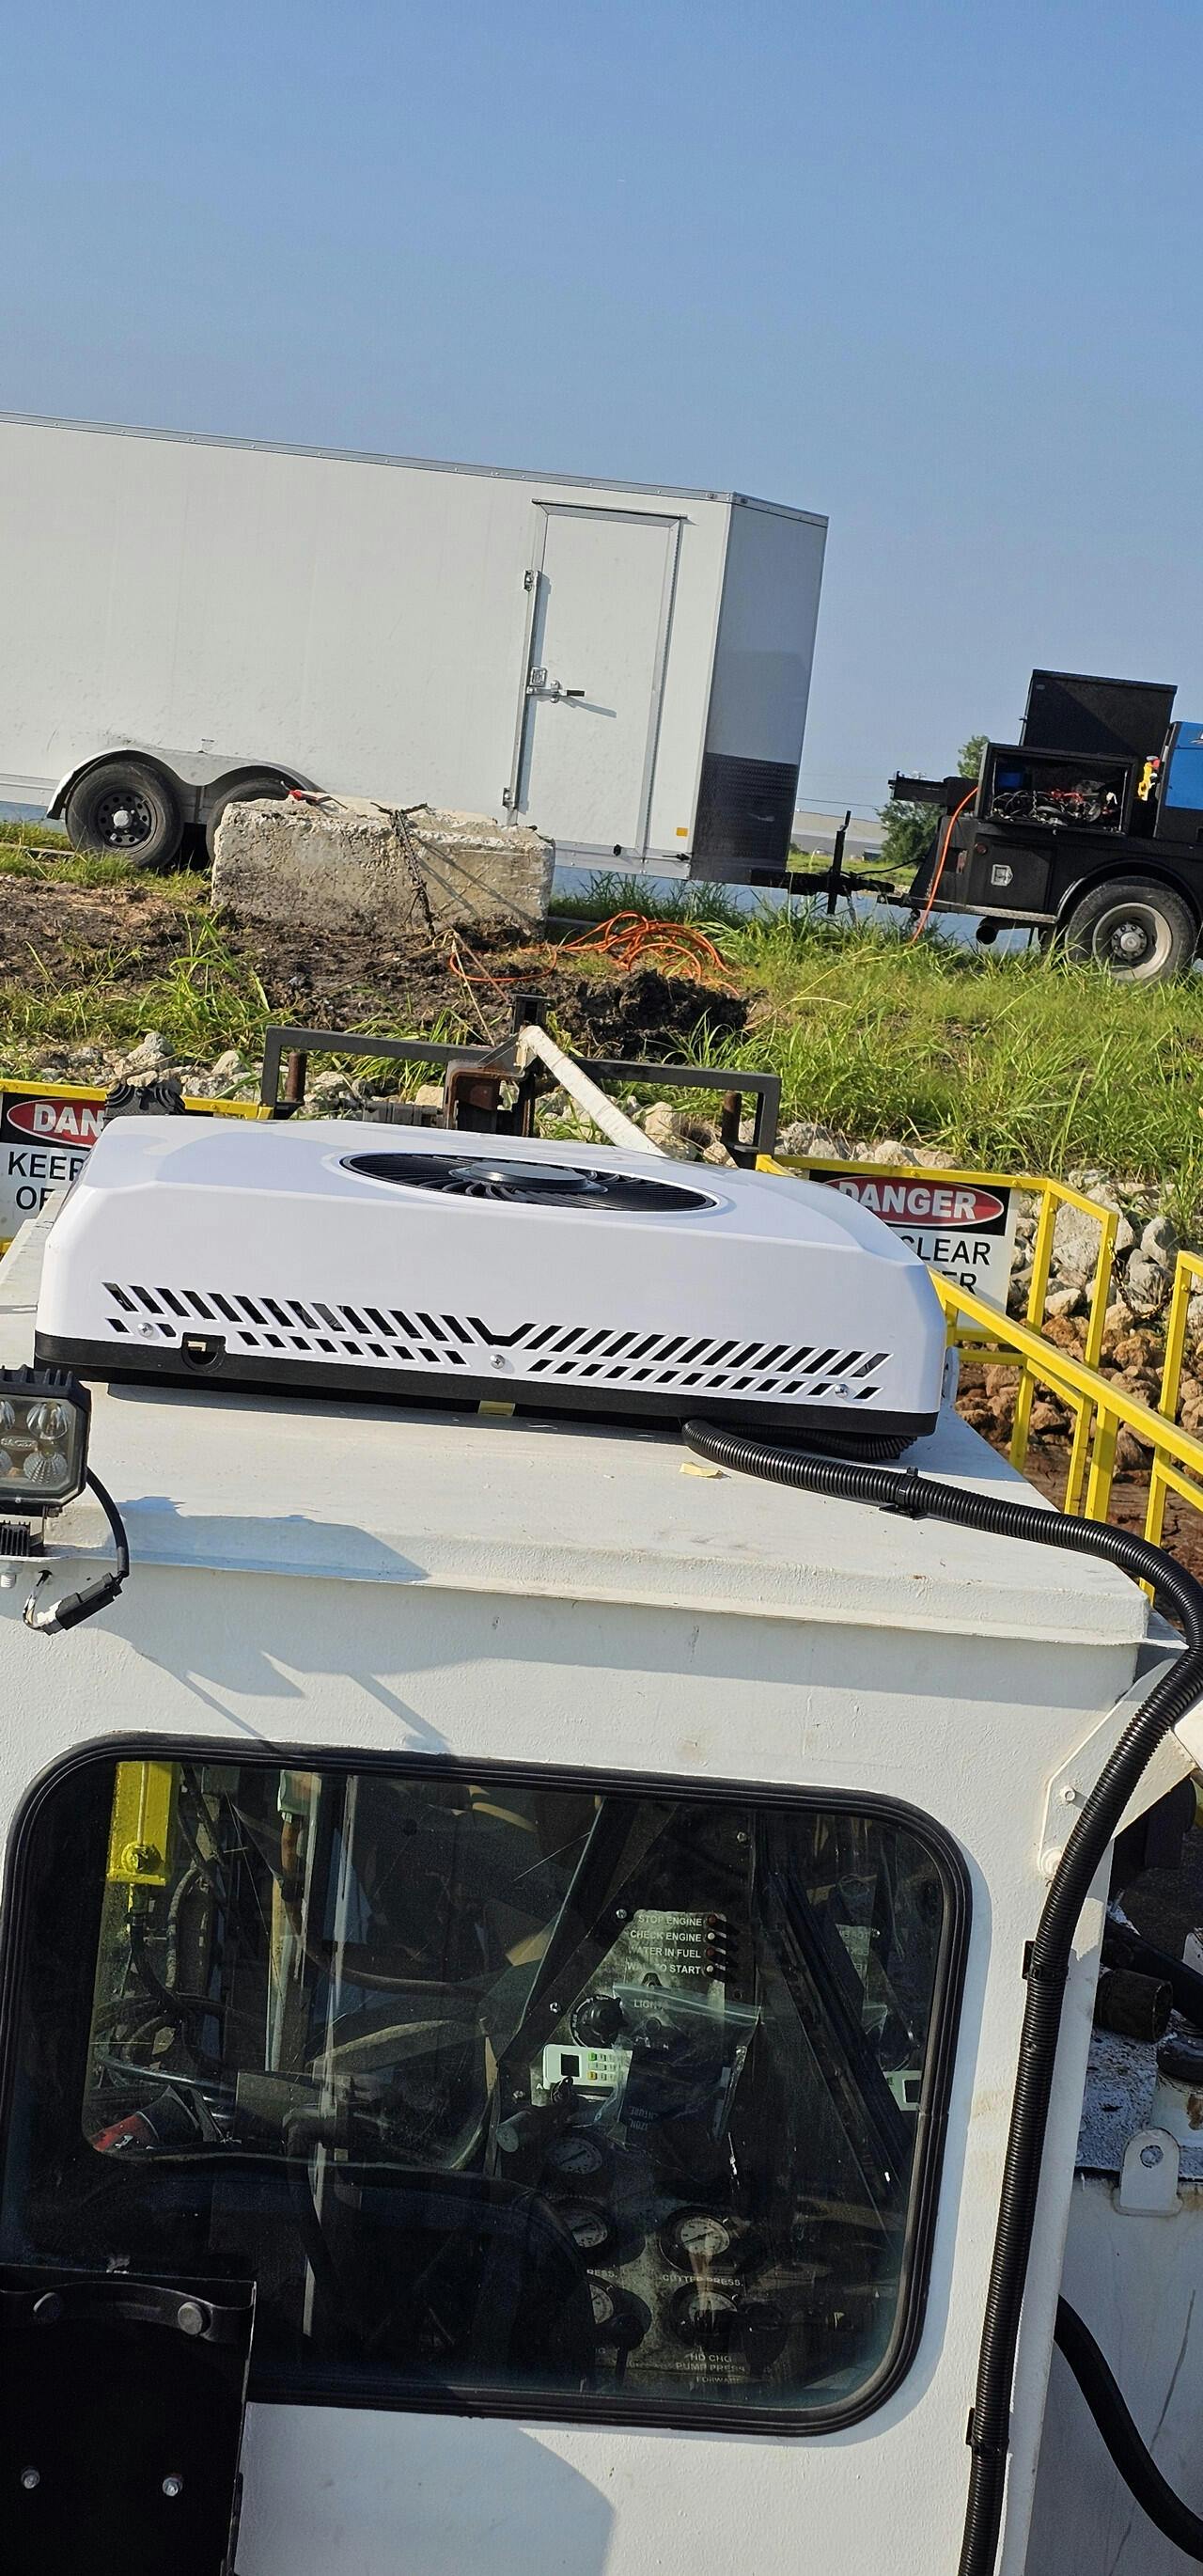
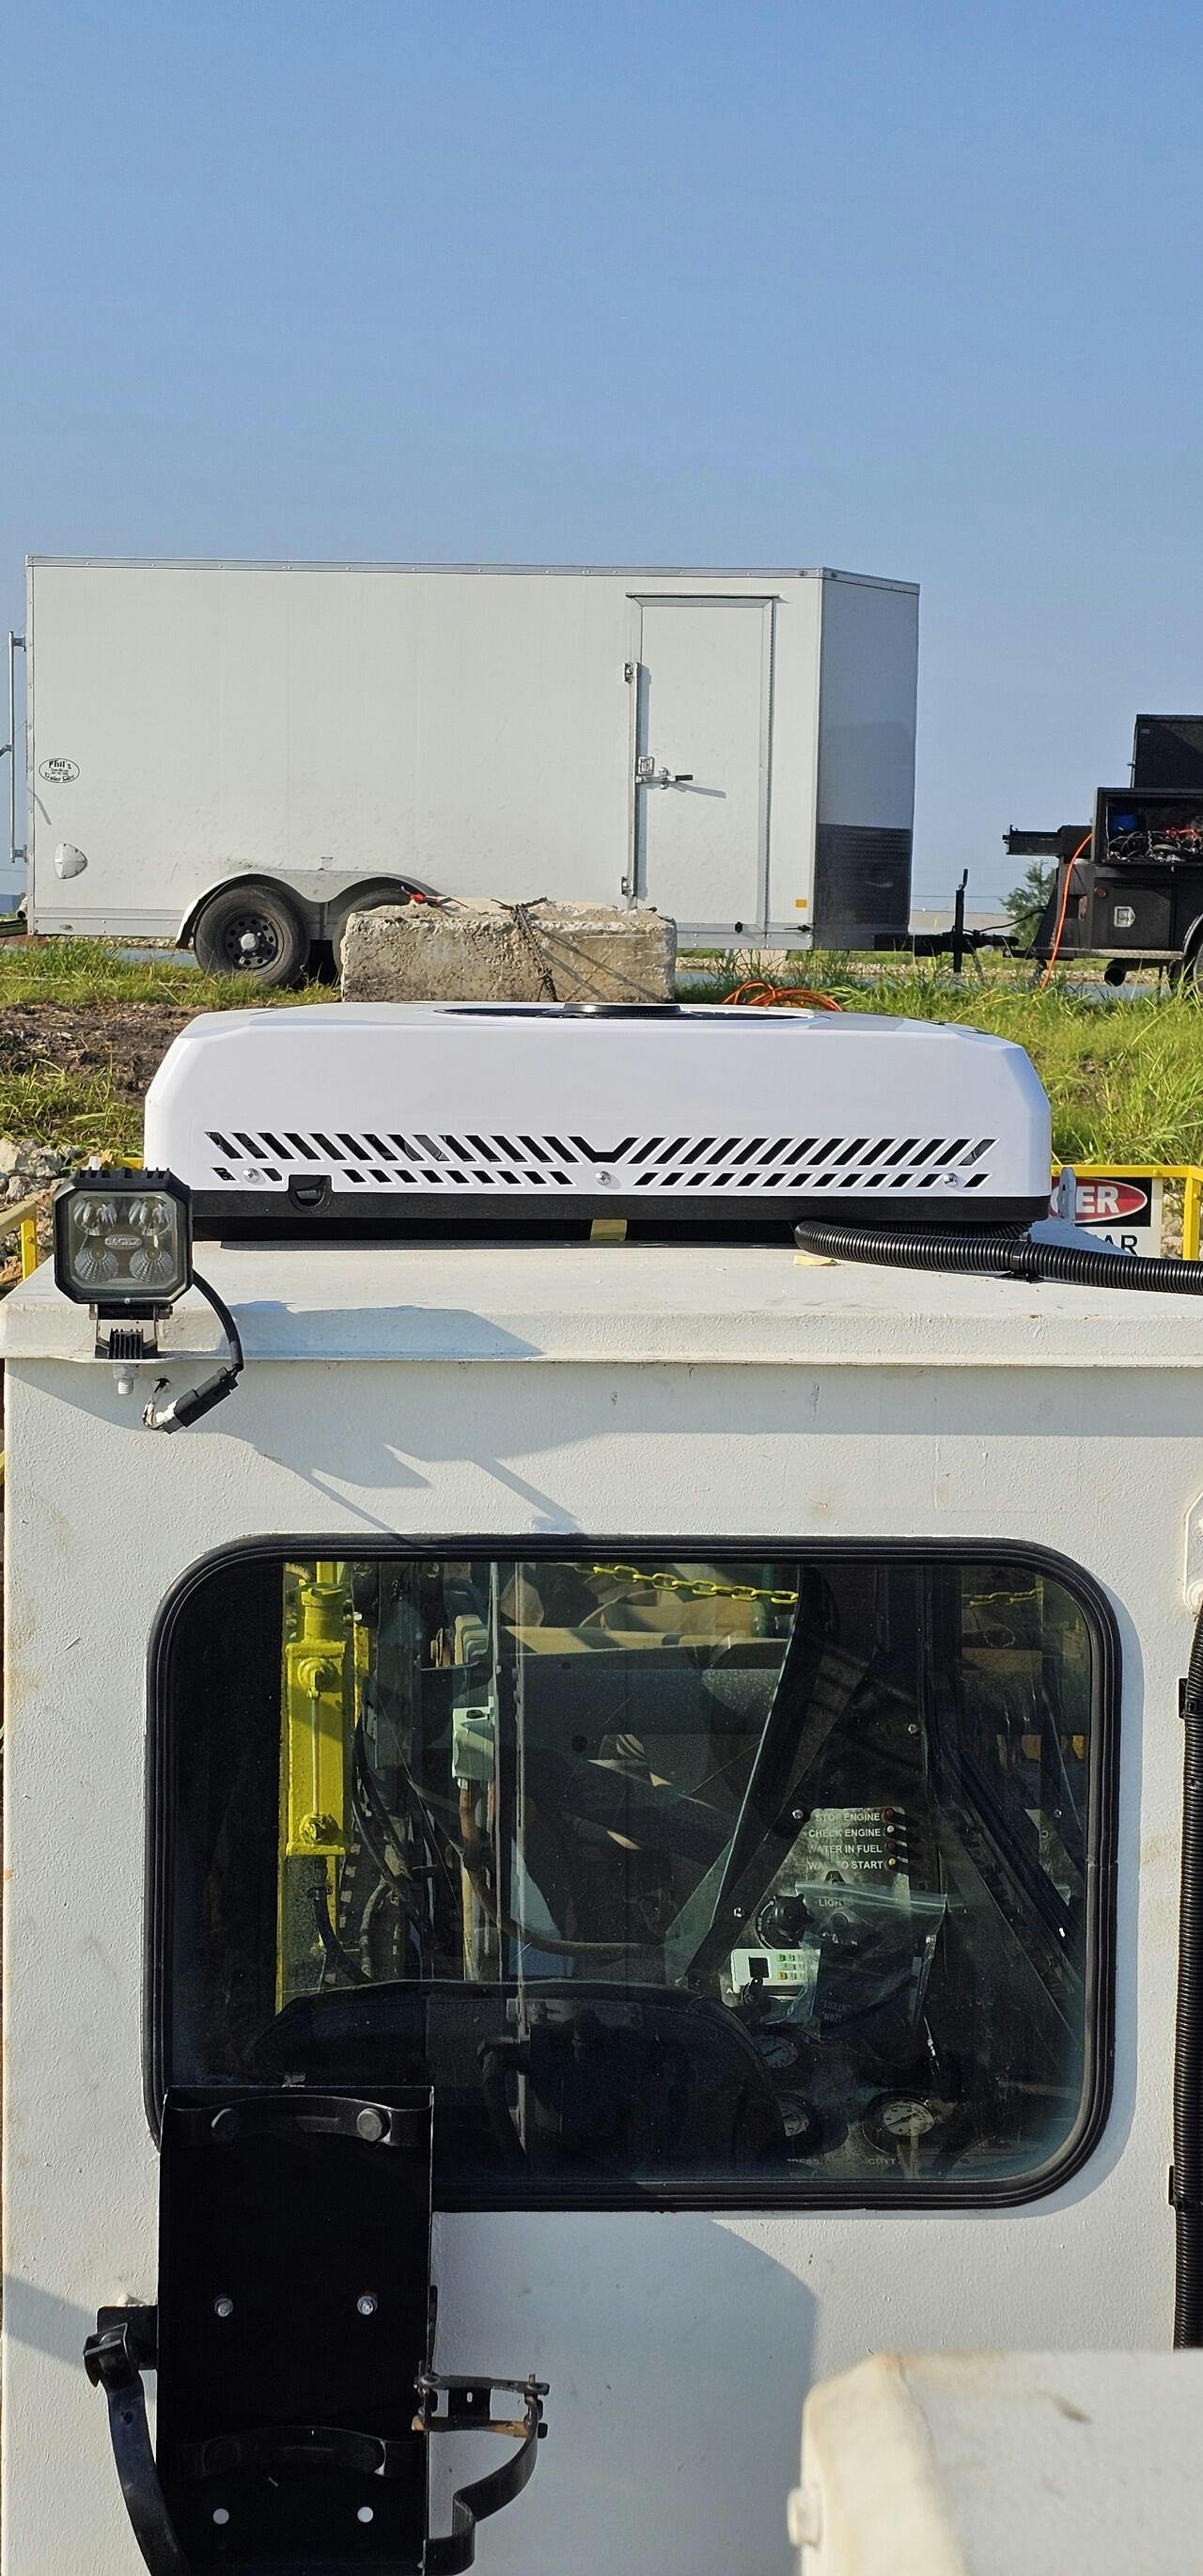
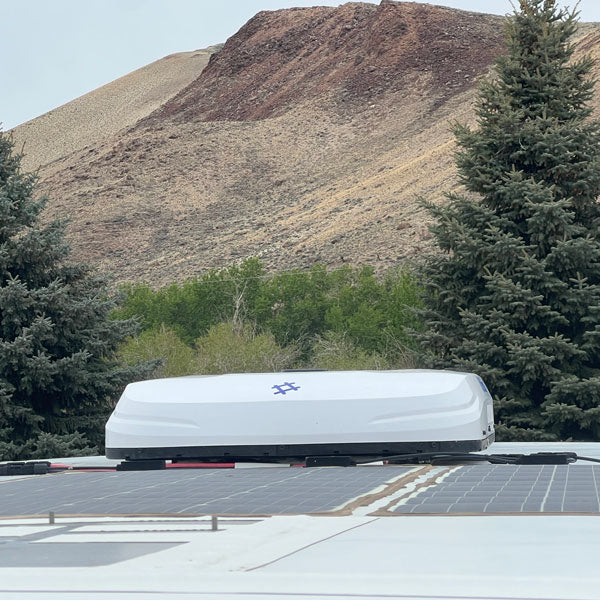
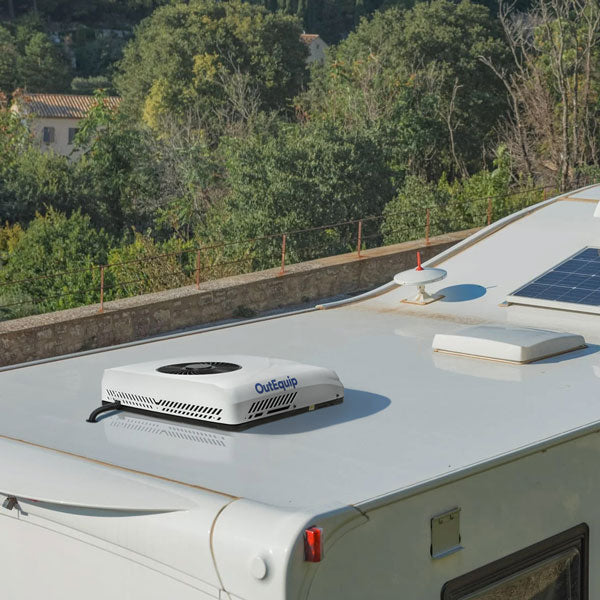
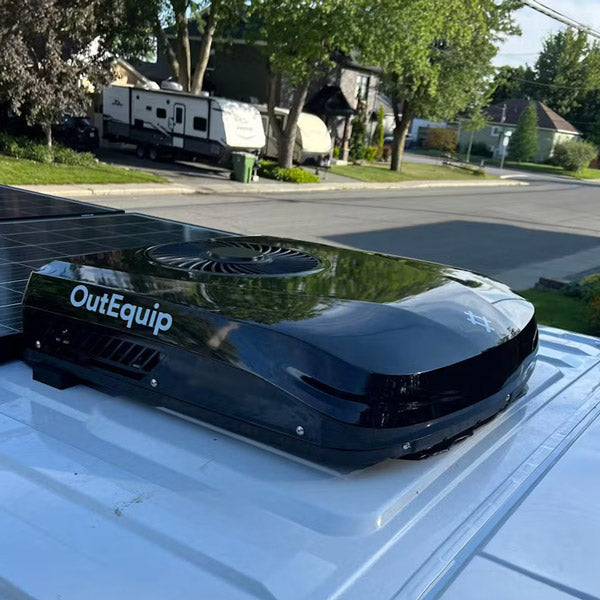
Profile: The profile of the unit on the roof is excellent as shown in the picture provided.
Great 12 volts A/C unit. Works awesome, and it is quiet. I also purchase the one with th heater in it. And the heater works great too. I like how small and light the unit is. And super easy to install.